Lemon Pepper Asparagus Pasta with Sugar Snap Peas
/
Summer pasta dish with whole grilled lemon slices
When I think of eating pasta, I think of a snowy winter day, curled up in my oops-i-ate-too-many-cookies-pants shoveling (not so much spooning) bucketfuls of straight gluten into my pie-hole, warming up my insides and protecting my body against the cold with an extra layer of much needed survival chub.
Pasta in the summer? Betch, I'm on a diet. There are bikinis involved in this season, hello! And yes, I feel you, but lemon and asparagus (whether our frenemy pasta is involved or not) just screams summer-time flavor town to me. So I decided to drum up this special citrus-y dish that is at the same time light and packed with flavor. Can be served as a hearty entree or side dish to compliment your main event. The dish is inspired by long drives through Long Island where local farms boast their fresh produce on roadside stands and farm adjacent markets. The secret to well cooked asparagus is not to overcook it; blanching allows you to saturate this finicky veg without draining the life (crunch) from it.
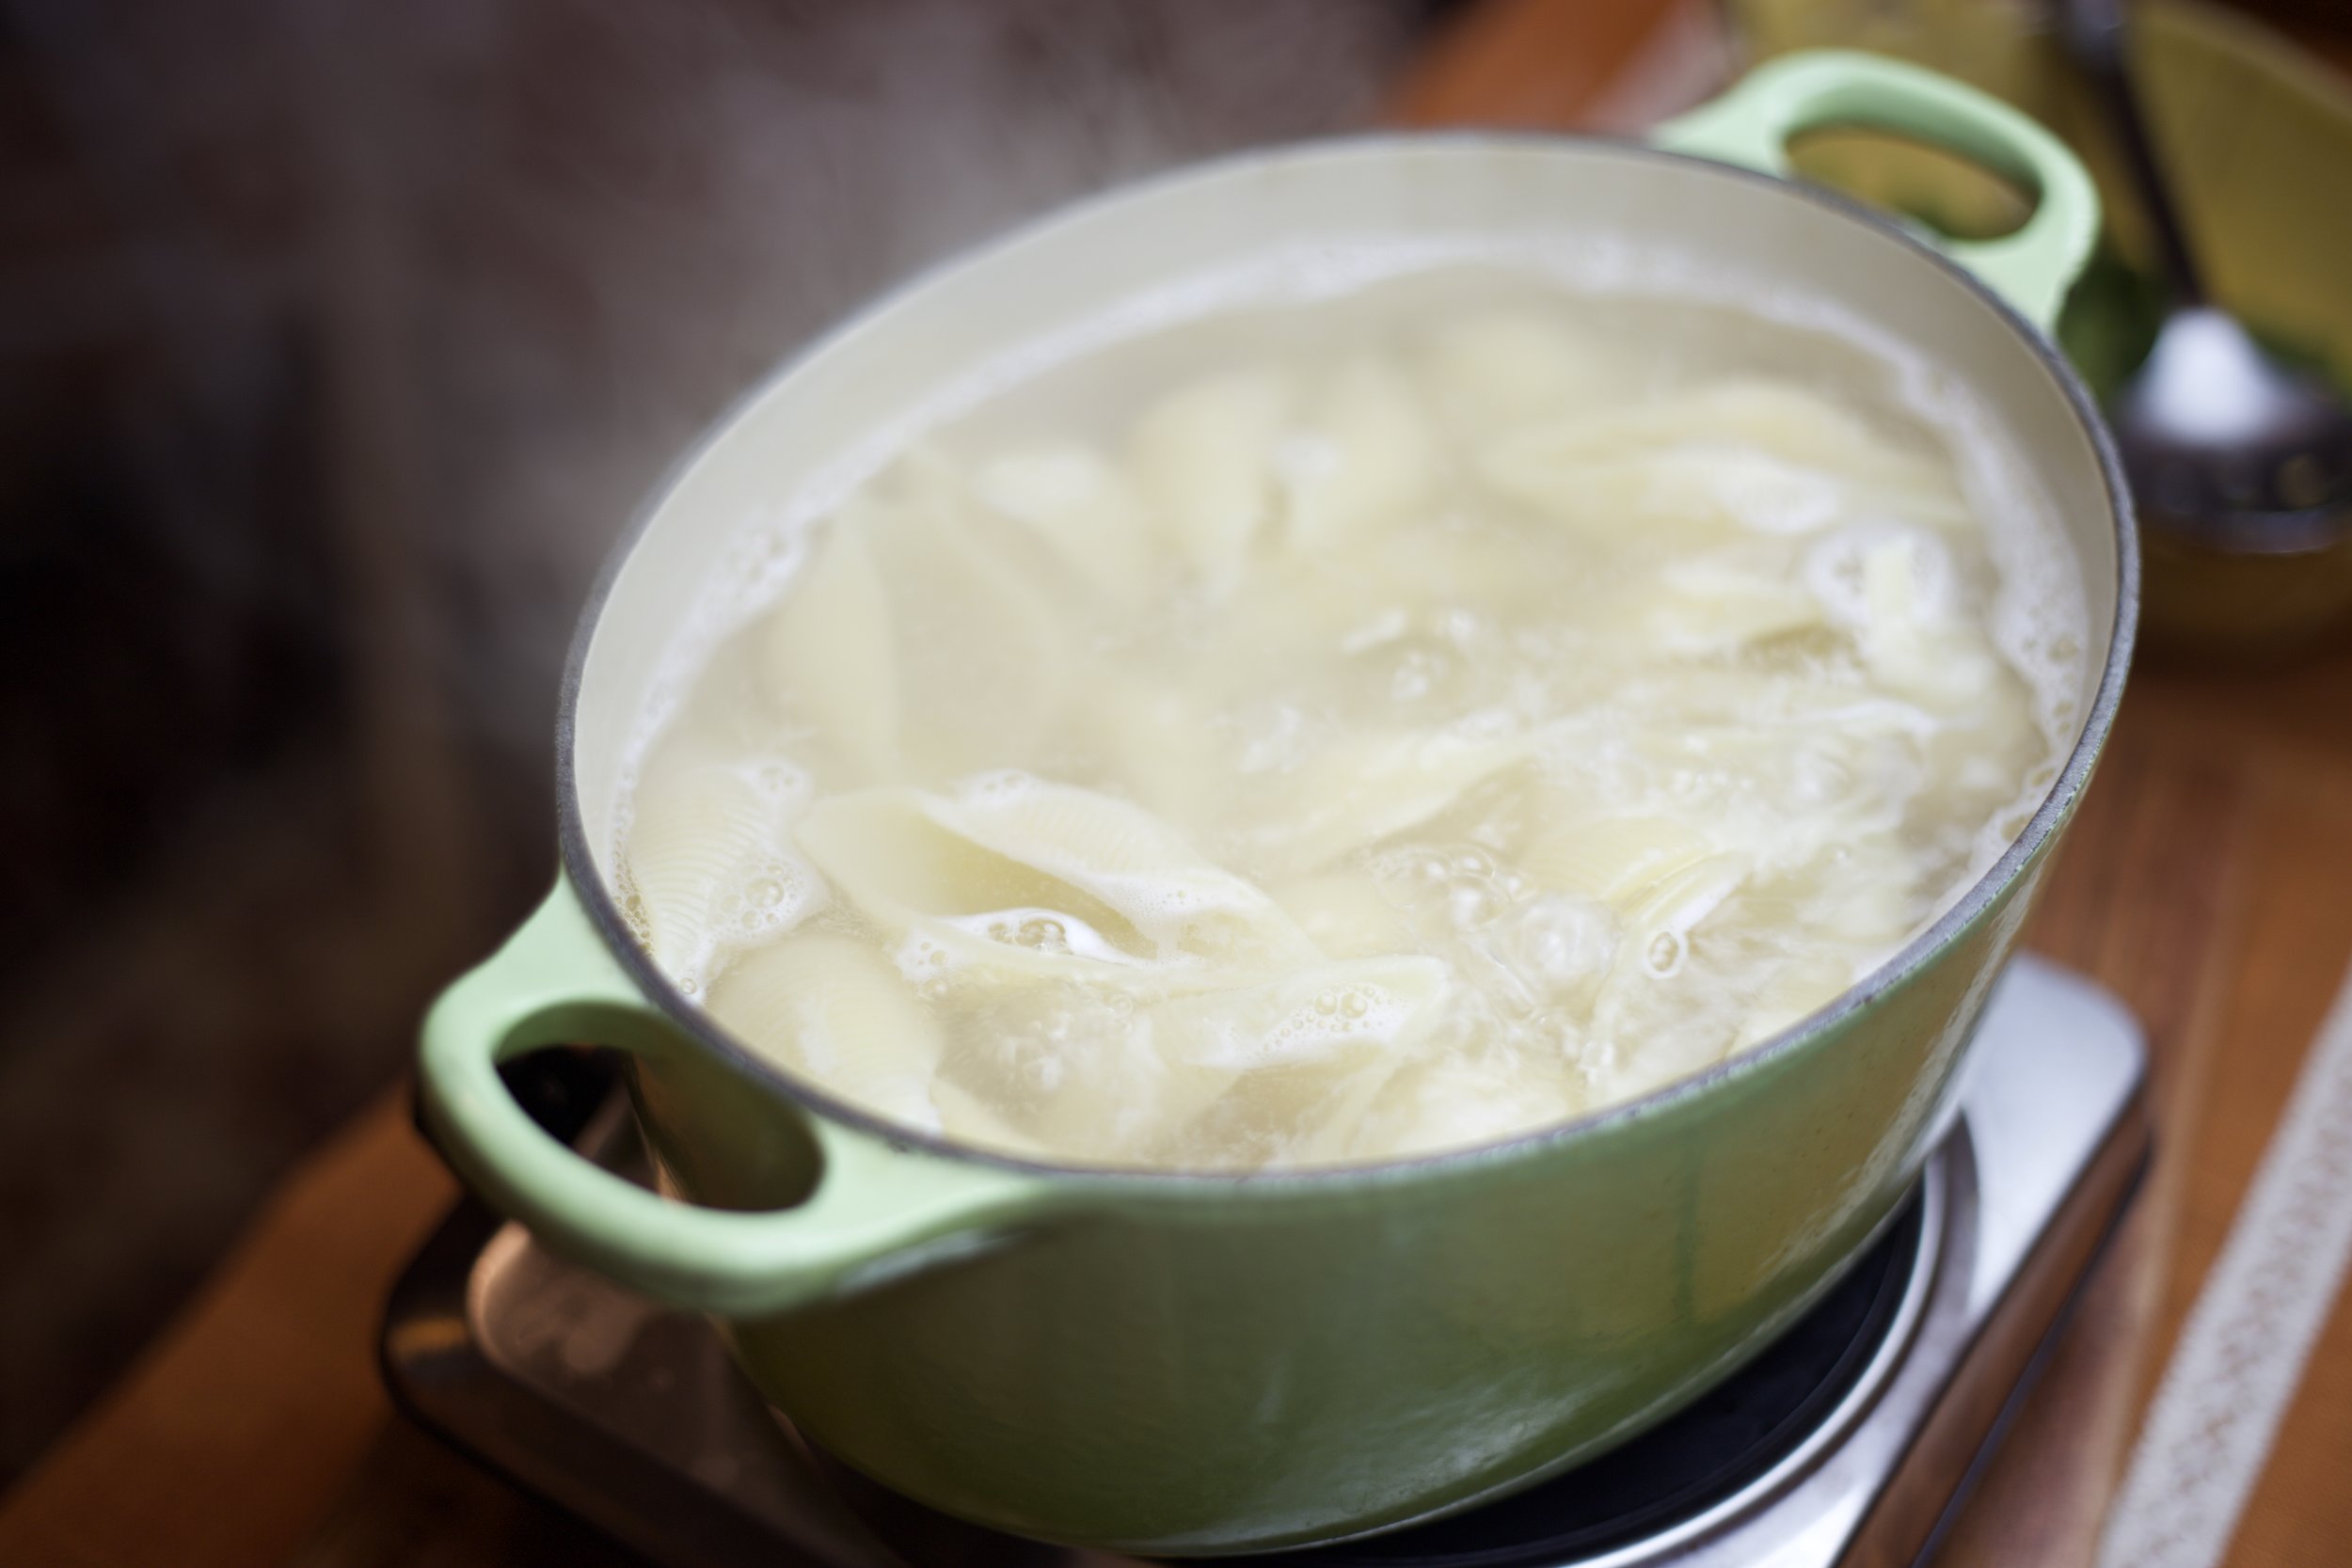
Also, shout out to my peeps at @homegoods. This place has amazing deals on furniture, cookware, throw pillows and other home goods, but I go for the gourmet grocery items at RIDICULOUSLY DISCOUNTED PRICES. Like the beautiful pasta shells you see here. A giant bag was only $3.99. I also got an 18 oz. bag of raw turmeric powder for $5.99 and a bag of banana flour for $3.99 (I mean wtf is banana flour? I'm so pumped to try it, and when it's that cheap, one can afford to experiment. Neat-o).
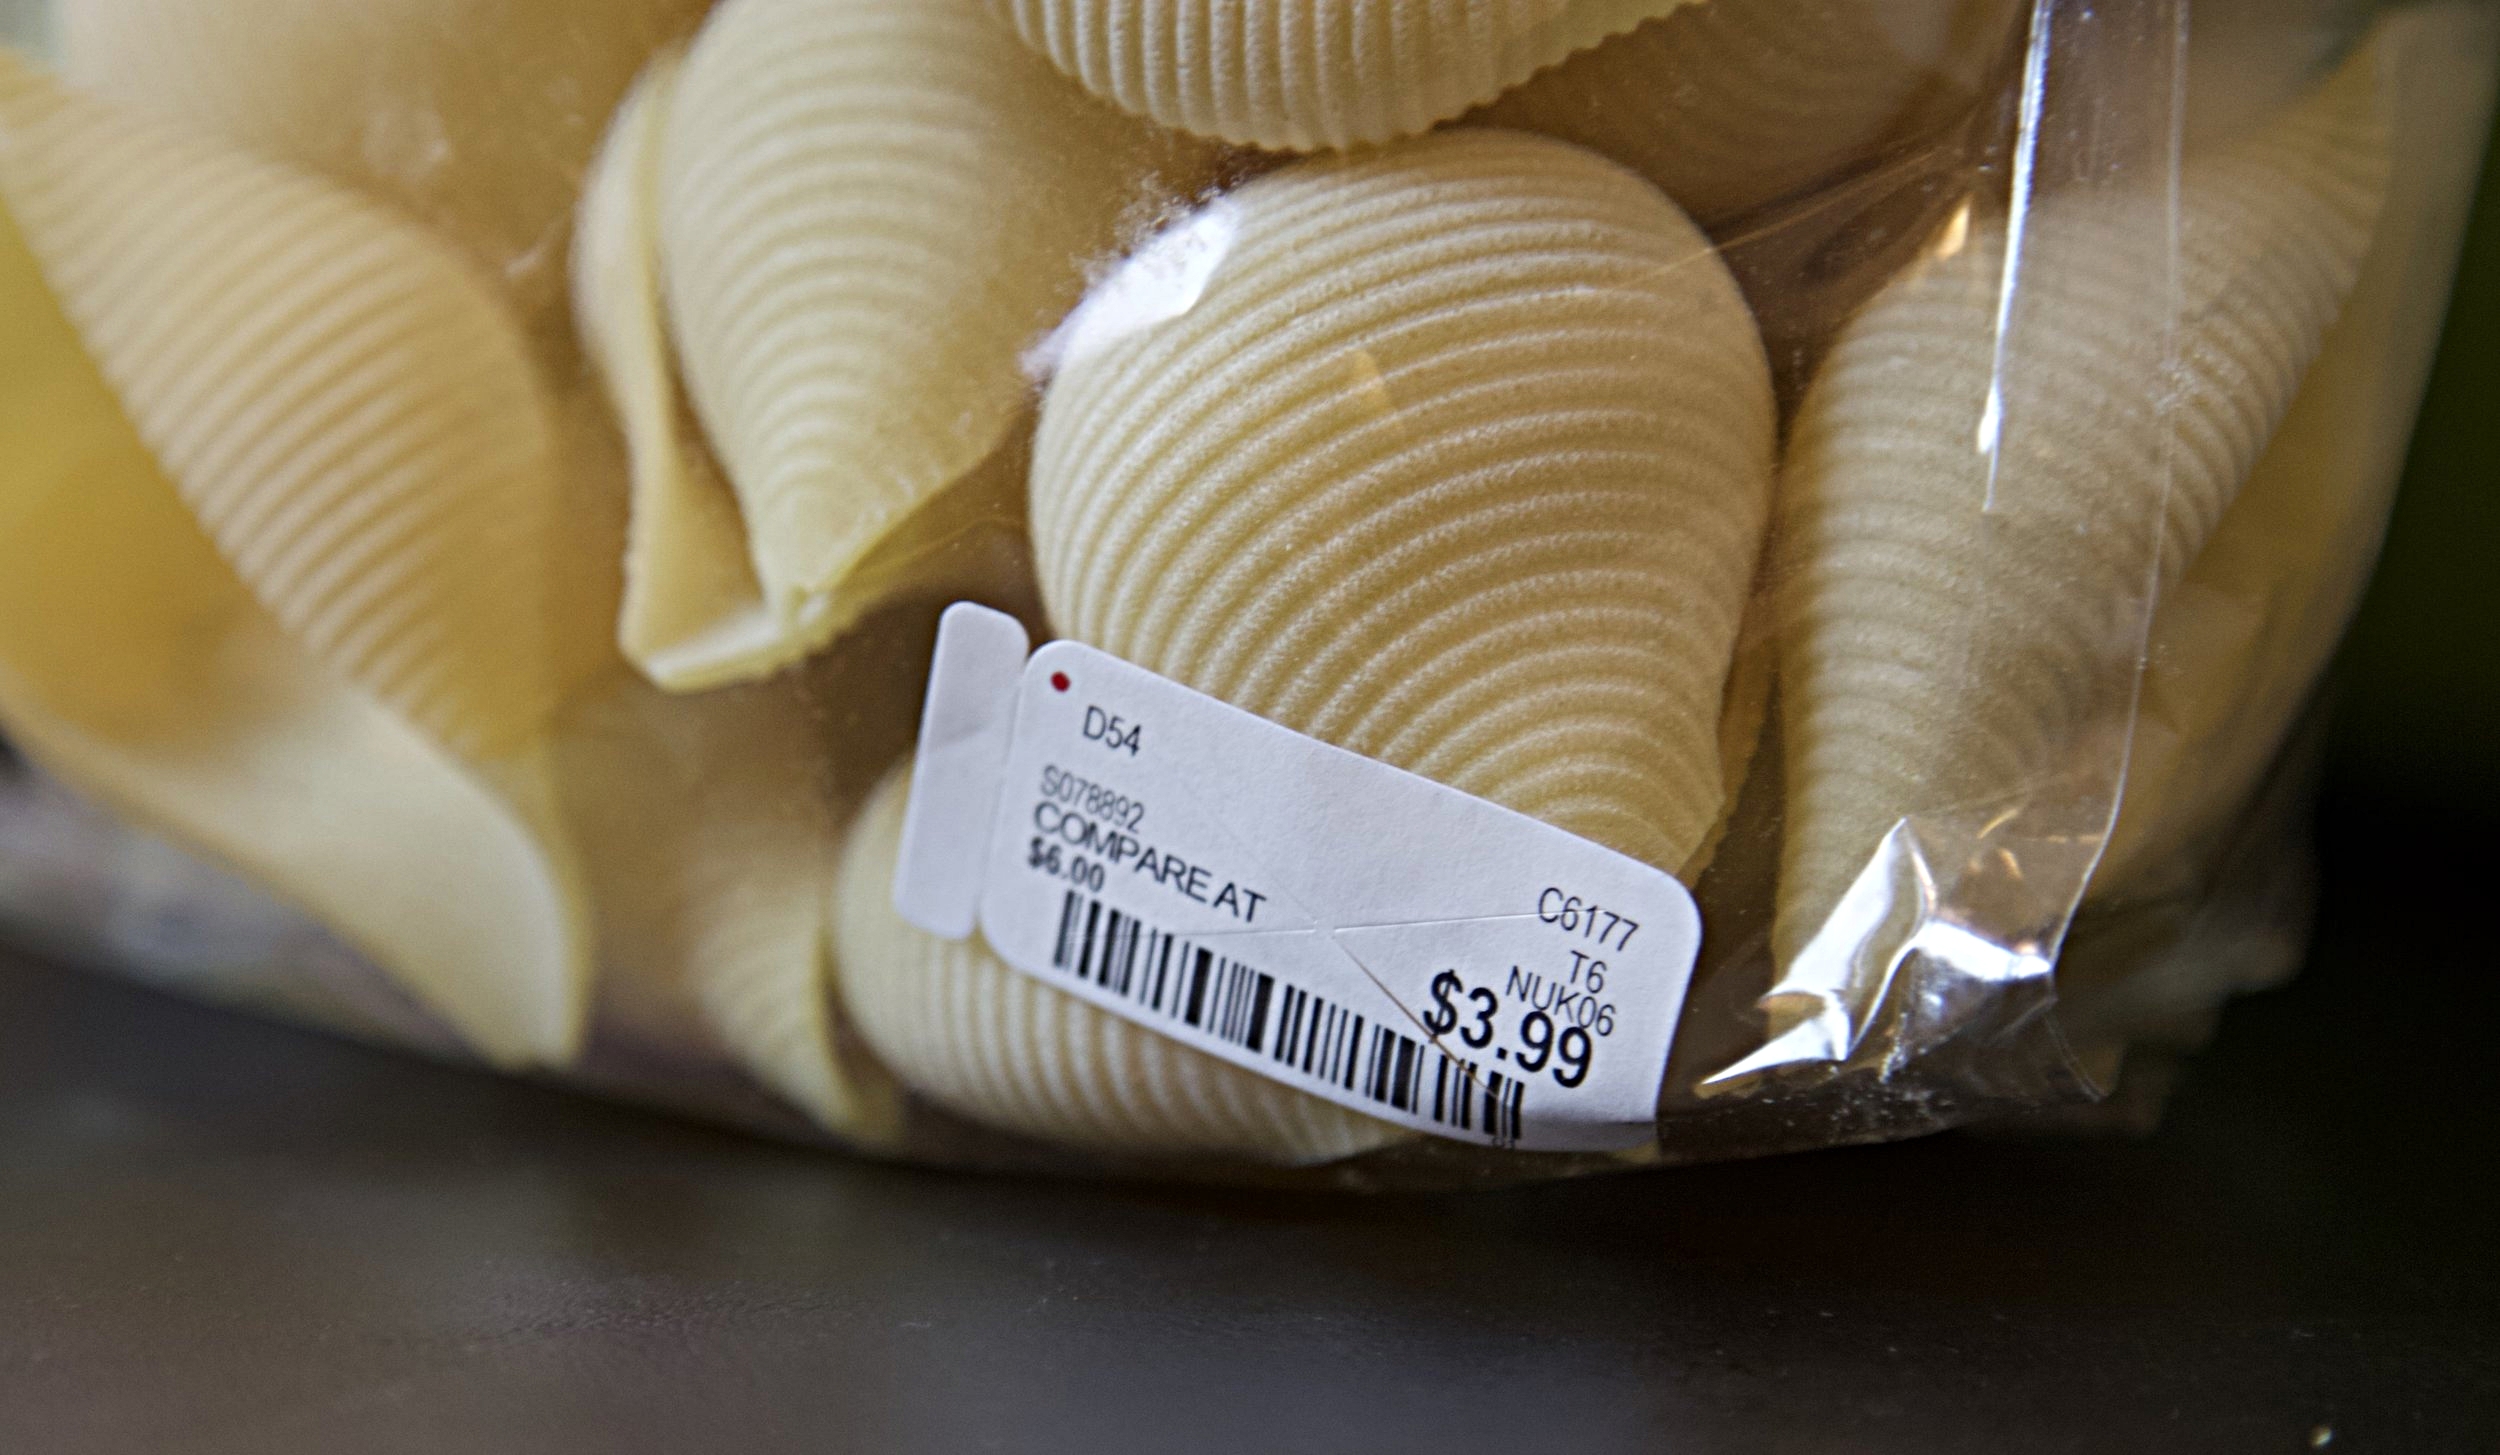
Pasta from Home Goods
INGREDIENTS:
- 1 bag of vegan friendly pasta (any will do!)
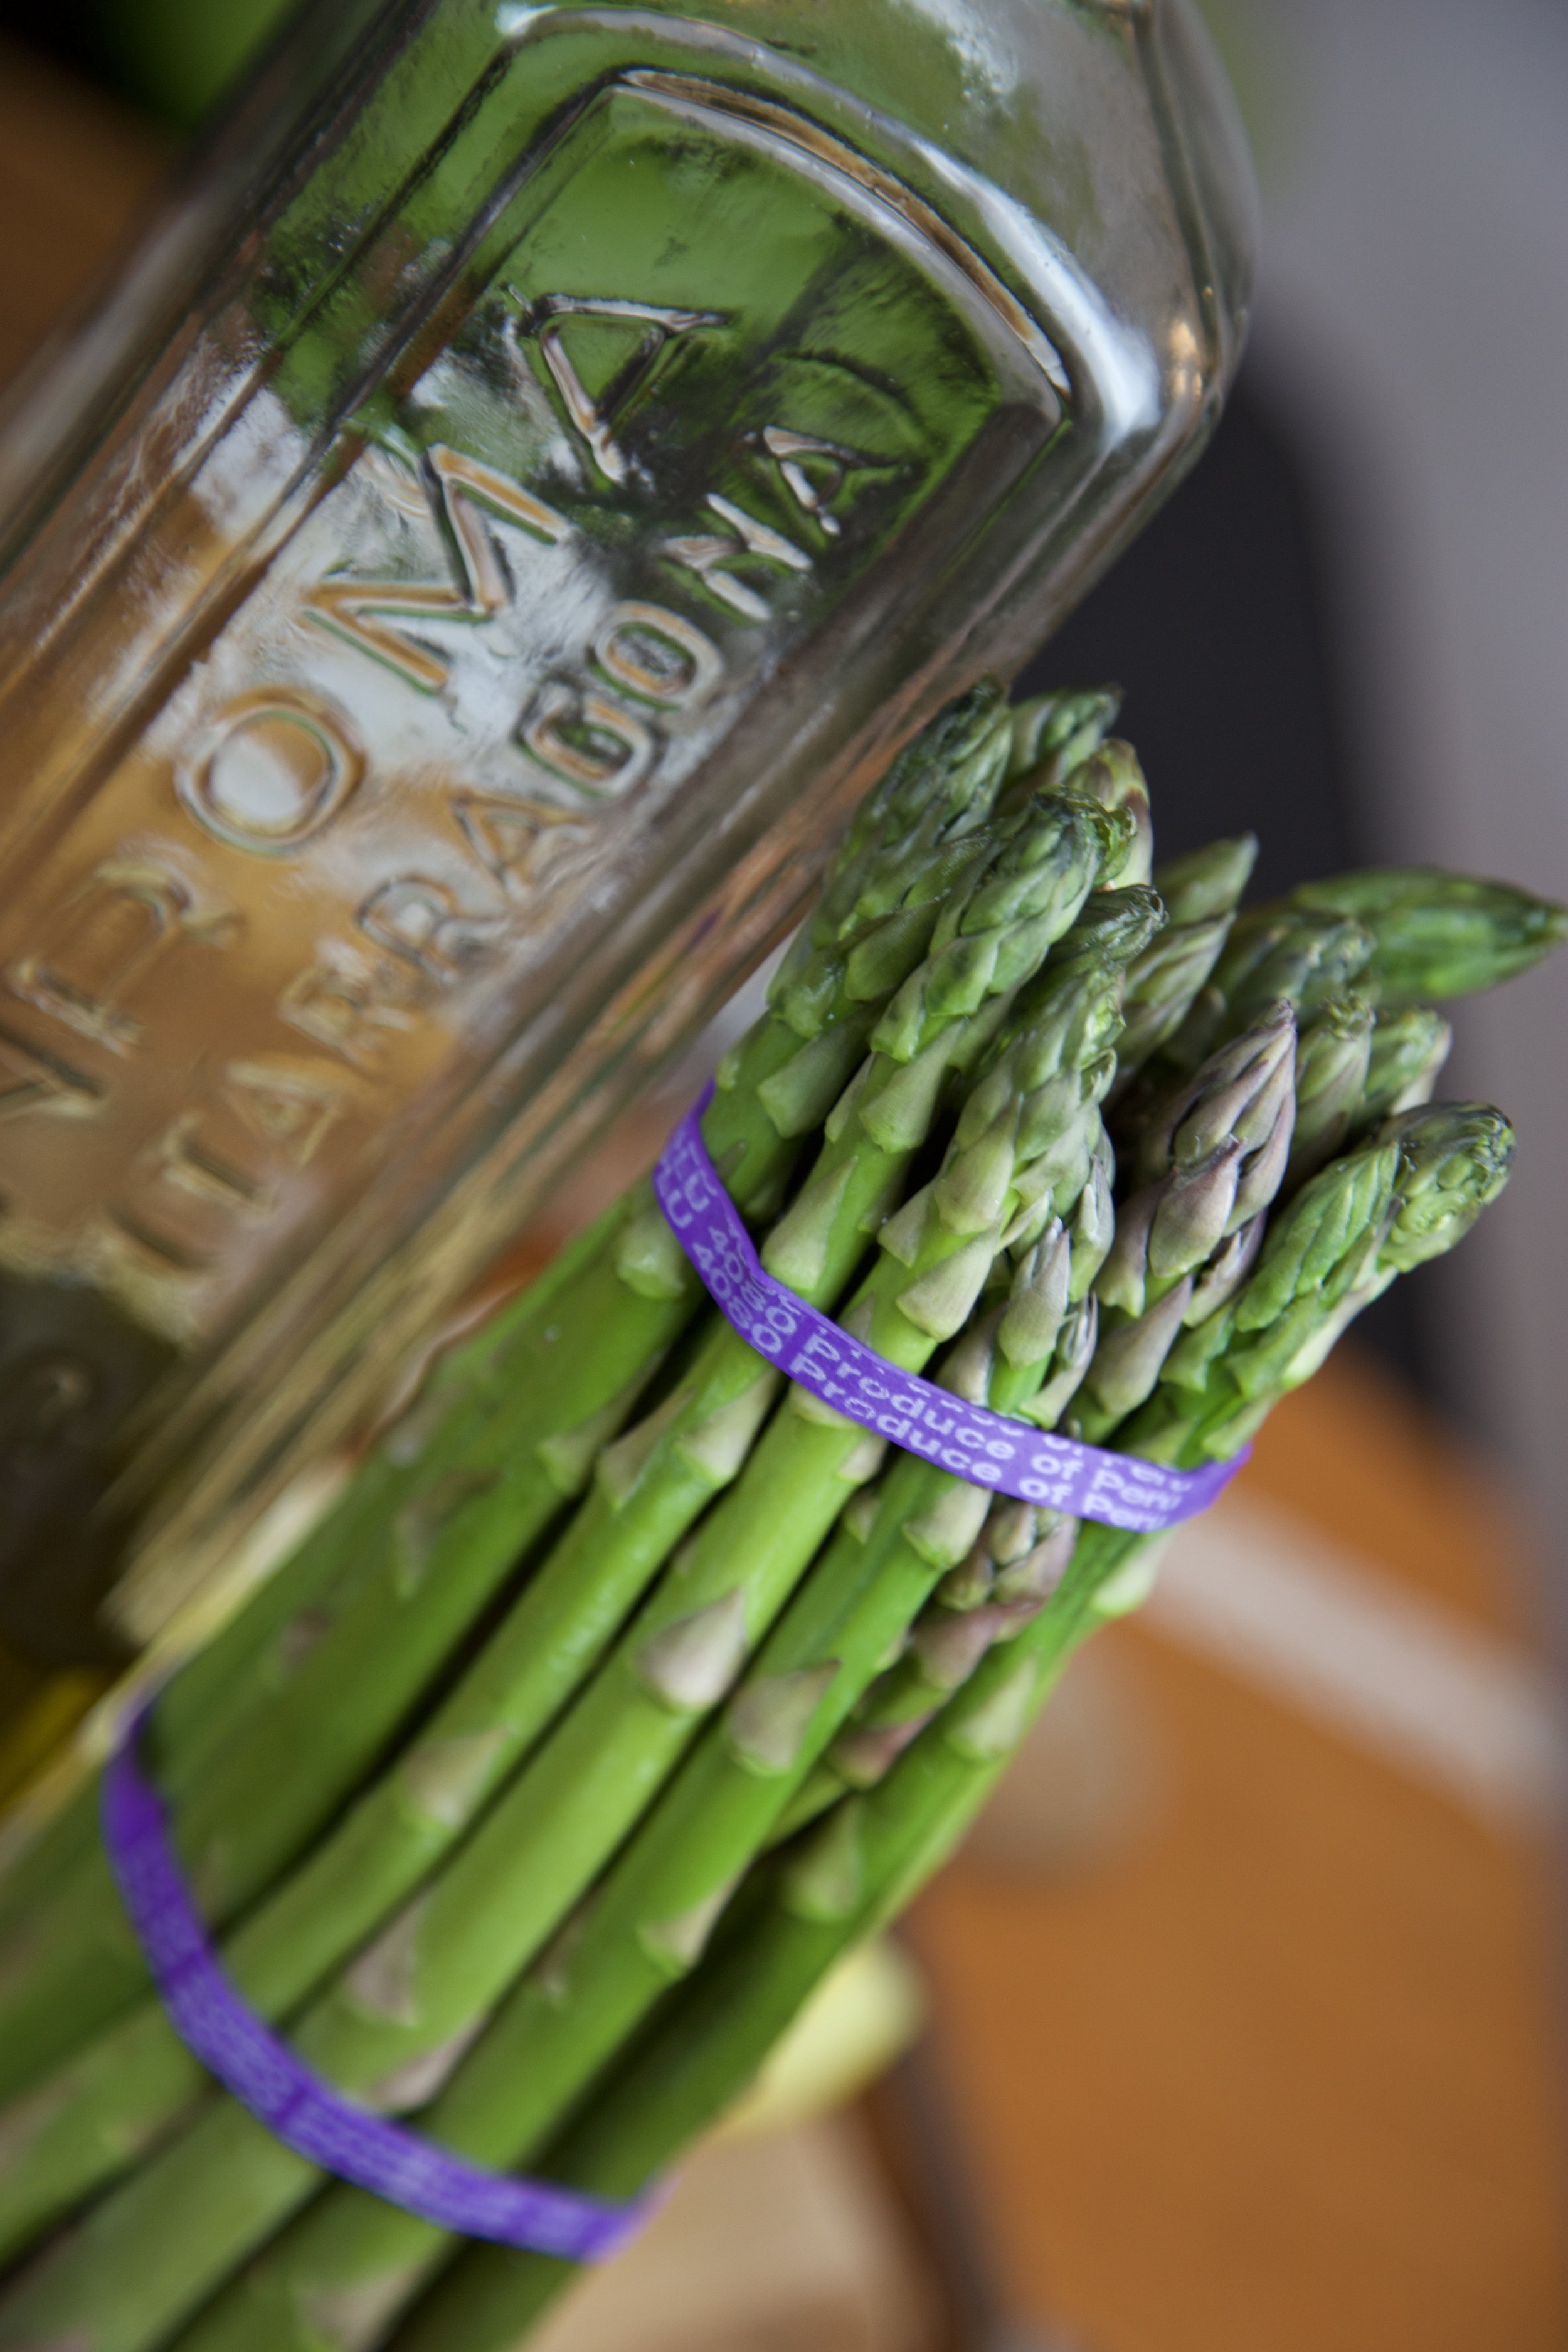
- 1 head/bunch of fresh asparagus
- 2 lemons (including about 1 TBSP of zest)
- 1 cup sugar snap peas (de-podded, or English peas)
- 2 TBSP olive oil
- .5 teaspoon Himalayan pink sea salt
- Pepper to taste


DIRECTIONS:
- Before you start, get everything ready. De-pod your peas if necessary, zest one whole lemon, and thinly slice the same lemon (or a fresh one) and place on a baking sheet. Pre-heat oven to 400º
- Bring pot of water to a boil.
- Slice the asparagus tips and then proceed slicing diagonally creating 1” pieces
- Blanch in boiling water for 2.5-3 minutes (less time = more crunch)
- Drain and rinse under cool water to stop it from cooking further
- Boil another pot of water, add a dash of pink salt and add the pasta. Cook according to the package directions (again, less time = al dente pasta, which is my personal preference)
- Meanwhile, put your lemon slices in the oven and cook for 15ish minutes (or until as blackened as you want)
- Once pasta is cooked to desired tenderness, drain and rinse with cool water
- Add the olive oil
- Squeeze the juice from 1 whole lemon
- Now toss
- Next add the asparagus
- Add the peas
- Add about 1 TBSP of lemon zest
- Add salt and pepper
- Lastly, remove the lemons from oven and gently lay on top of pasta for presentation
For a step by step tutorial, see video below!
Musis by Podington Bear, Kid is Frangin', soundofpicture.com