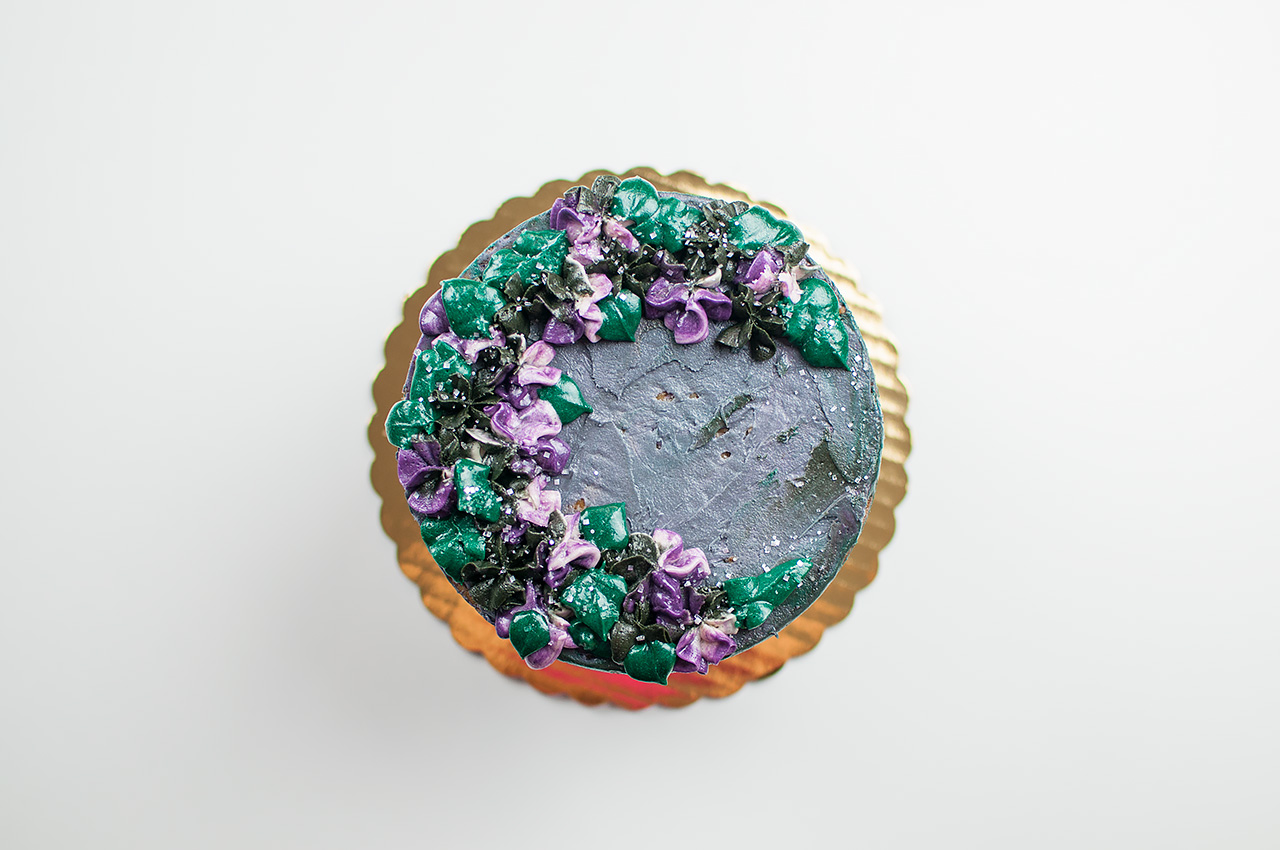
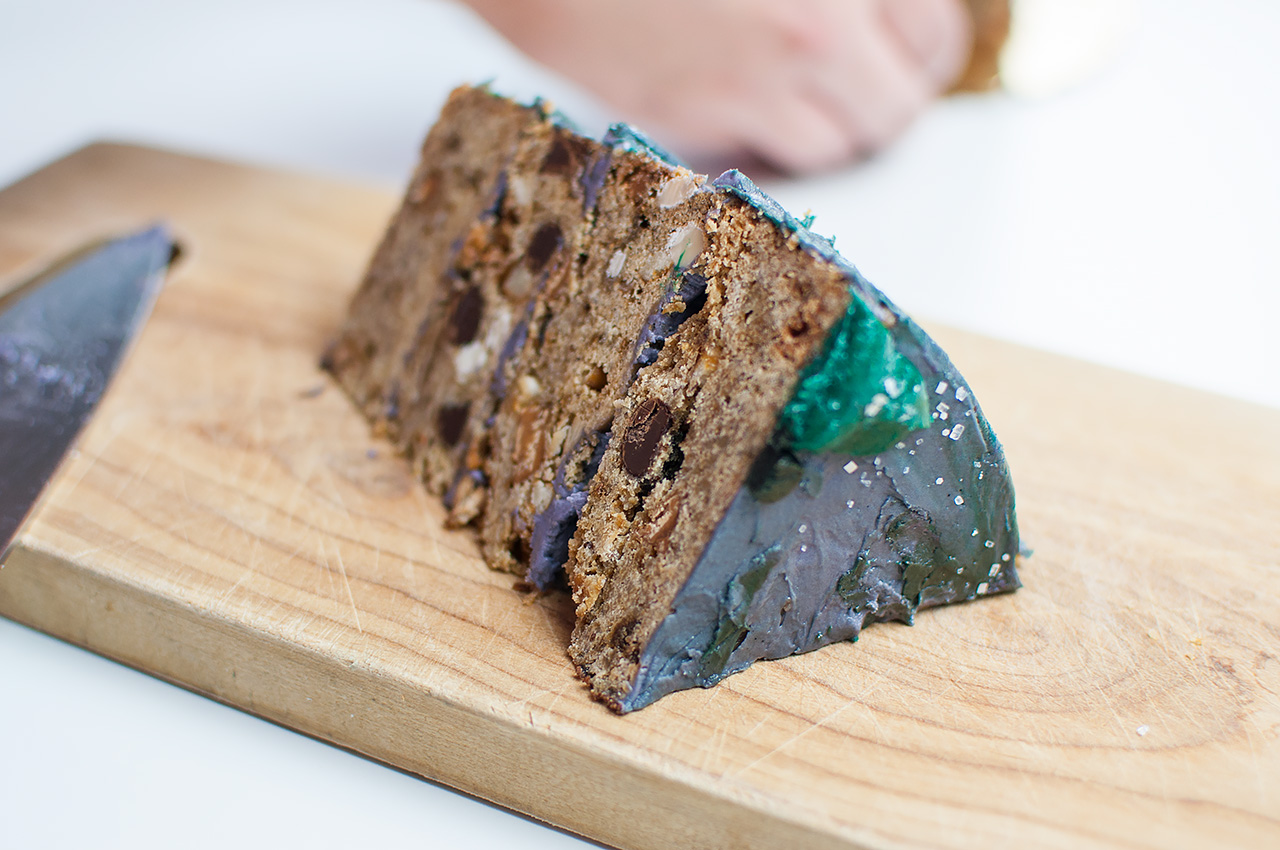
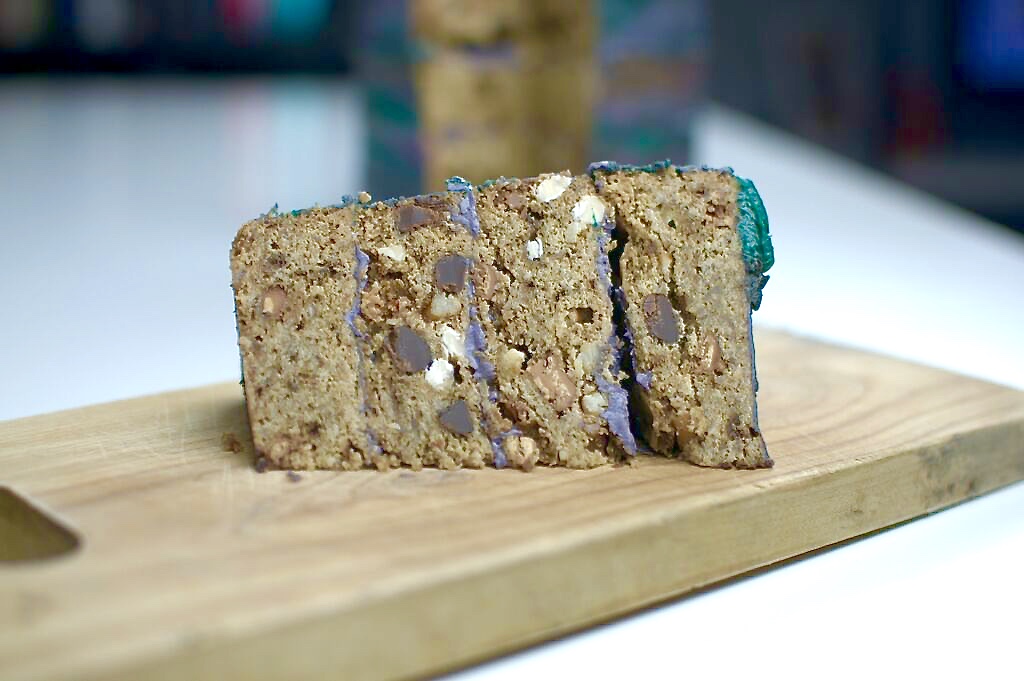
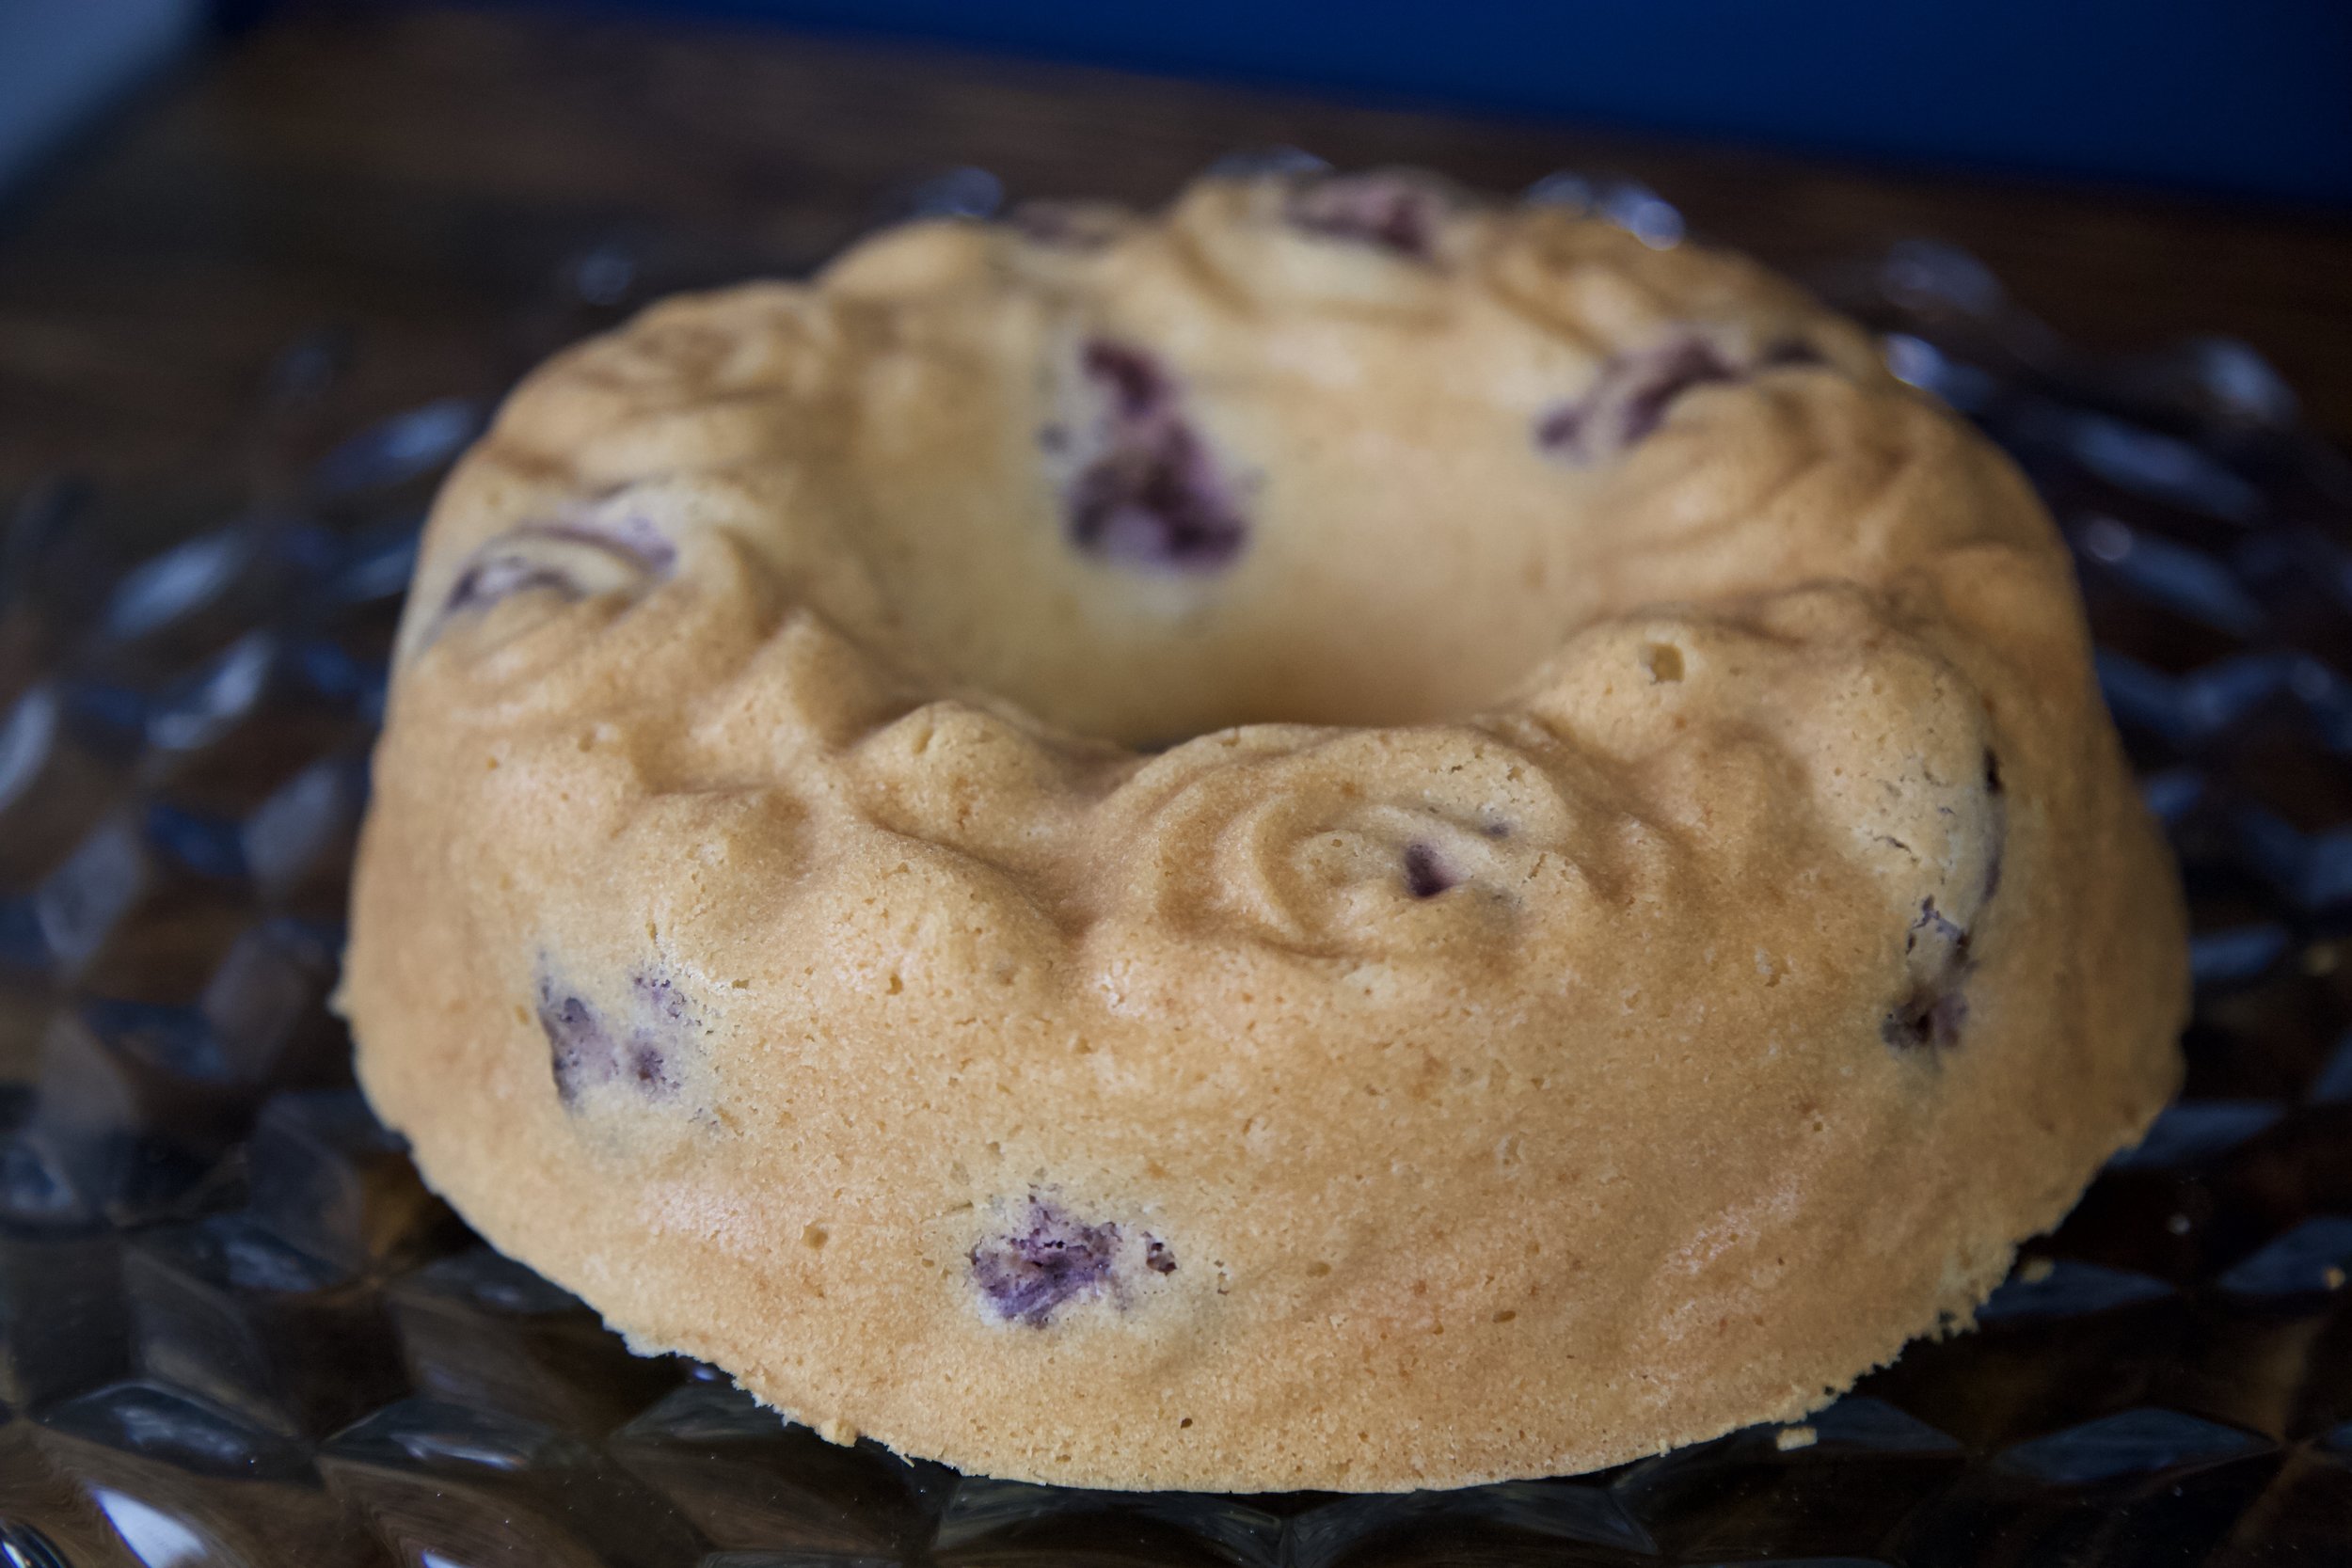
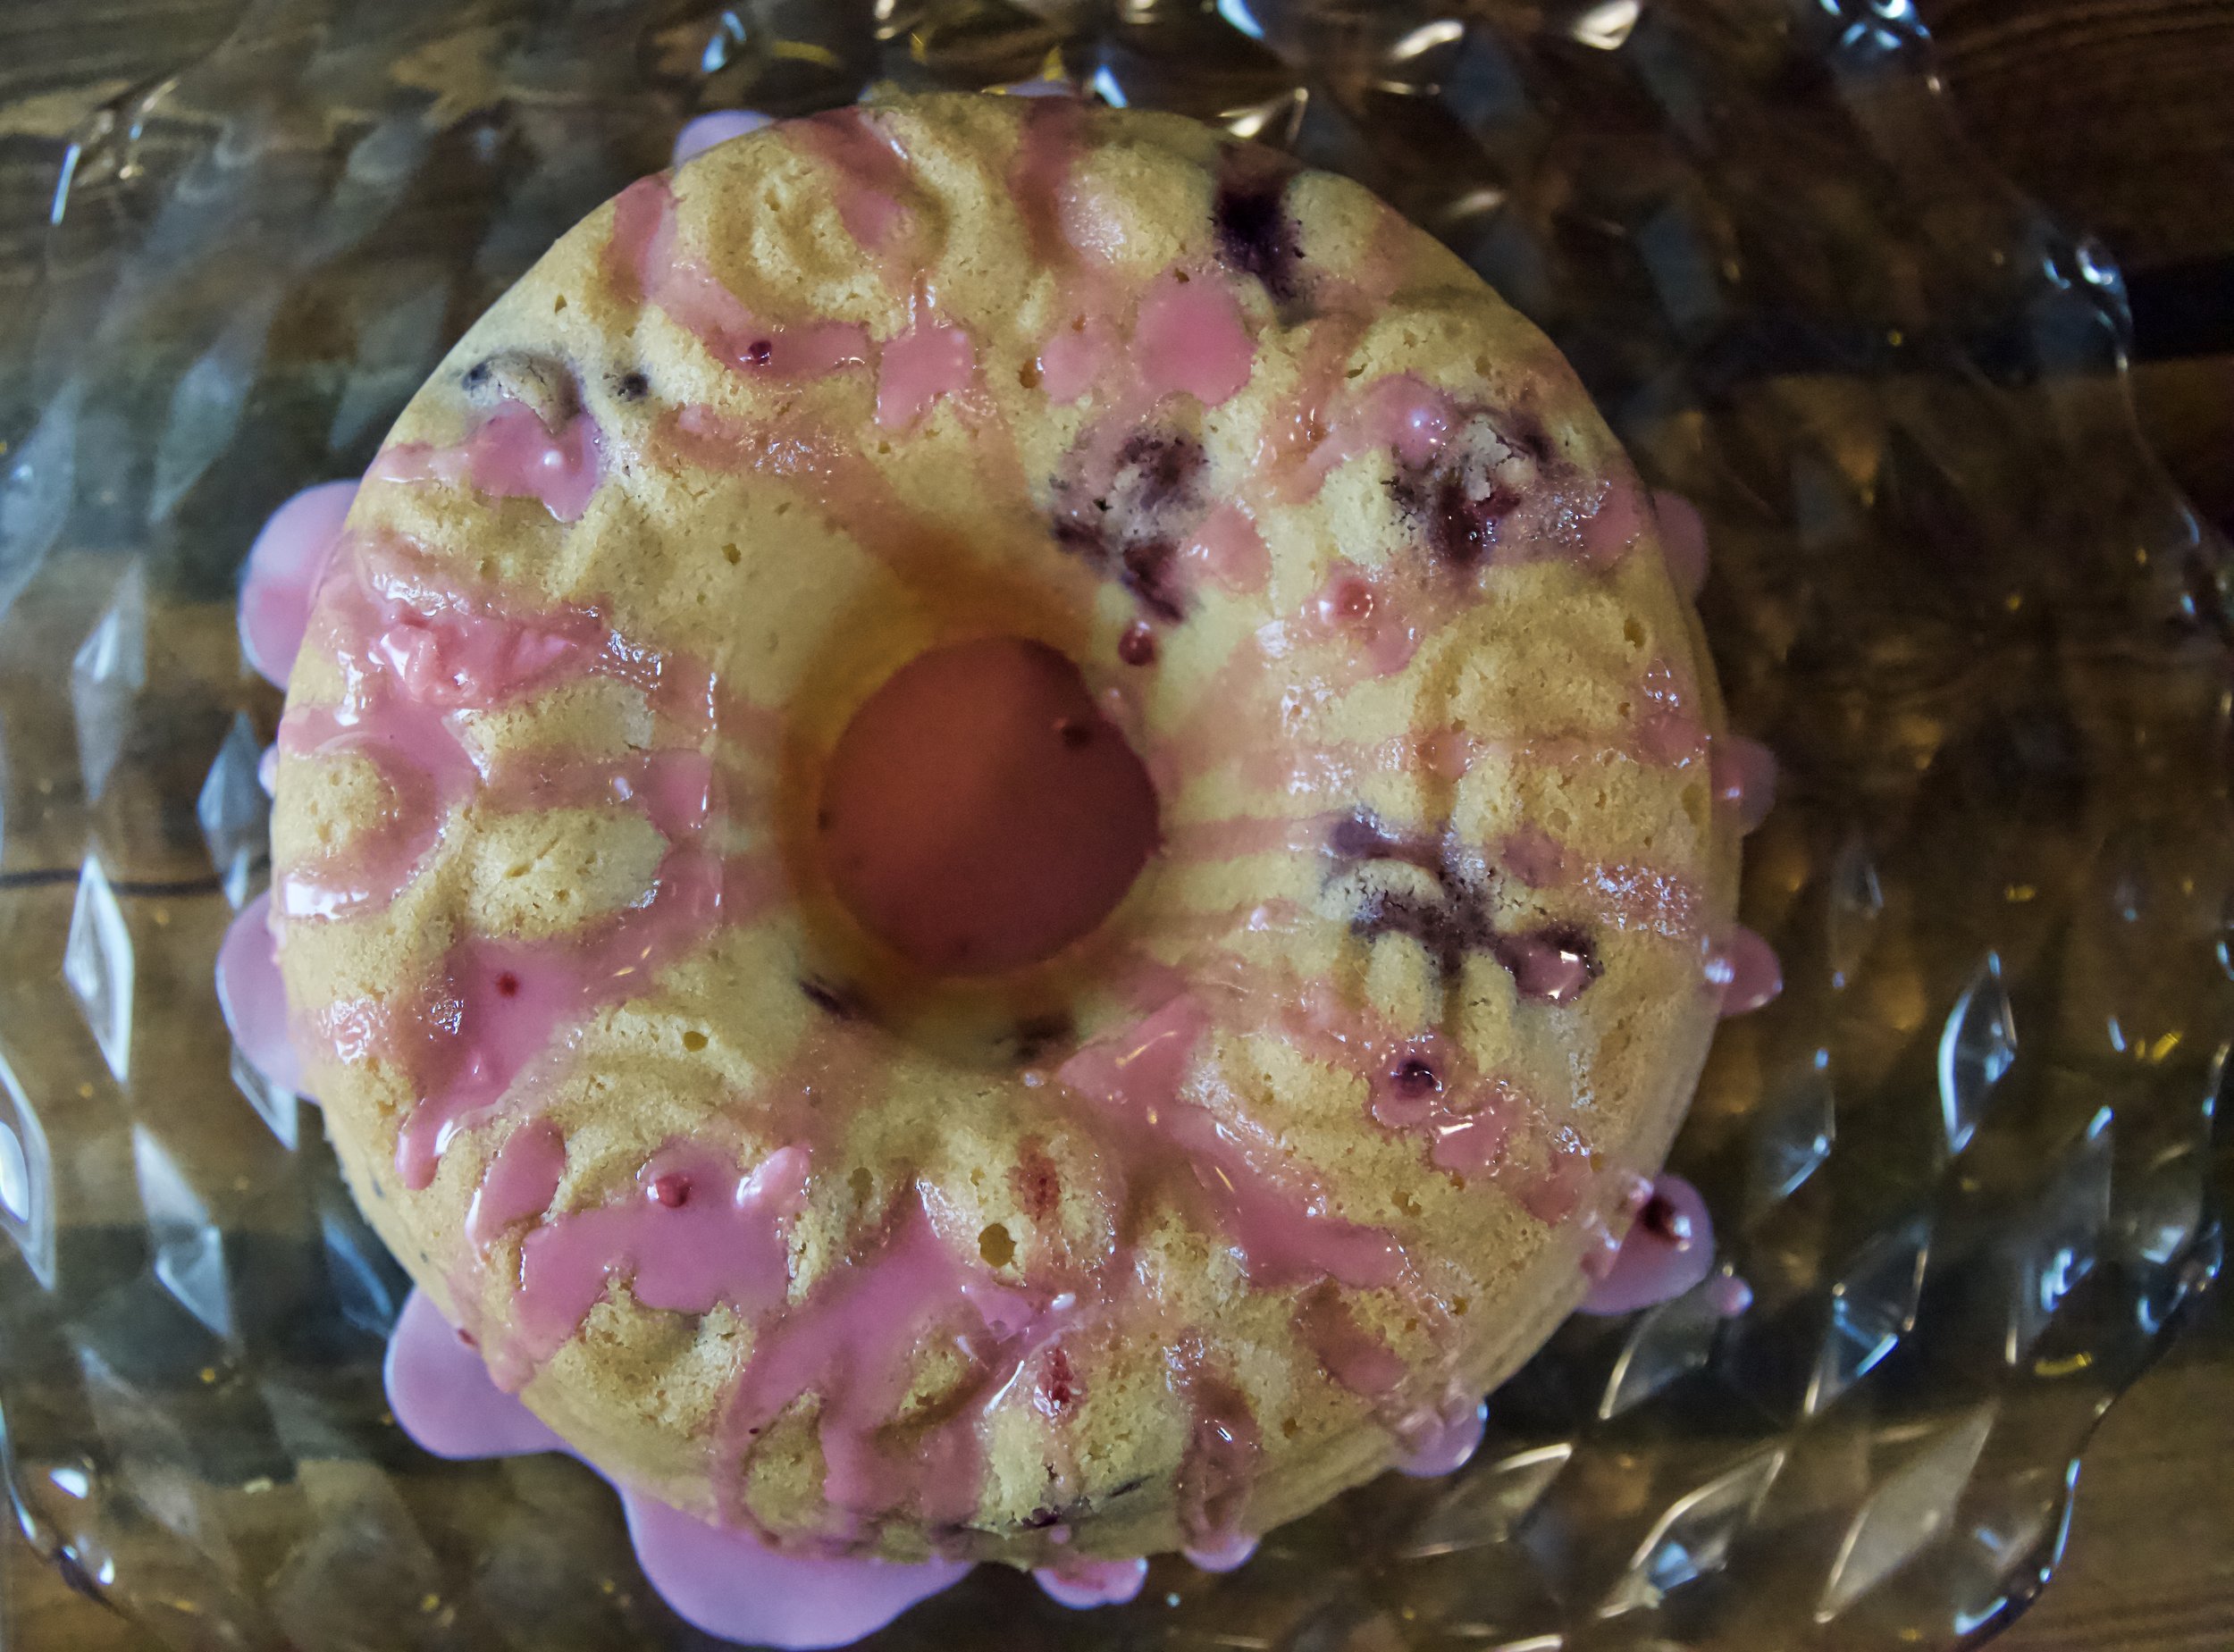
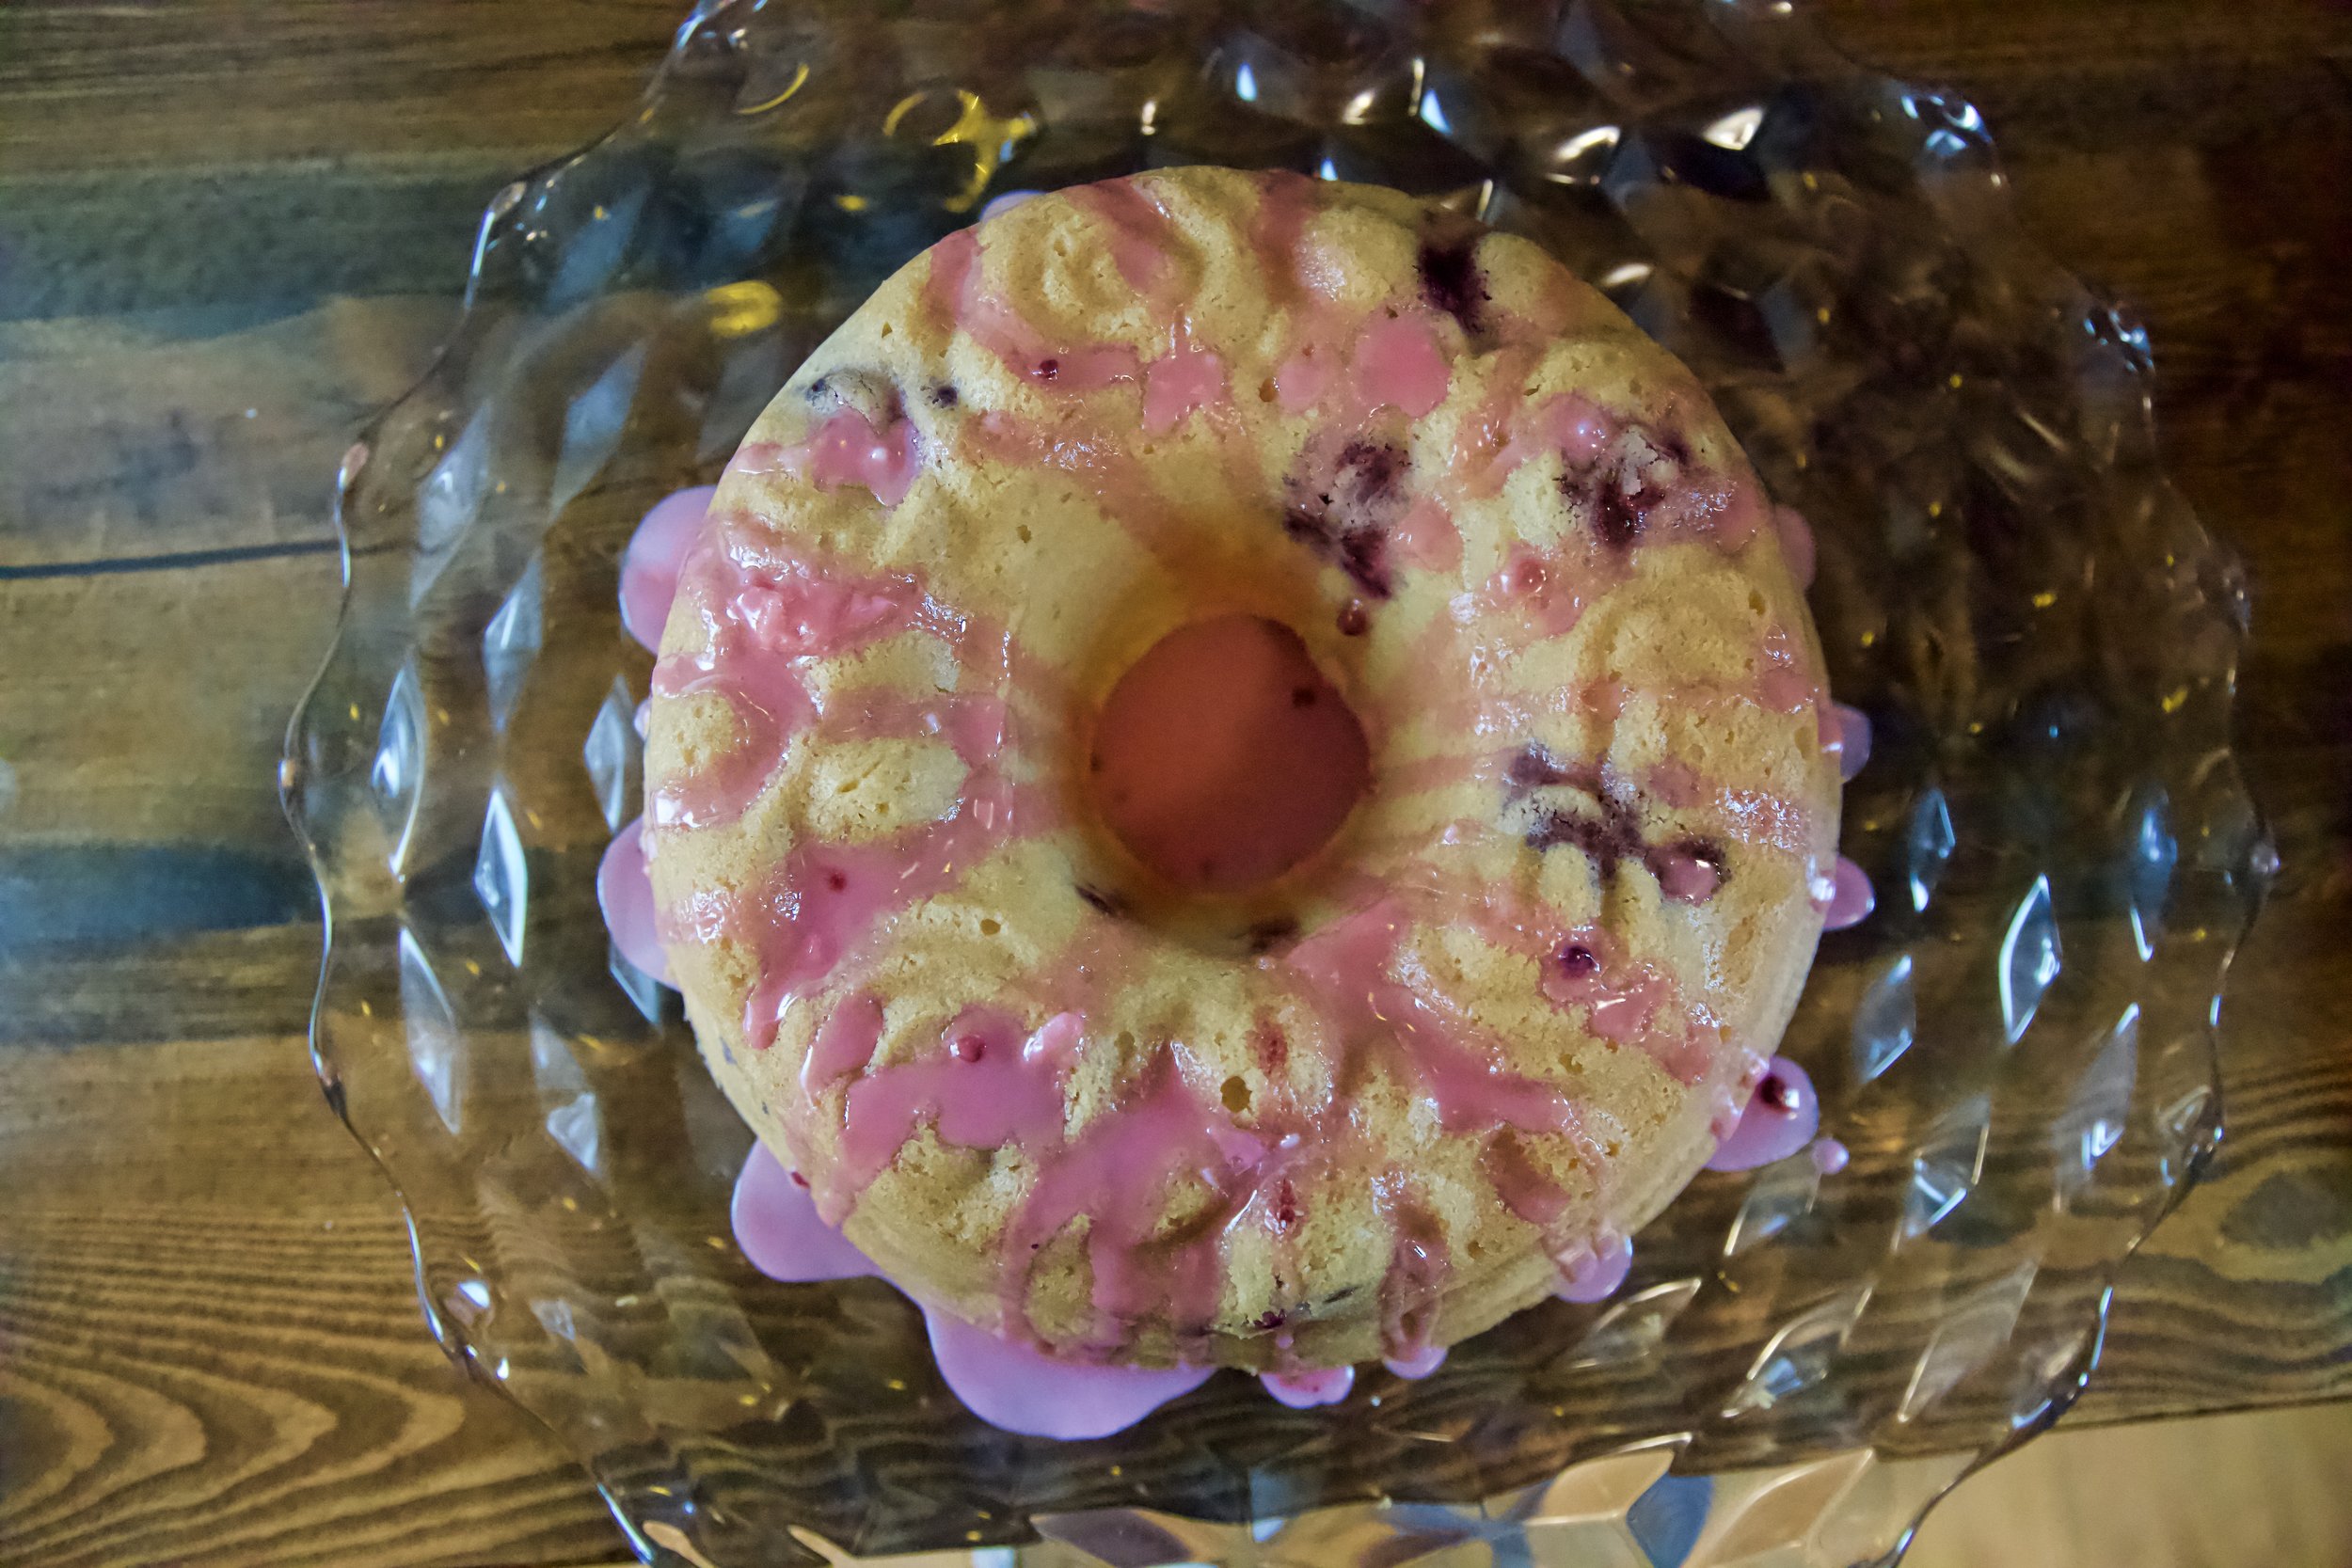
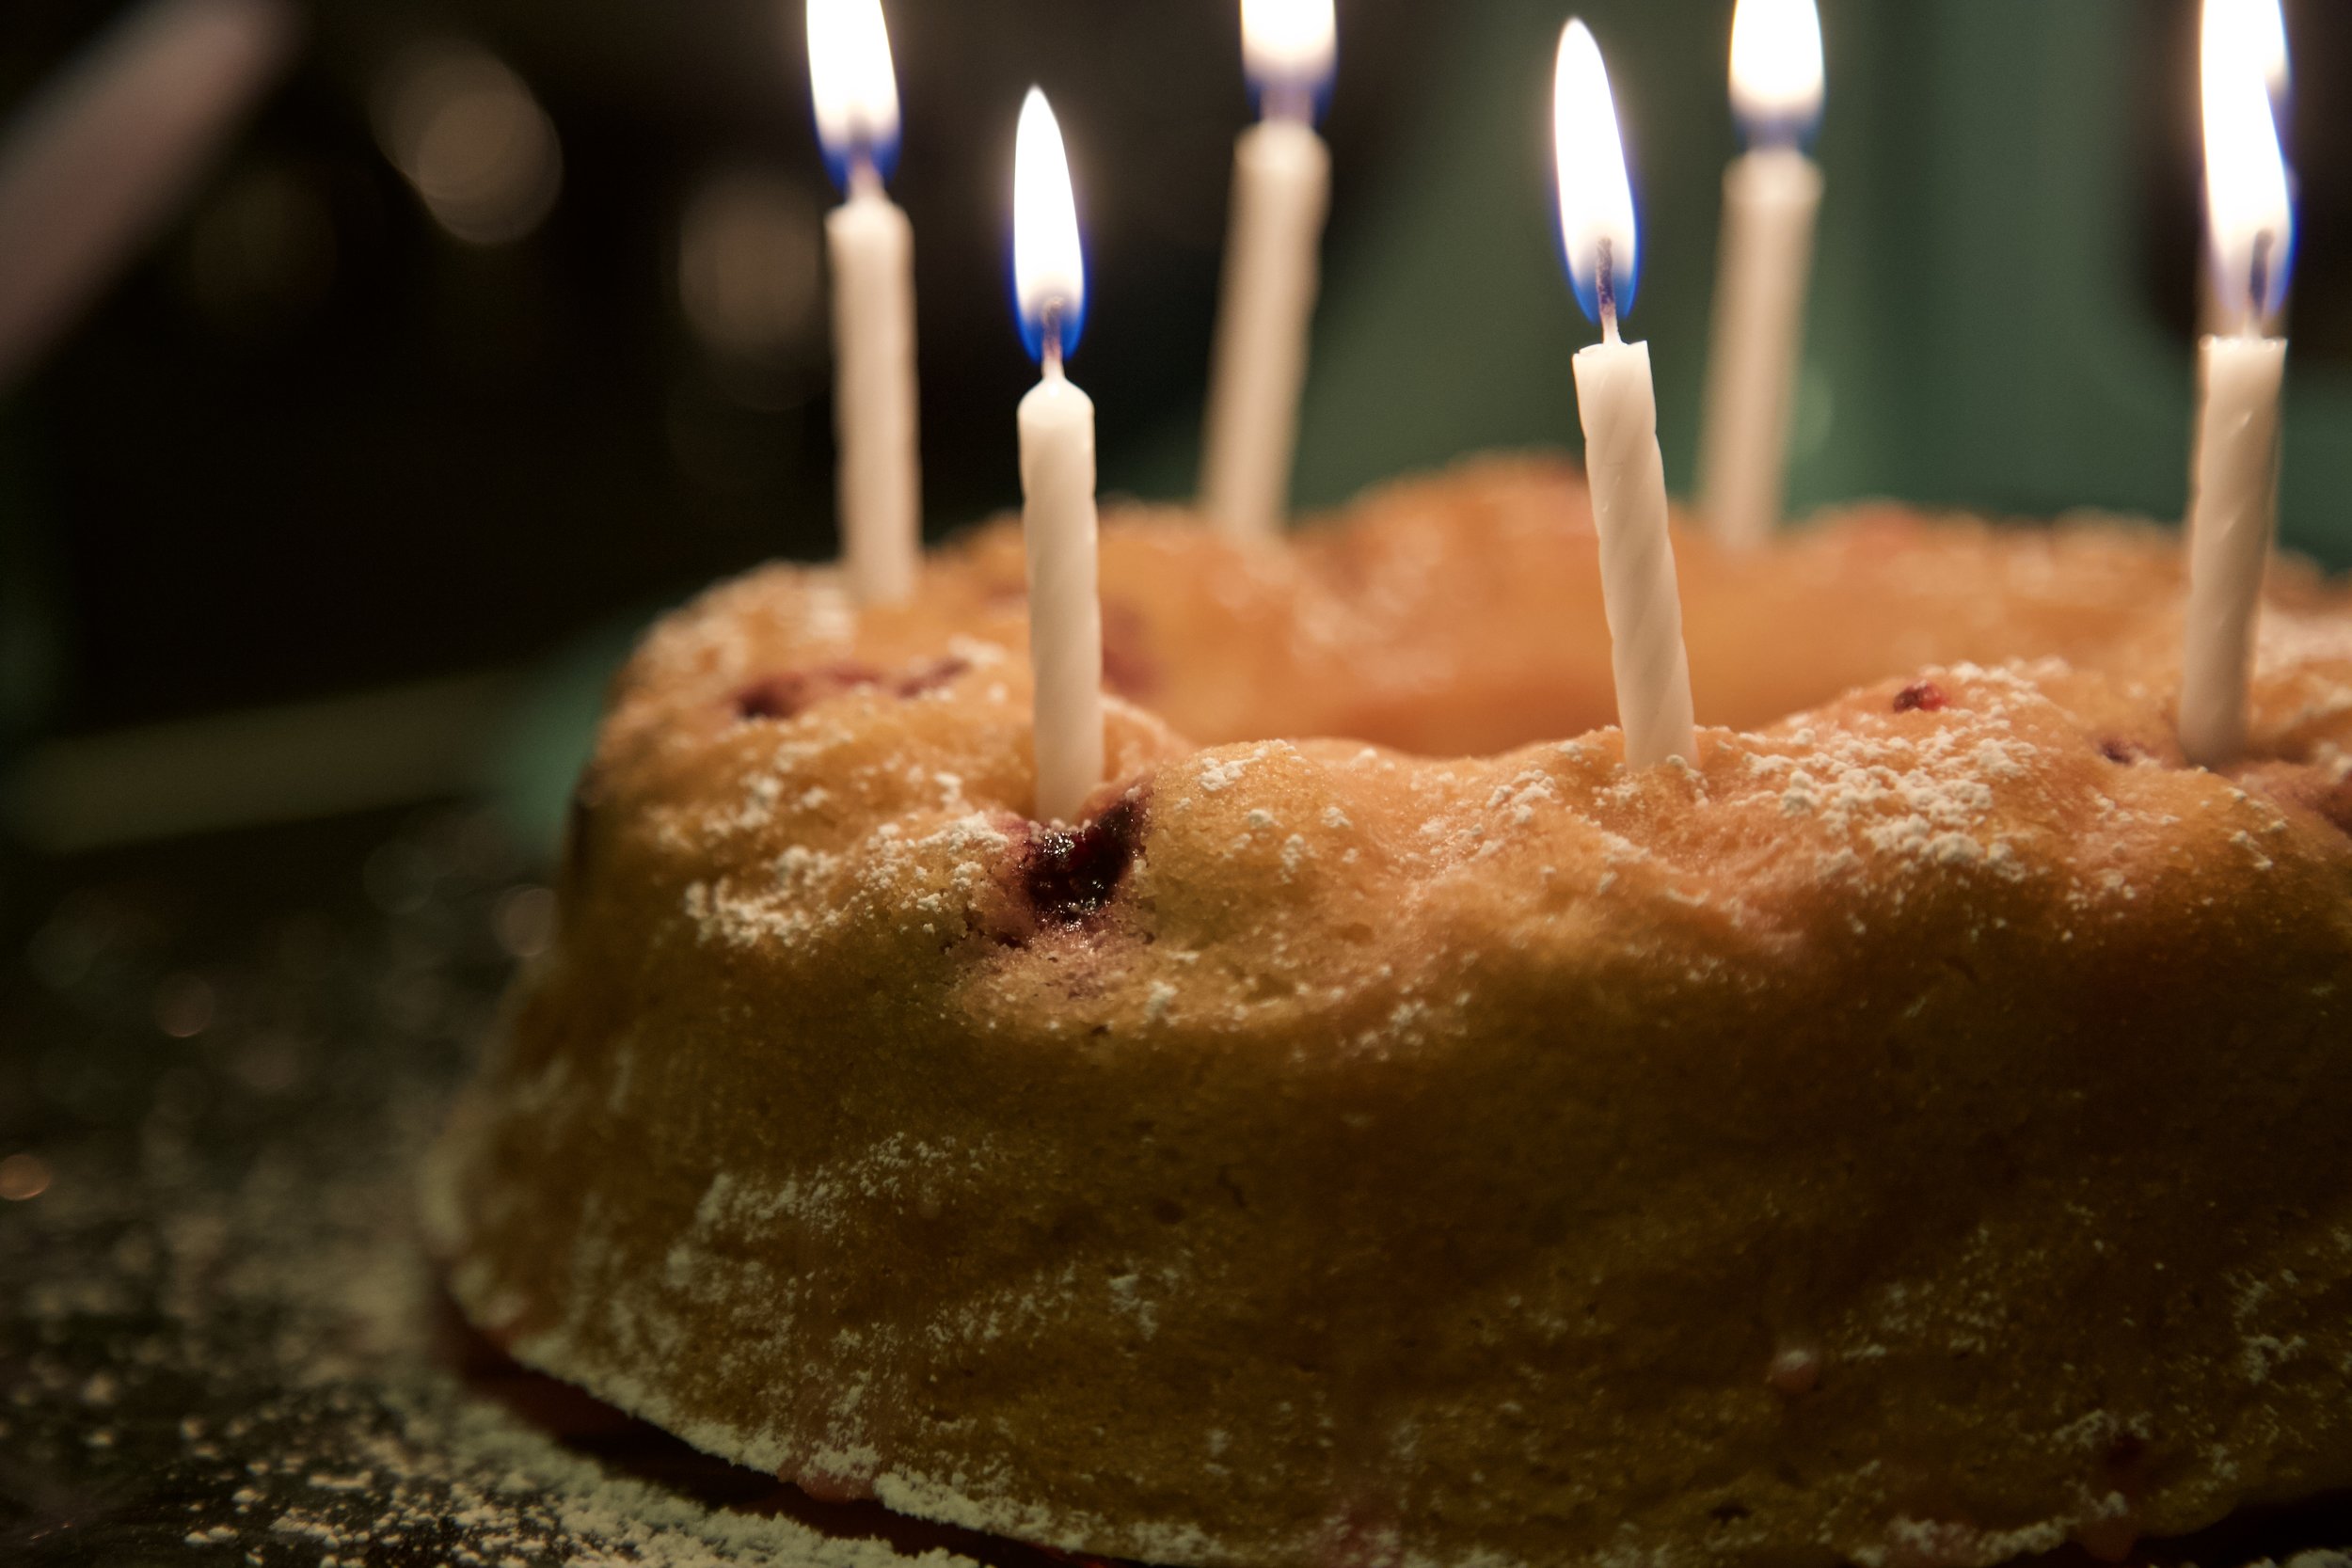
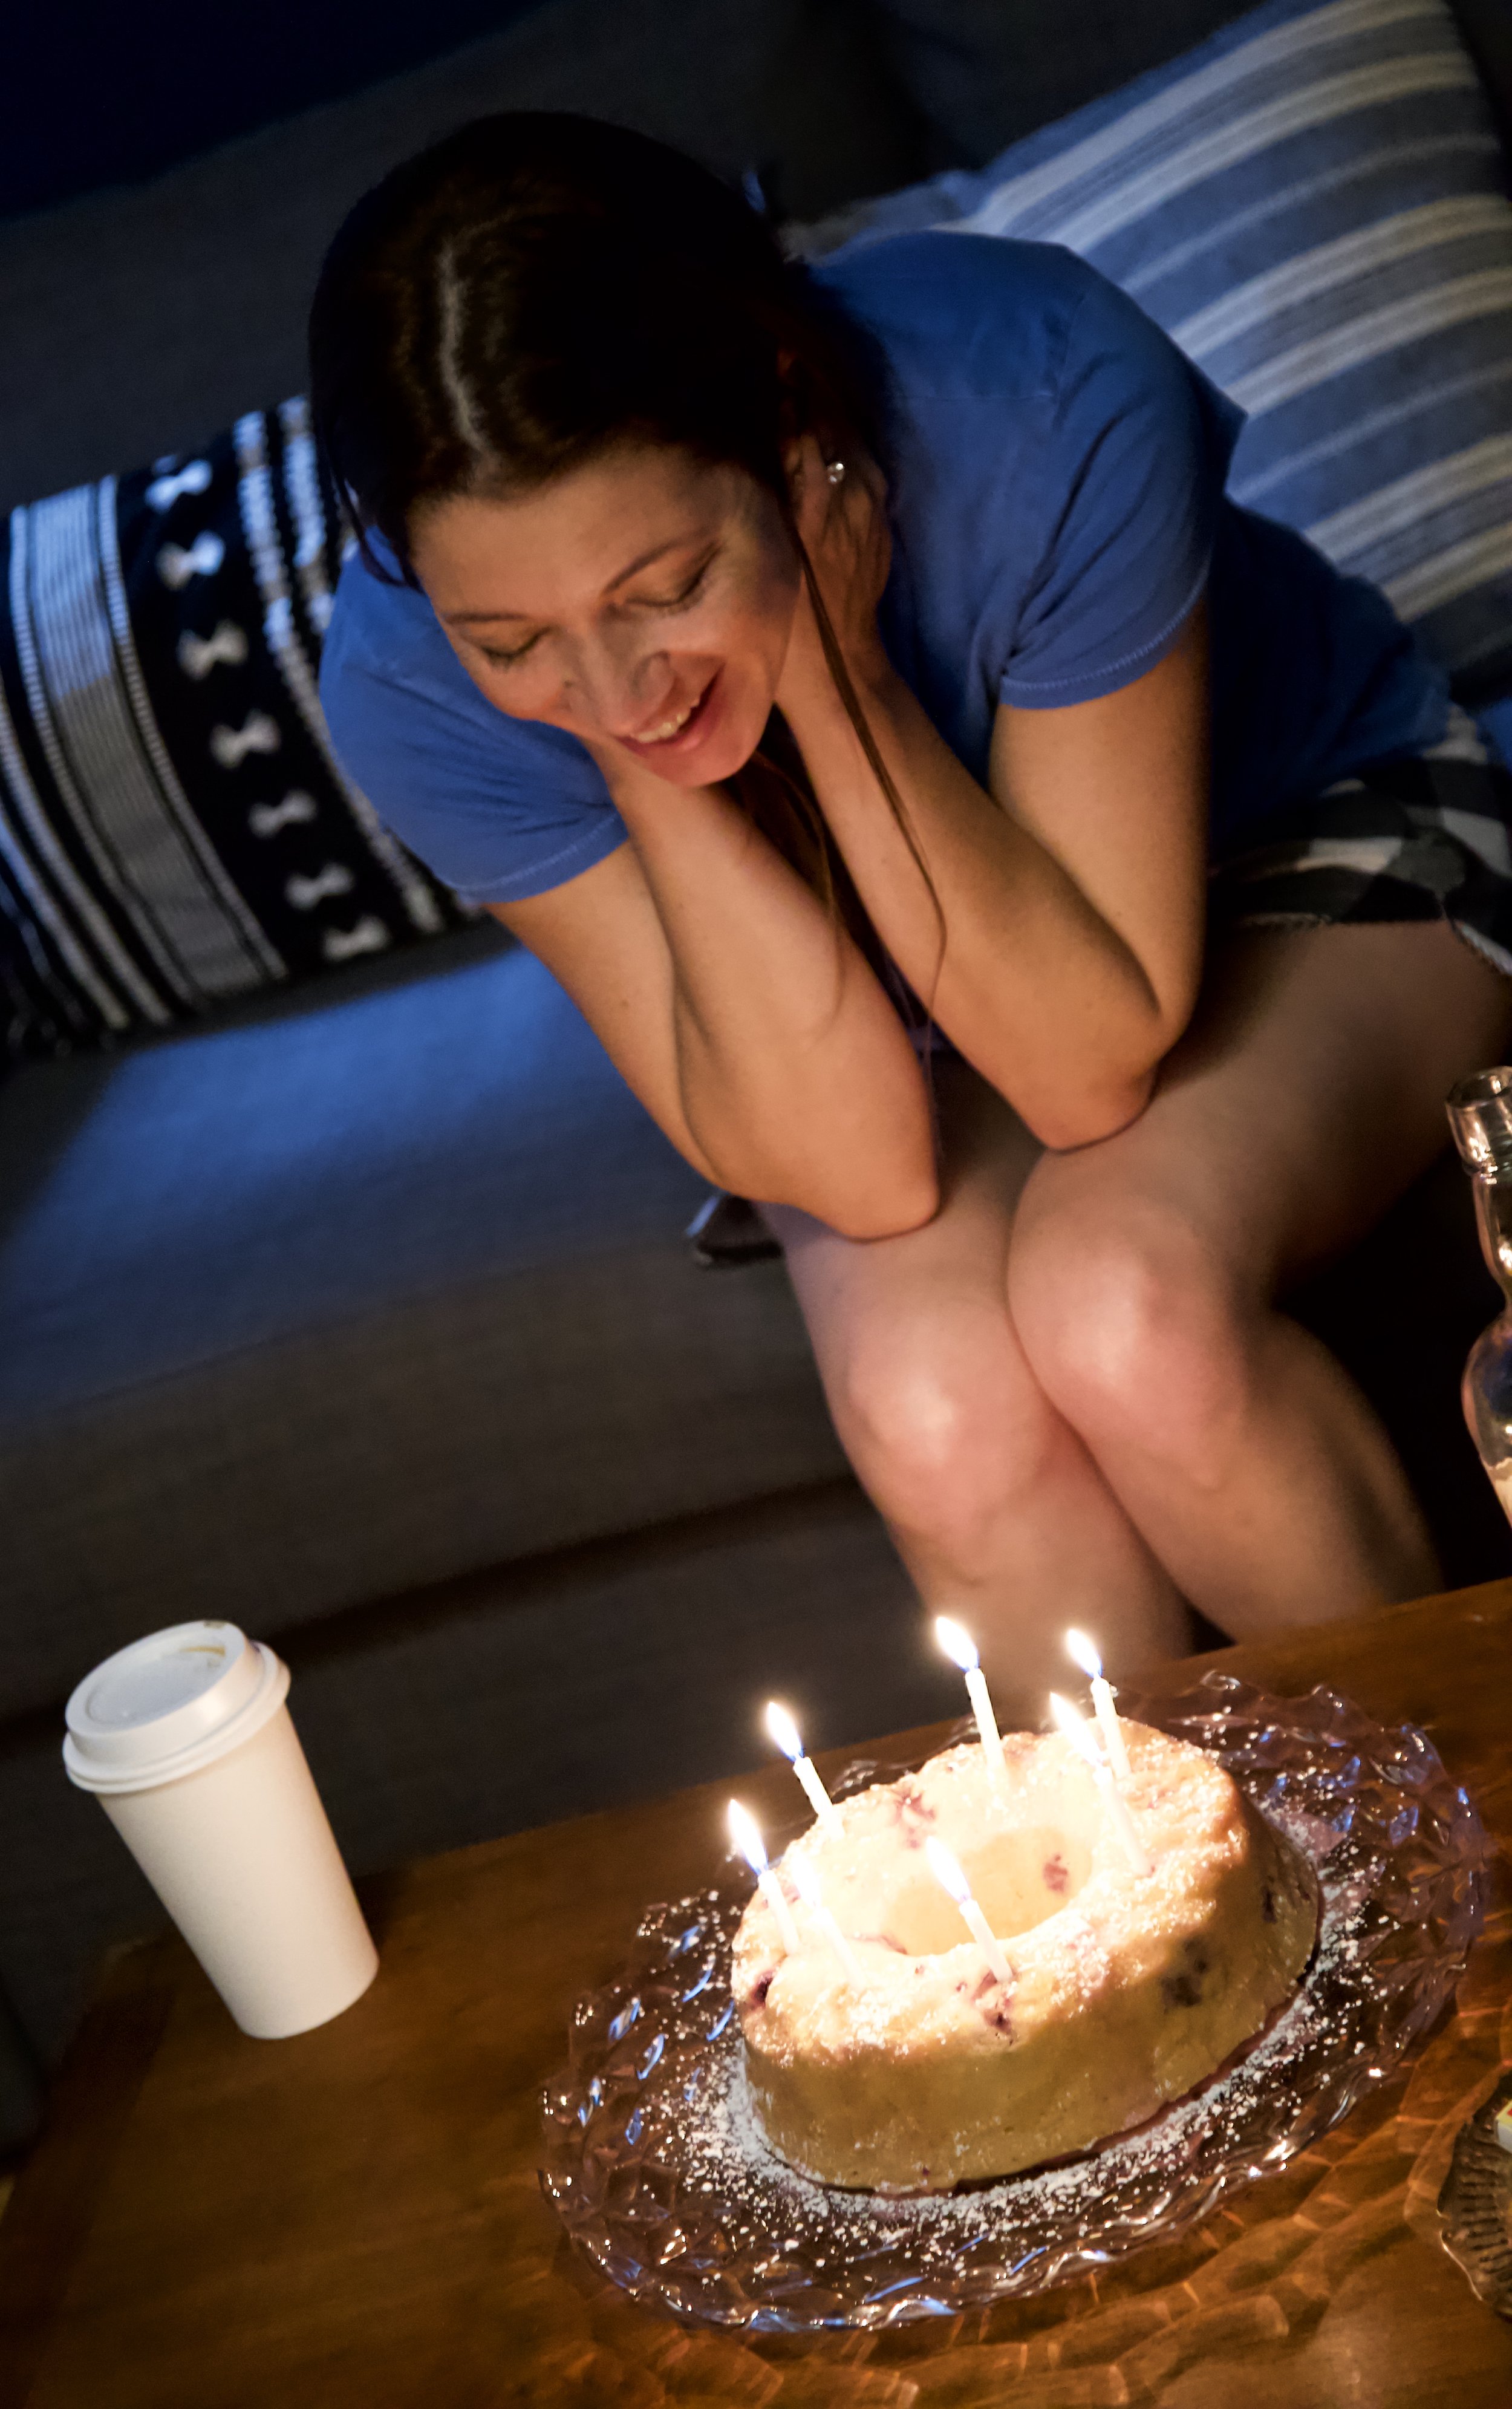
Meyer Lemon and Blackberry Butter Pound Cake with Lavender Glaze
/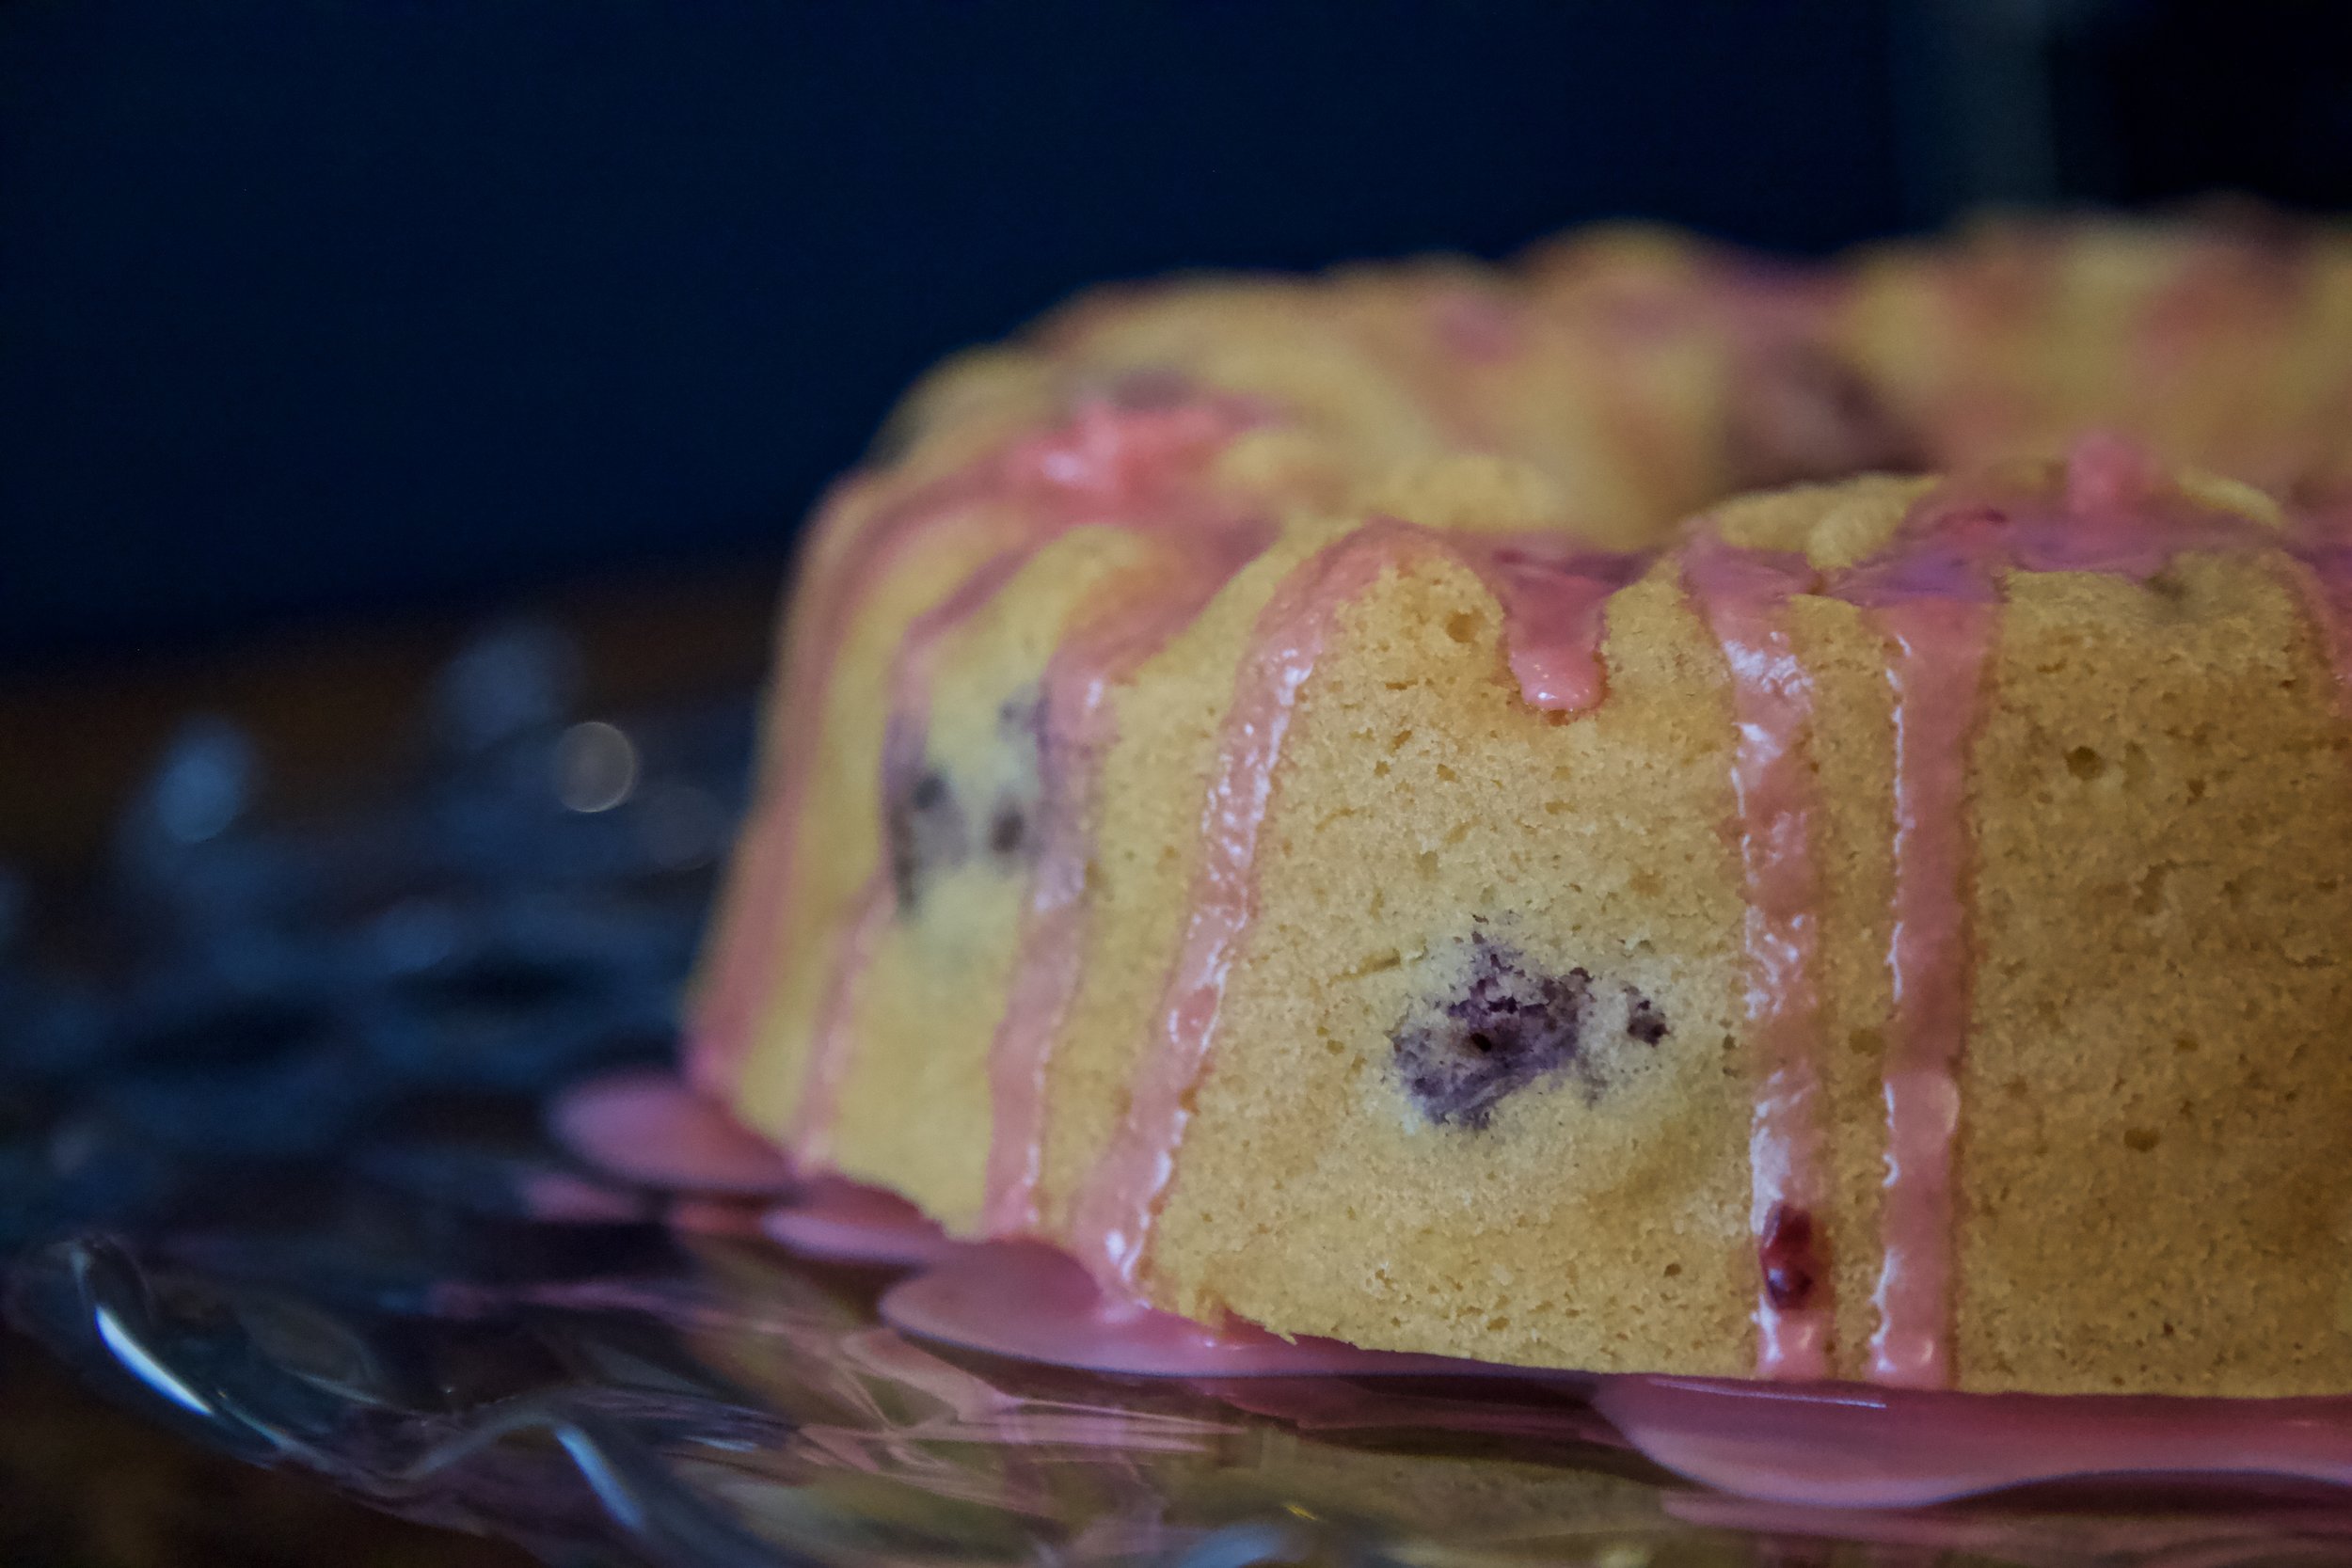
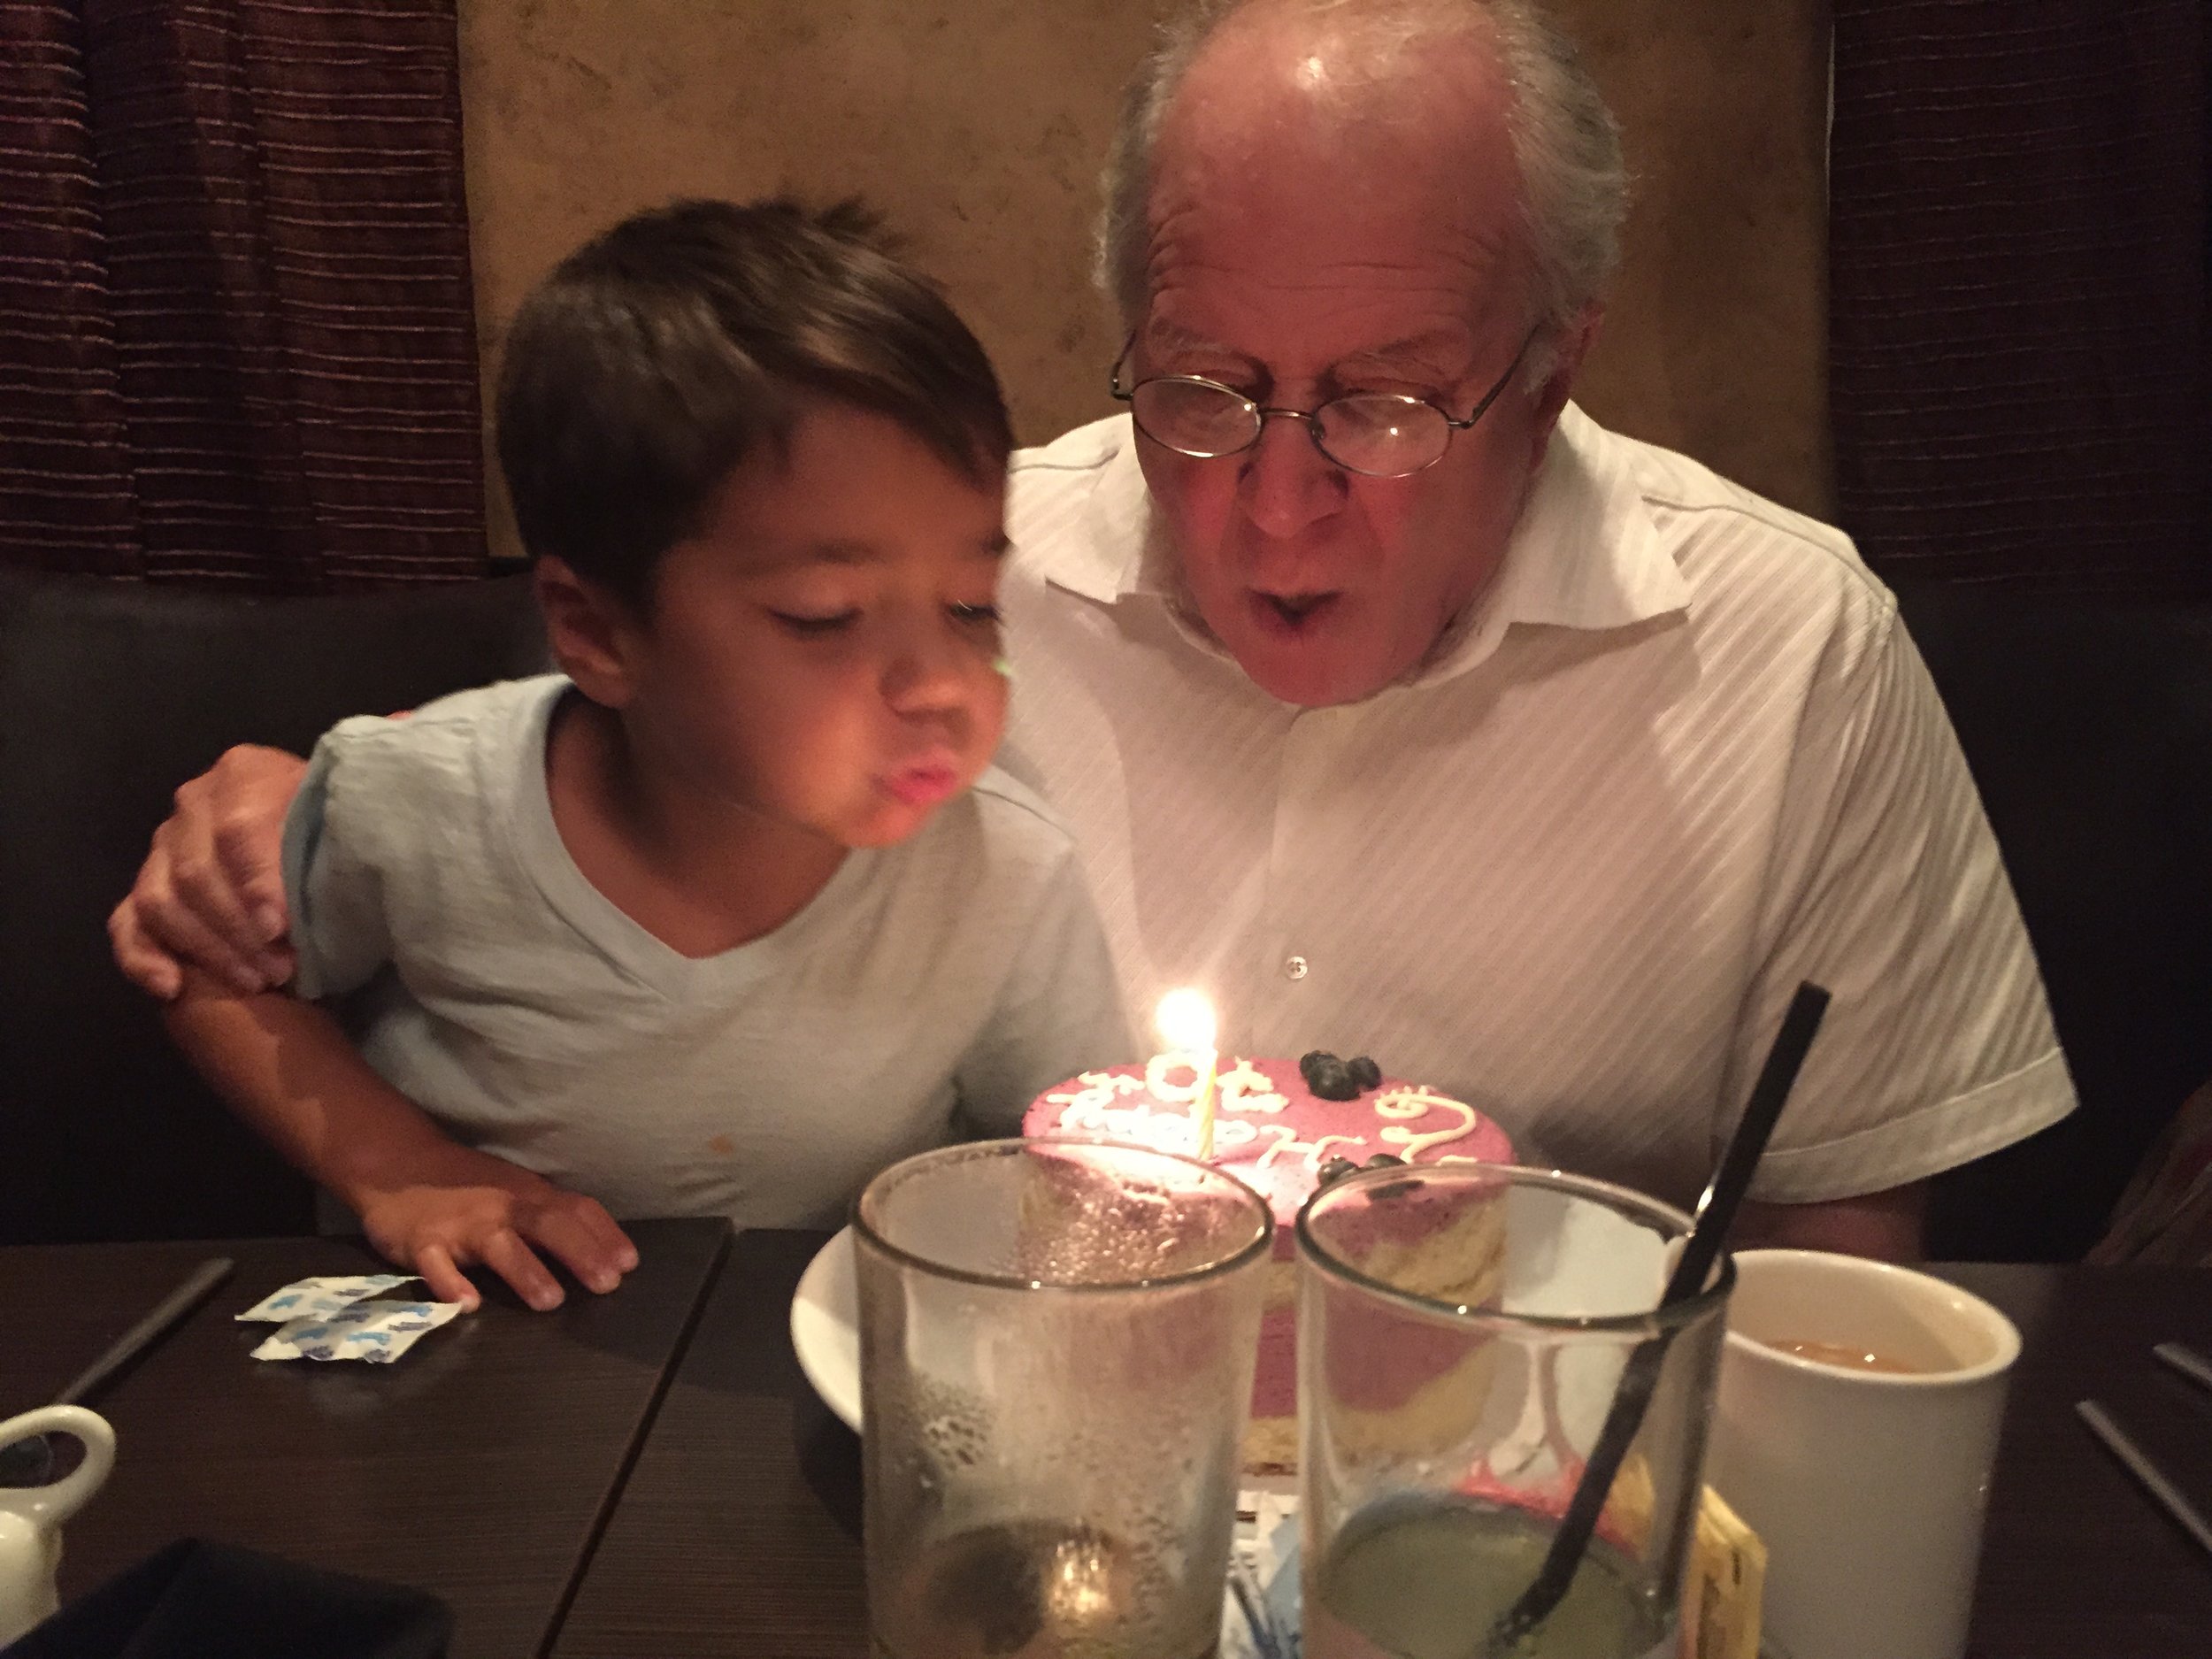
a.k.a. Happy Birthday Ari Cake
Time to make: 20 minutes (plus overnight berry macerating)
Time to bake: 1 hour
Time to eat: 10 seconds
Serves: 8-10 people, 1 monster.
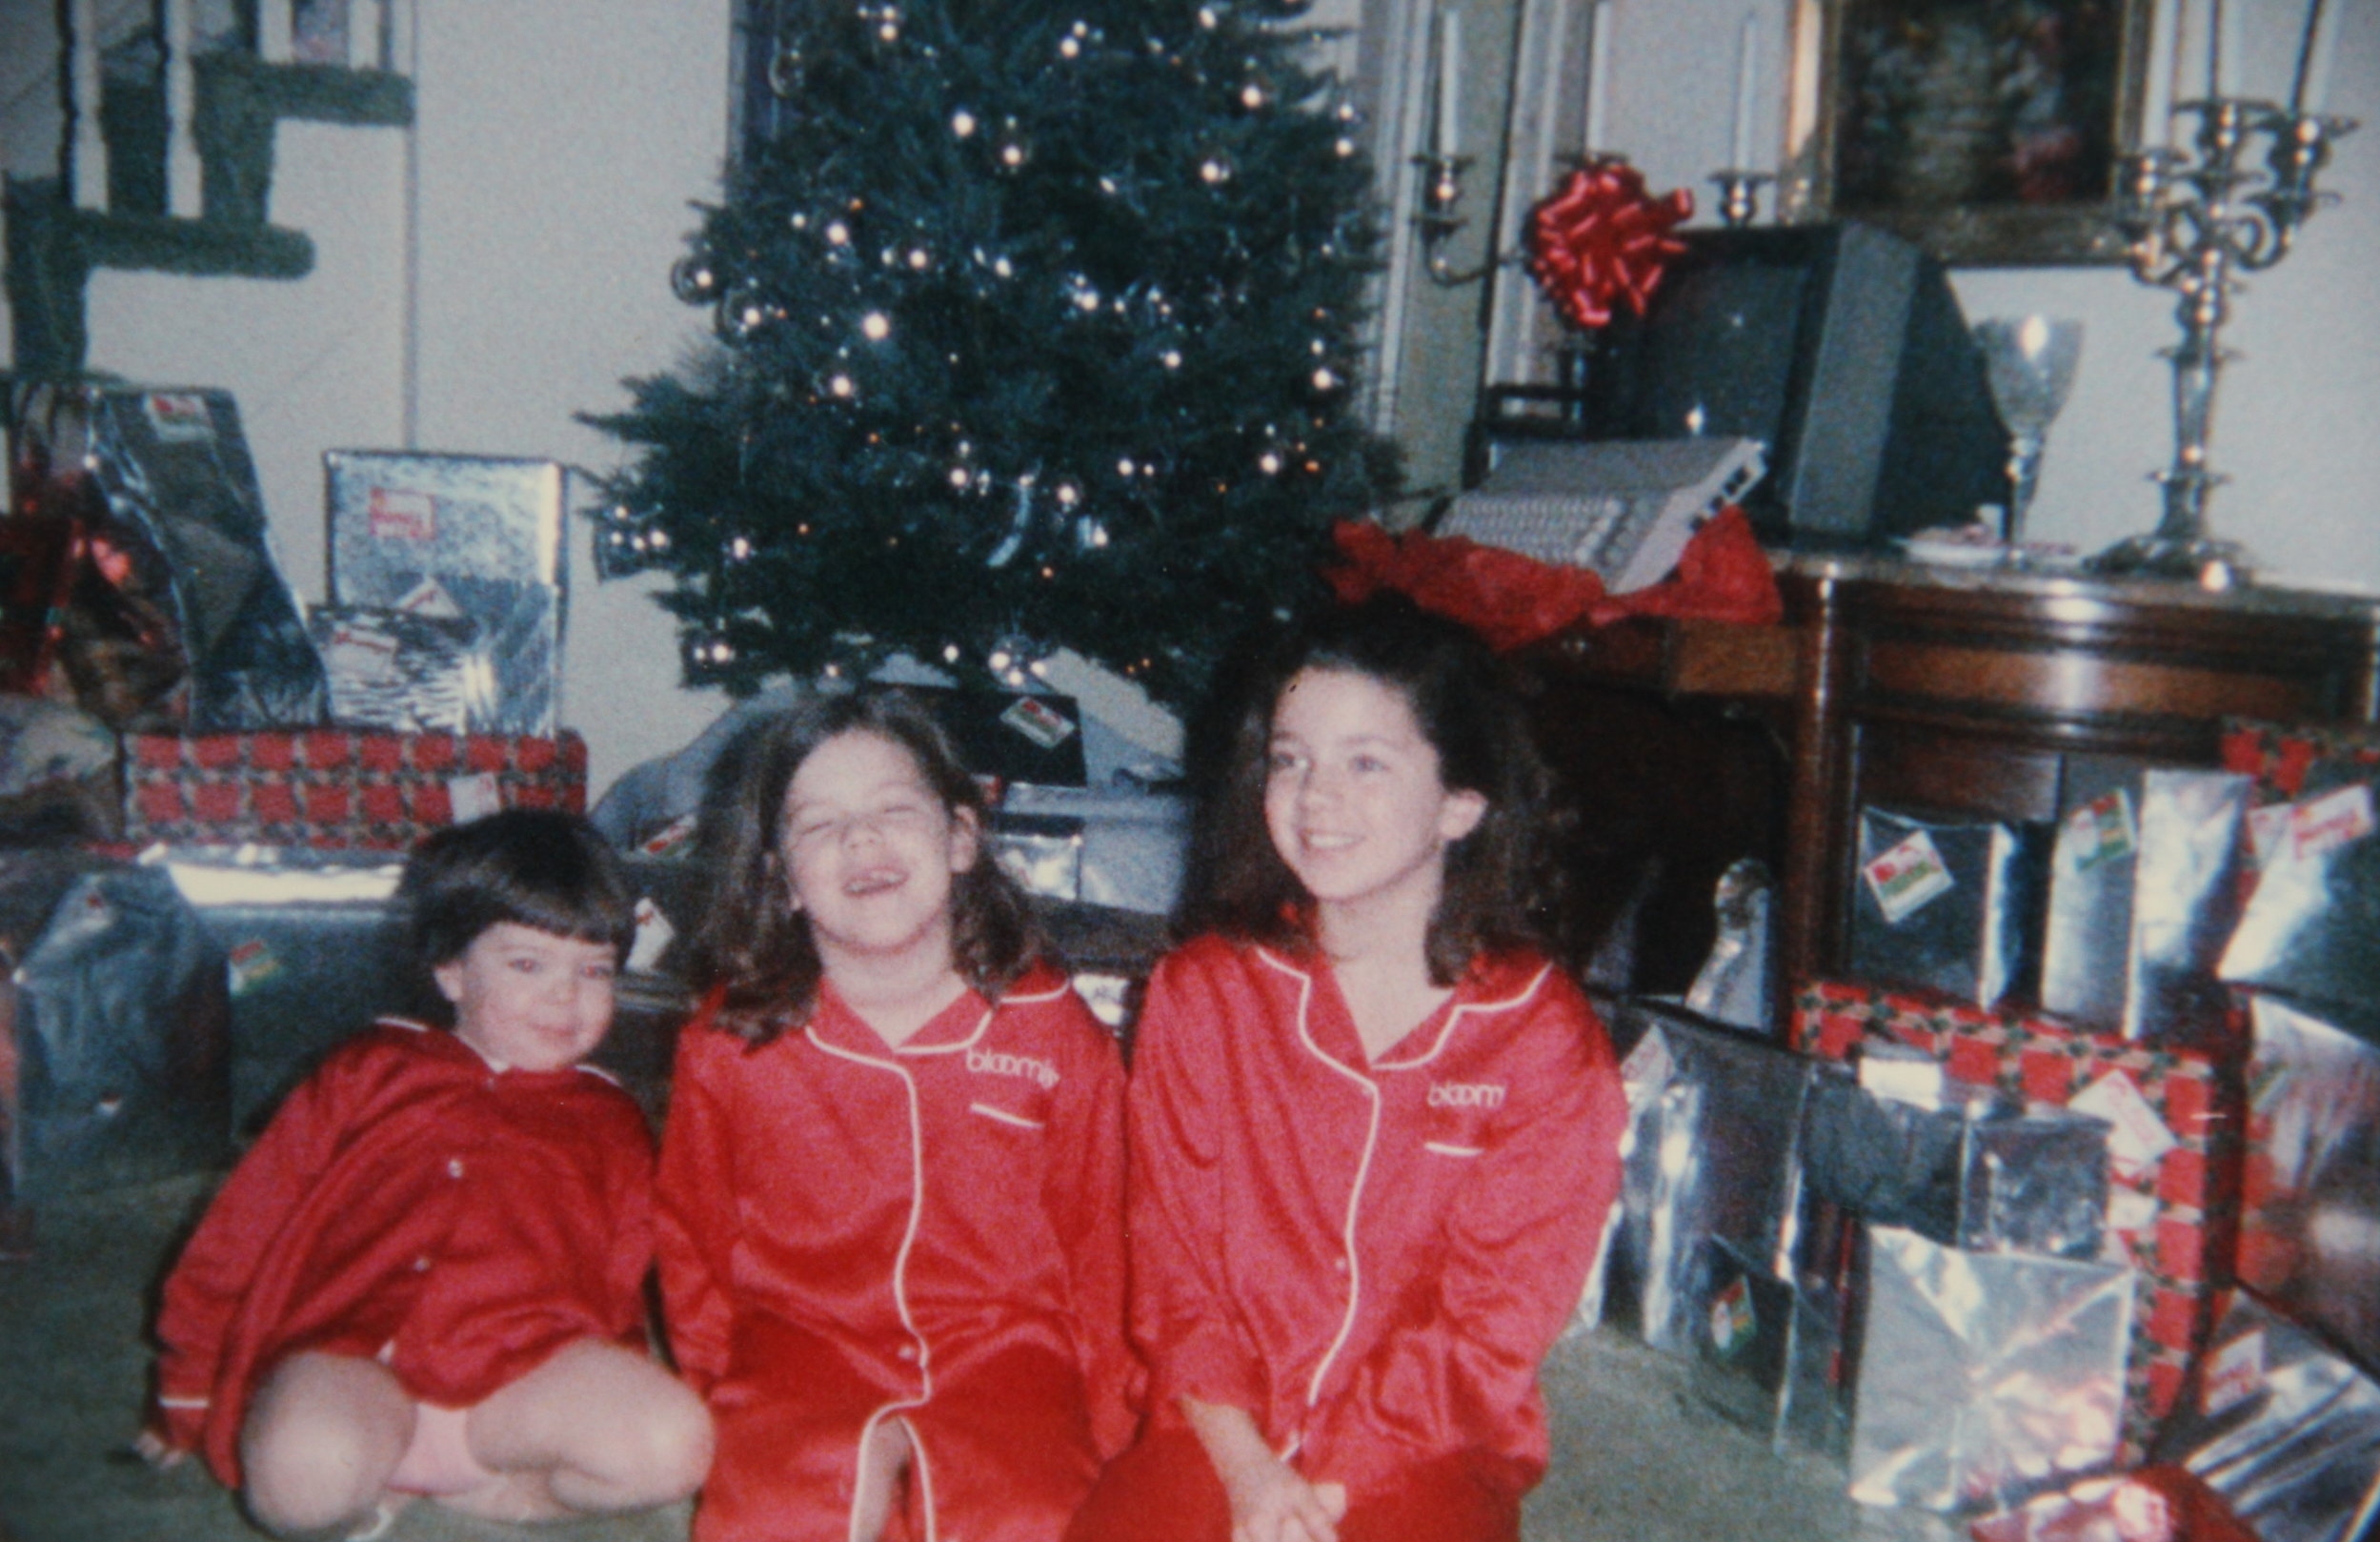
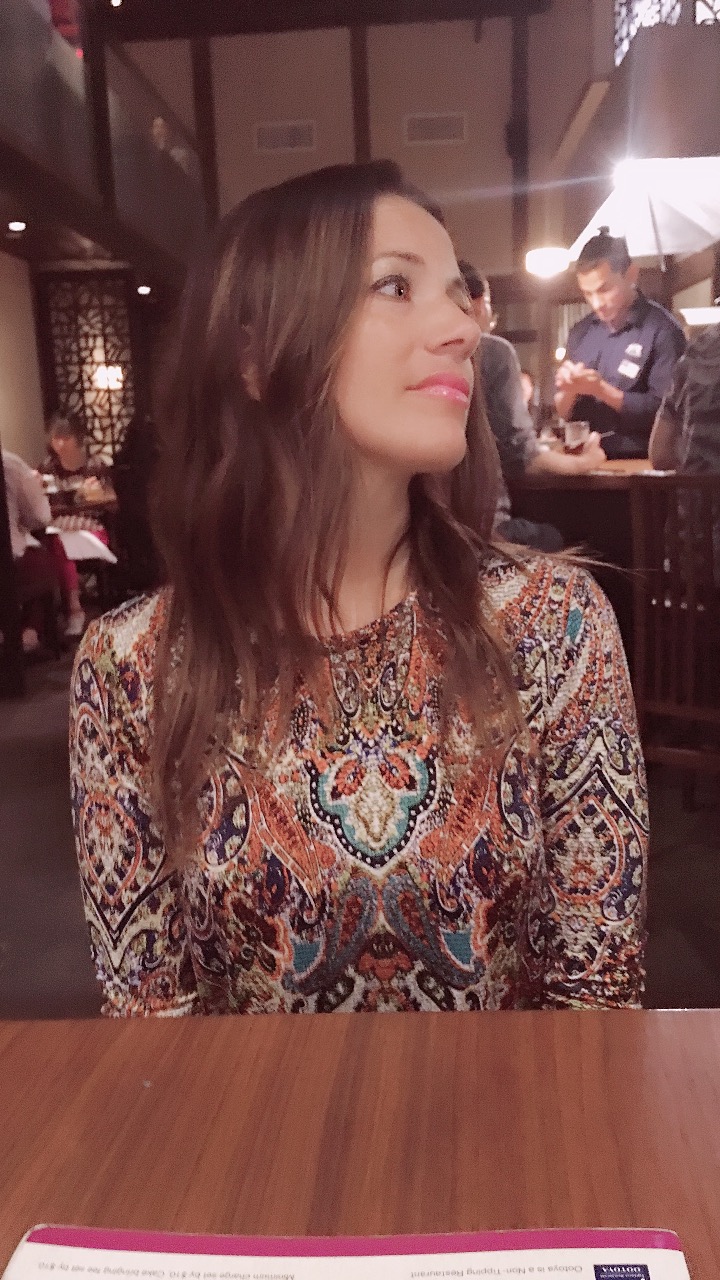
The memory is so clear in my mind, as my 8 year old self stood a bit nervously at her door. My room was directly across from hers with a double doored bathroom linking us. I had a little notebook with me. All my friends warned me that older siblings didn't let you play with them. (Little did I know at the time that 8 year olds played, 16 year olds hung out). But I knew in my heart she was different, so I knocked and yelled (oops I overdid it), as she walked to the door I could hear her laugh getting closer. Rachel opened the door, (who is this) and Ari was on the bed, like an easy-going, cool as fuck, a-n-g-e-l.
Can I come in and play with you guys for a little bit? (Turns out Rachel was her future bff - and still is to this day).
Not. One. Single . Eye Roll. Just a cool and easy "Sure. For a little."
In the few minutes she graciously allowed me to crash her "adult" party I learned that collecting Absolute vodka ads was the absolute coolest, anyone who knows anything wants their parents to buy them a 240SX for their 16th birthday, and that even if you have curly hair you always round brush the shit out of your bangs. It may or may not have been 1992.
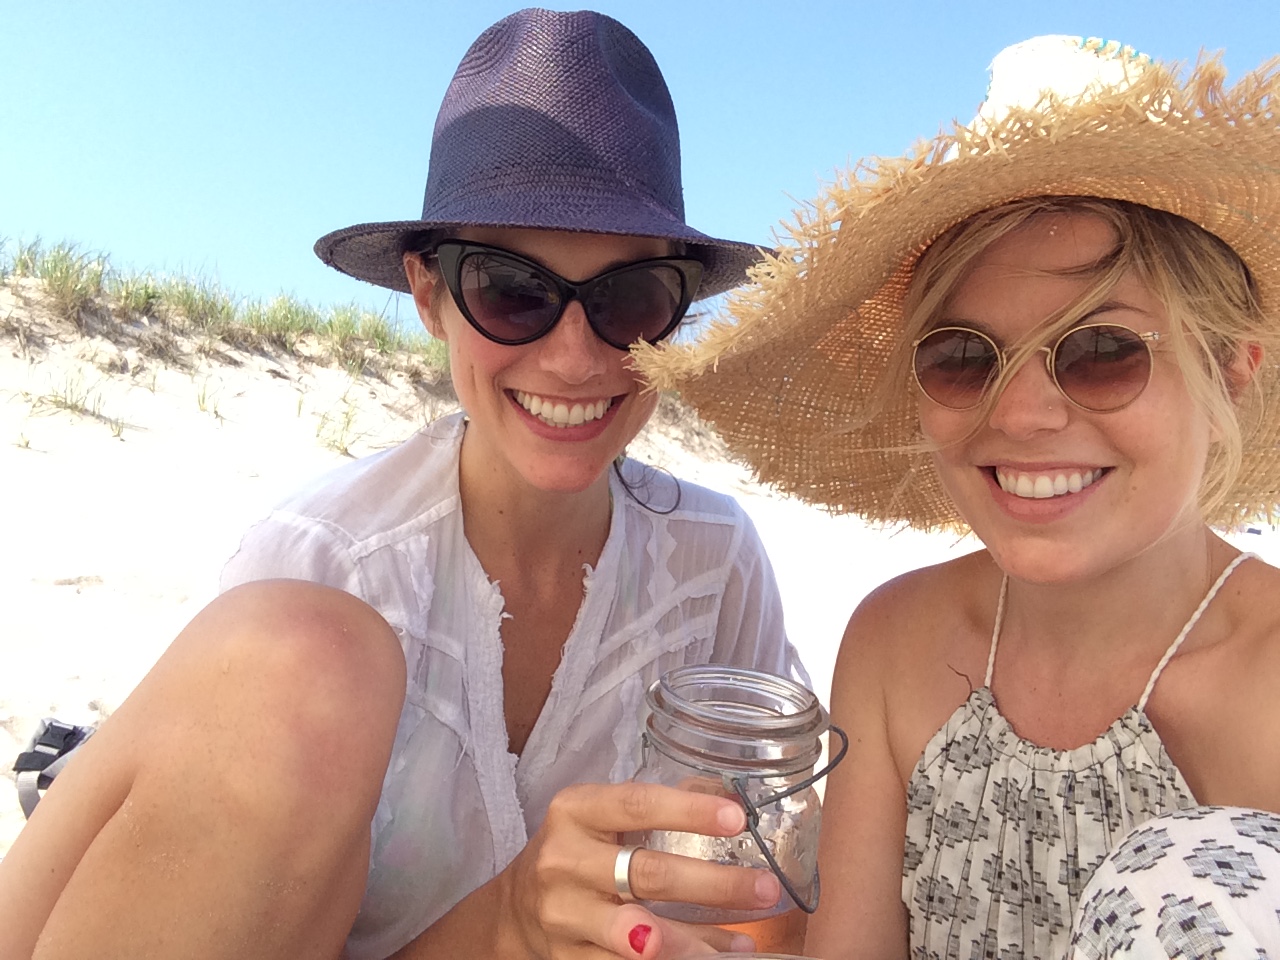
I left the room a bit dizzy and in love as I heard Rachel whispering "aw she's so cute," and feeling completely wowed by the very short encounter. These were the women I looked up to. The list of women also included Dusty, Mayu, Mom, Aunt Debbie, Danielle, Stephanie, etc... and then there was me, Alex, I was always the baby of the bunch. Despite the next generation of babies that followed, I still always feel like the baby with this crew, in the best and most special way possible.
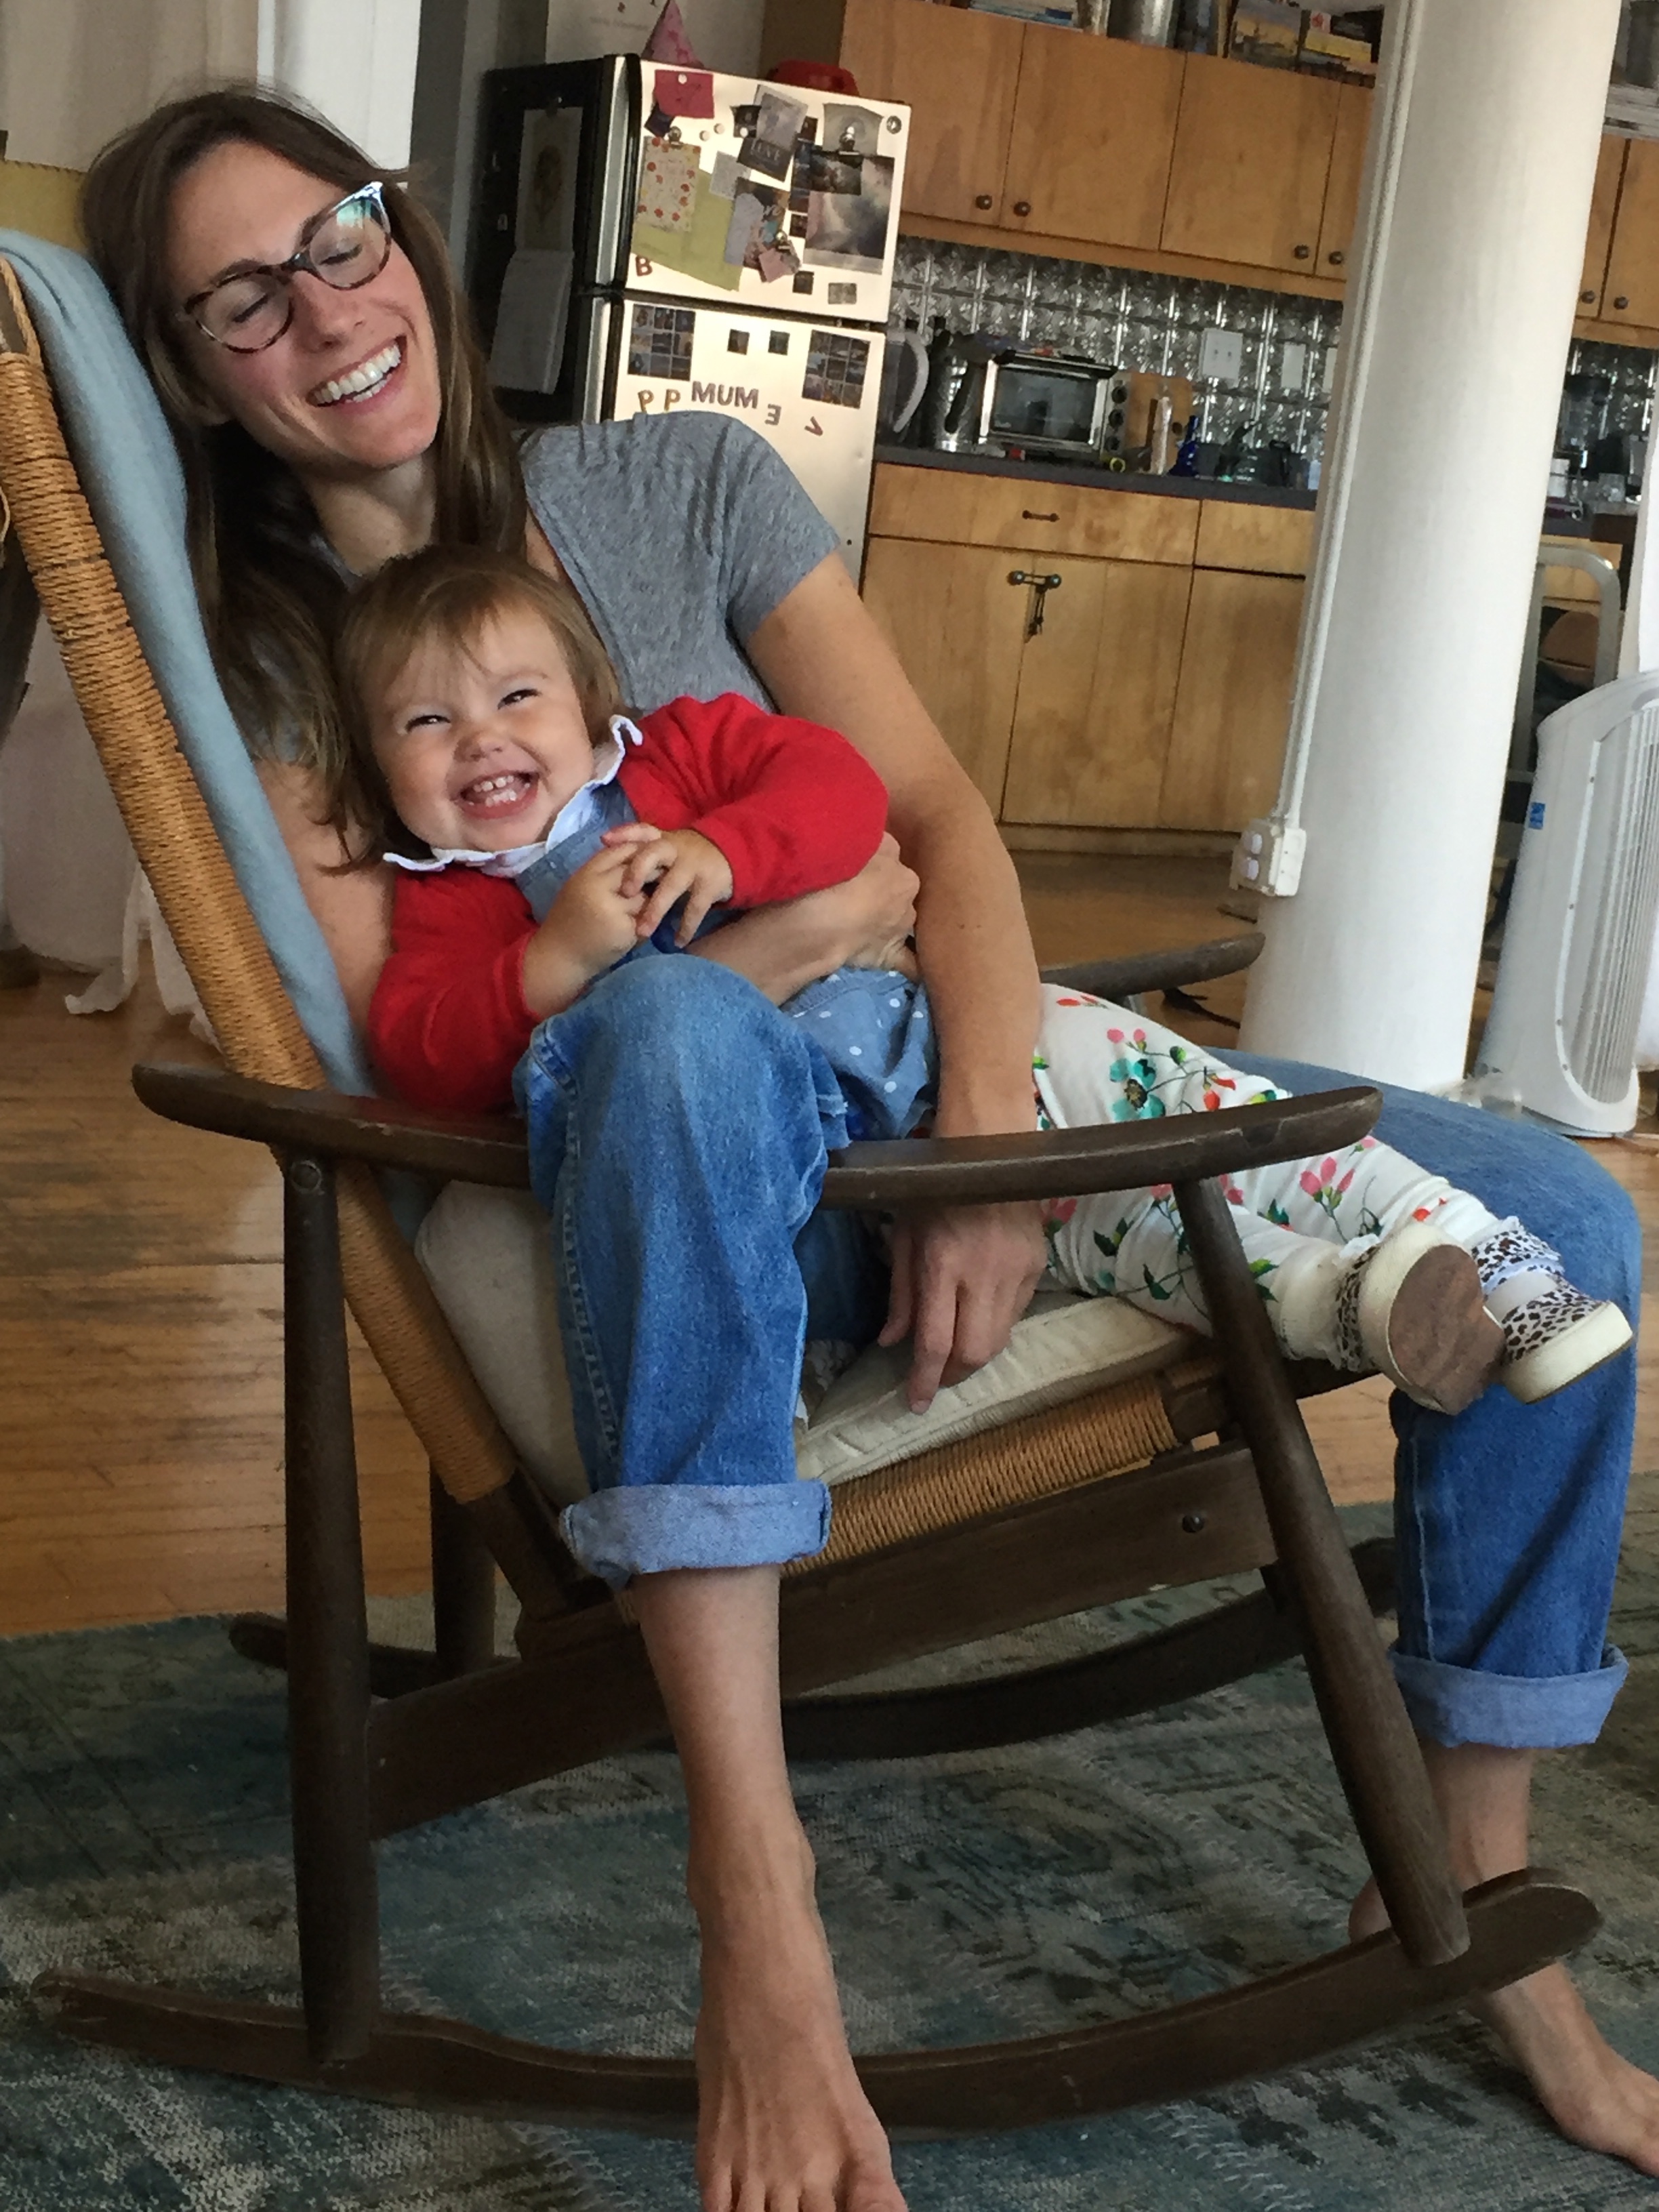
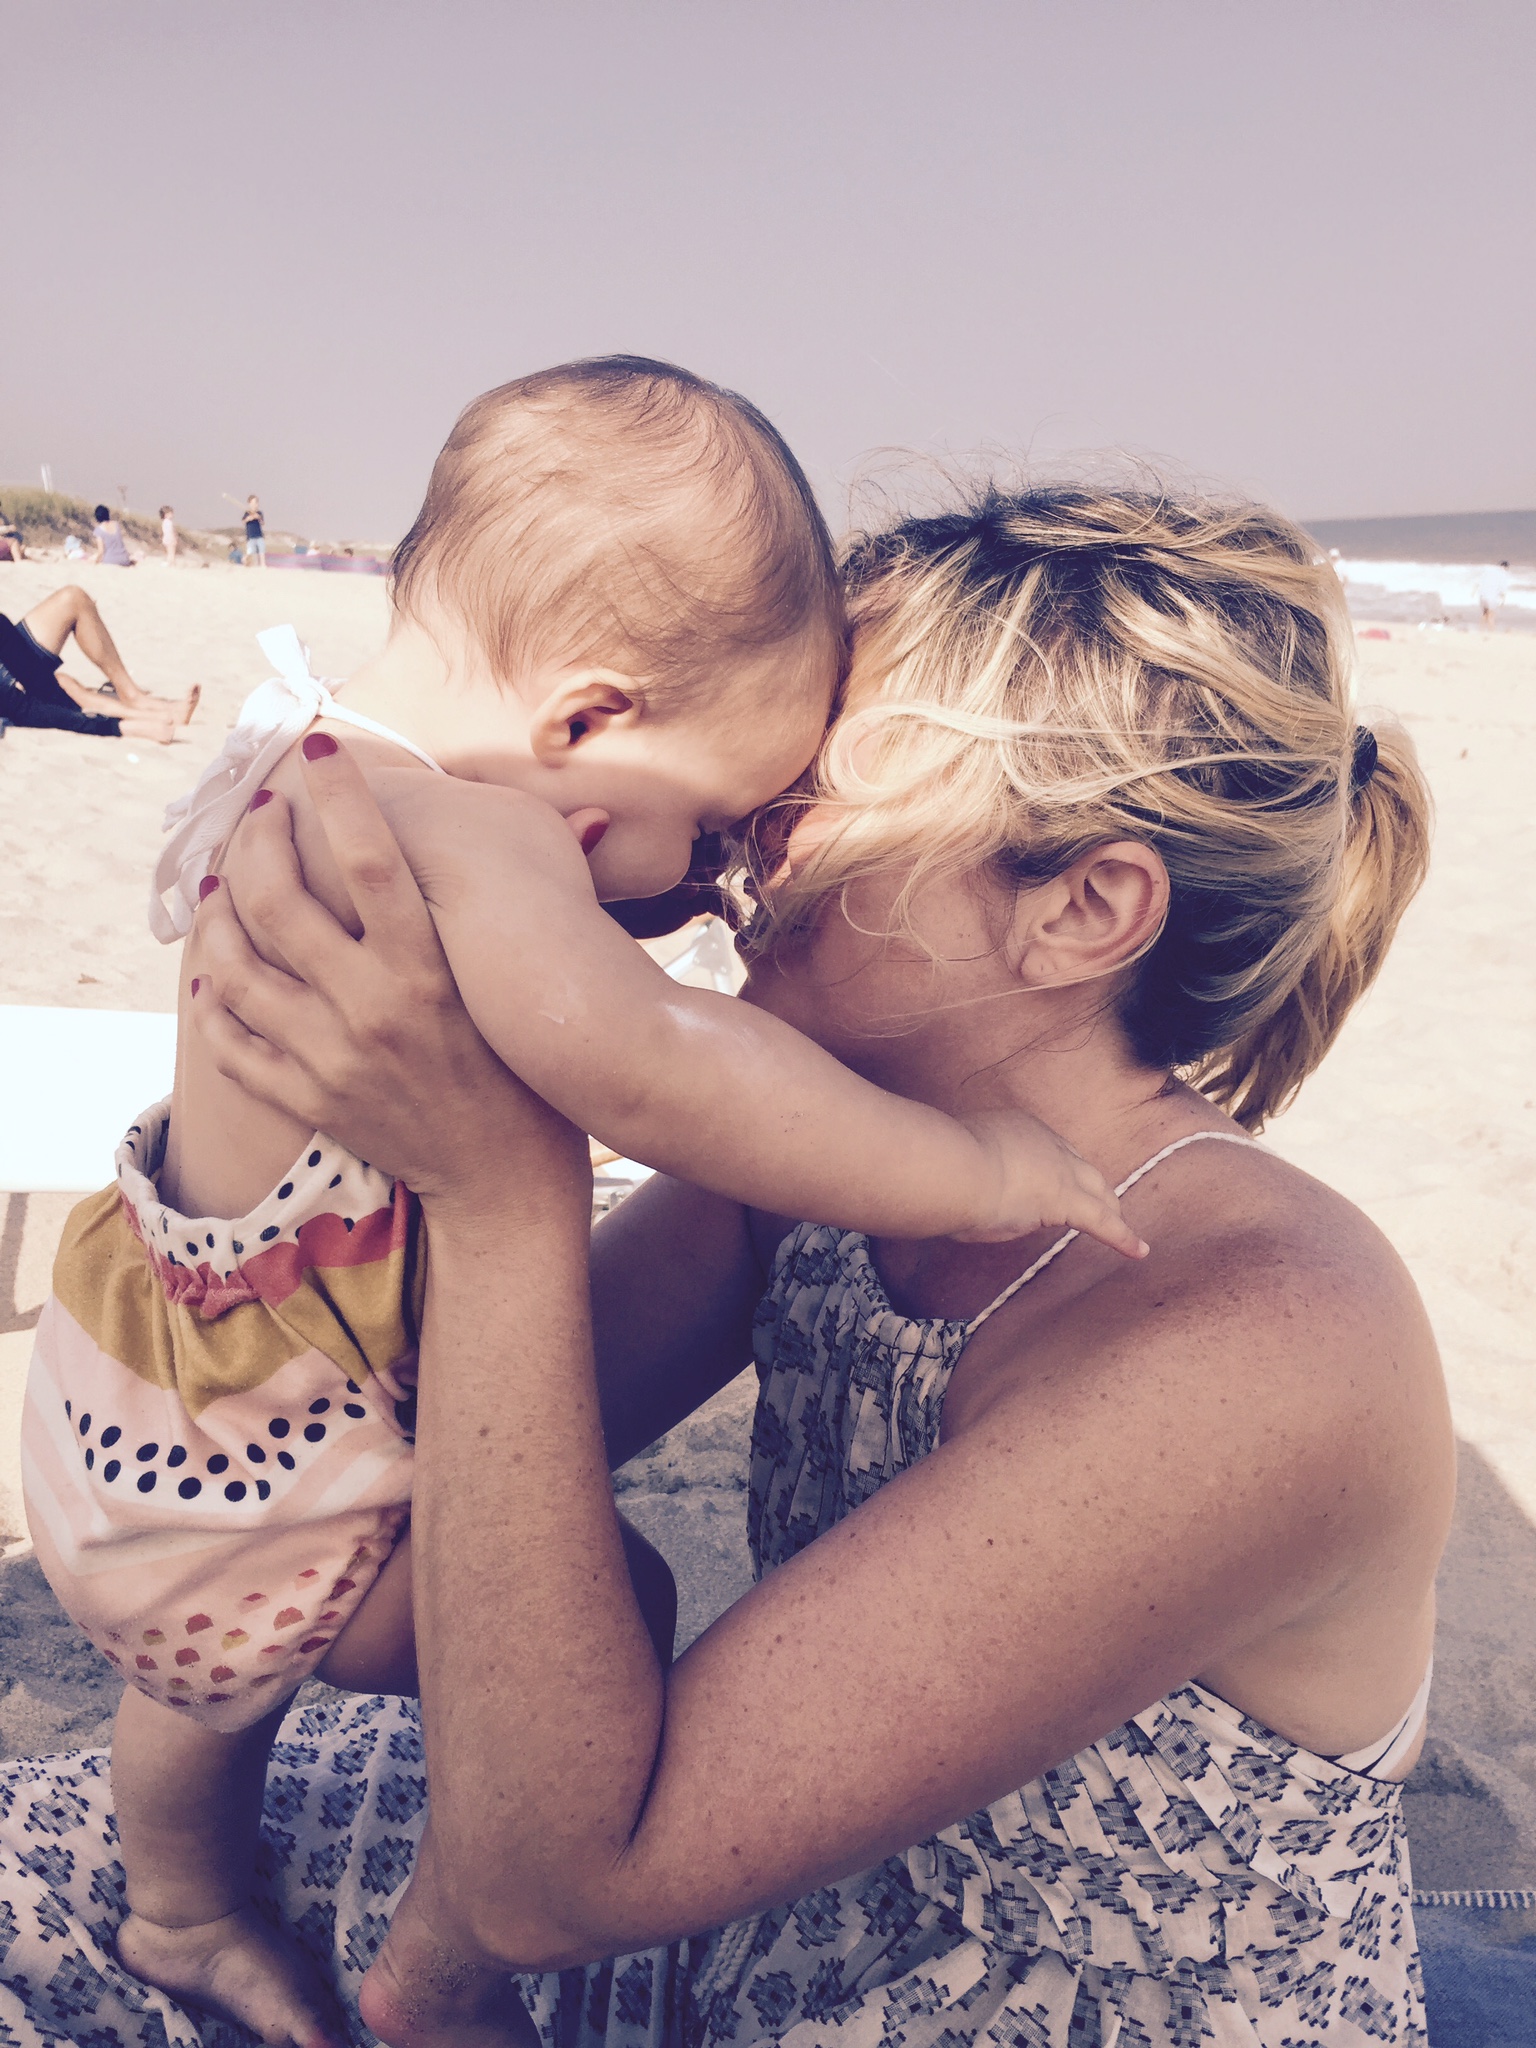
Every time I bake something I get to say I love you. And there is no one in this present world I love more than Ari. Biologically speaking Ari is my older sister of 8 years, but she is much more than that. Given our age difference, we never went through the same thing at the same time, like ever, at all. Even now our life experiences seem to travel on perpendicular paths, though as we get older the gap gets smaller and more parallel. I think we're also just pretty different, and that's part of why we end up in such different spaces (Literally. Metaphysically. Technically. Metaphorically. ALL THE WAYS). It's for this reason that Ari has been equal parts sister, mother, friend, and teacher. Anyone who knows her will agree that Ari is loyal, consistent, kind and the most loving person they know. She has a gentleness that is so rare in this modern world.

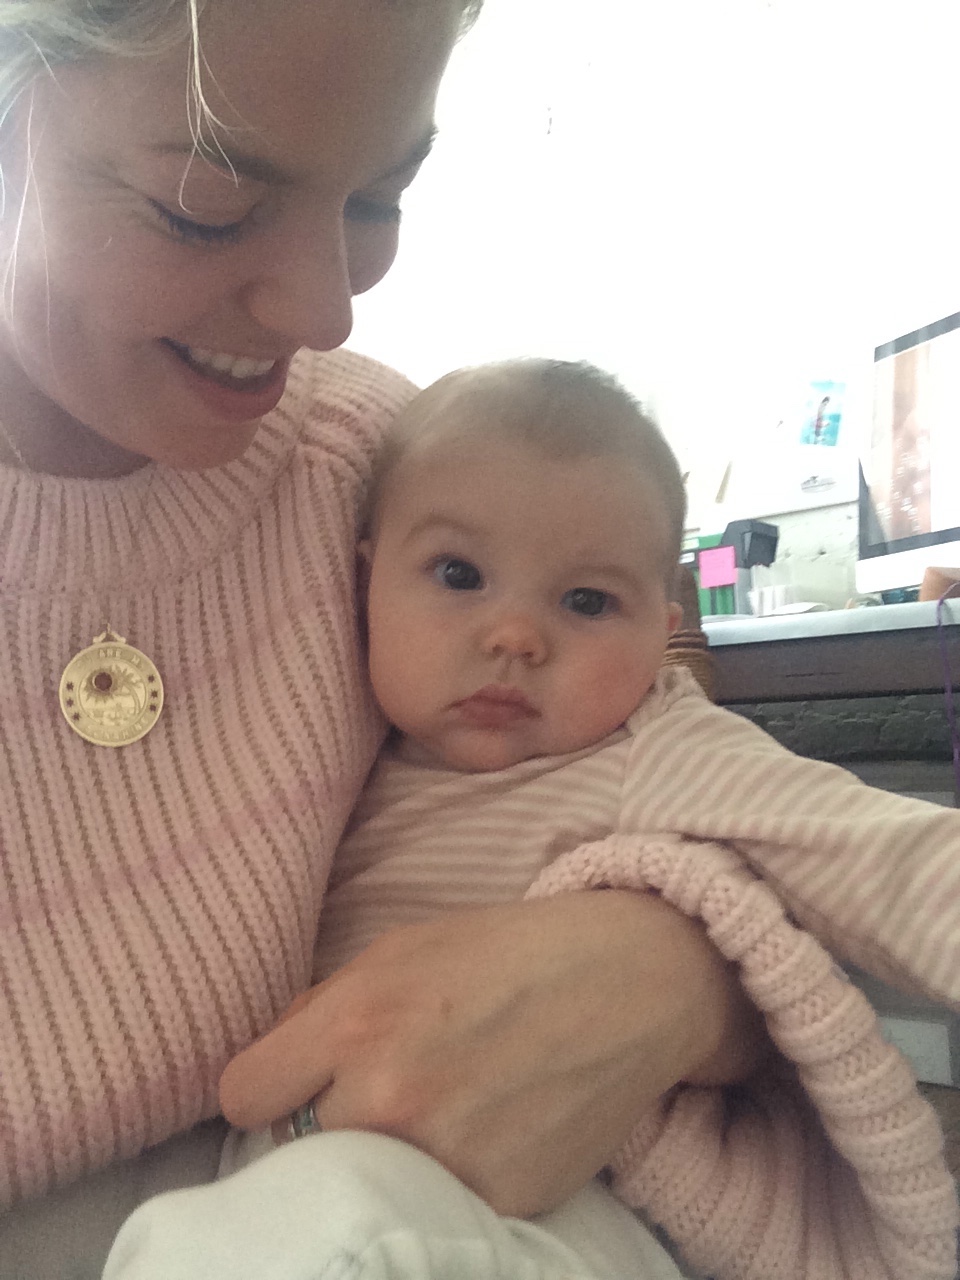
Ari enjoying dessert long before I was around, and long before I was baking her things.
Some notable differences between us:
I'm loud and opinionated. Ari is quiet and thoughtful.
I'm dramatic and hysterical (Hi, I'm an animal rights activist). Ari is rational.
Ari is the one who taught me to love animals. This one time she had picked me up from school and on the way back we noticed a rabbit had been hit and was laying on the side of the road. She got out and cried for him. Borrowed a rag and an empty box from the trunk and removed him from the threat of more traffic. I remember hearing her say through muffled tears "silly rabbit, tricks are for kids." To this day, I'm still charmed by the memory. If you're a 90's kid, you'll get the reference from old cereal commercials. It didn't make any sense then or now, but it was sweet. And I knew it in my bones even as a kid.
Ari is the one who fielded every sobbing 3,000 mile away phone call (on a per breakup case). She even flew out to LA for a visit after a particularly bad one to help me through it.
Ari was always the first to donate to my kickstarter campaigns, ya know...for whatever new creative masterpiece I was dreaming up.
Ari was the first to say "I'm so proud of you."
Ari was the second to call on my birthday every year (mom always beat her to it with the story of my birth left in a voicemail, and this one ex boyfriend who always emailed at midnight).
But for our Jewish onset anxiety, keen sense of smell (especially for the negative), and a deep love for our parents, and our striking physical resemblance, we could not be more different. And that has always made us closer. Probably because of her kindness and my curiosity. We just work as a team. I can't believe she's my actual family. If we weren't related I'm not sure how our paths ever might have crossed. Luckily, we were swimming in the same gene pool.


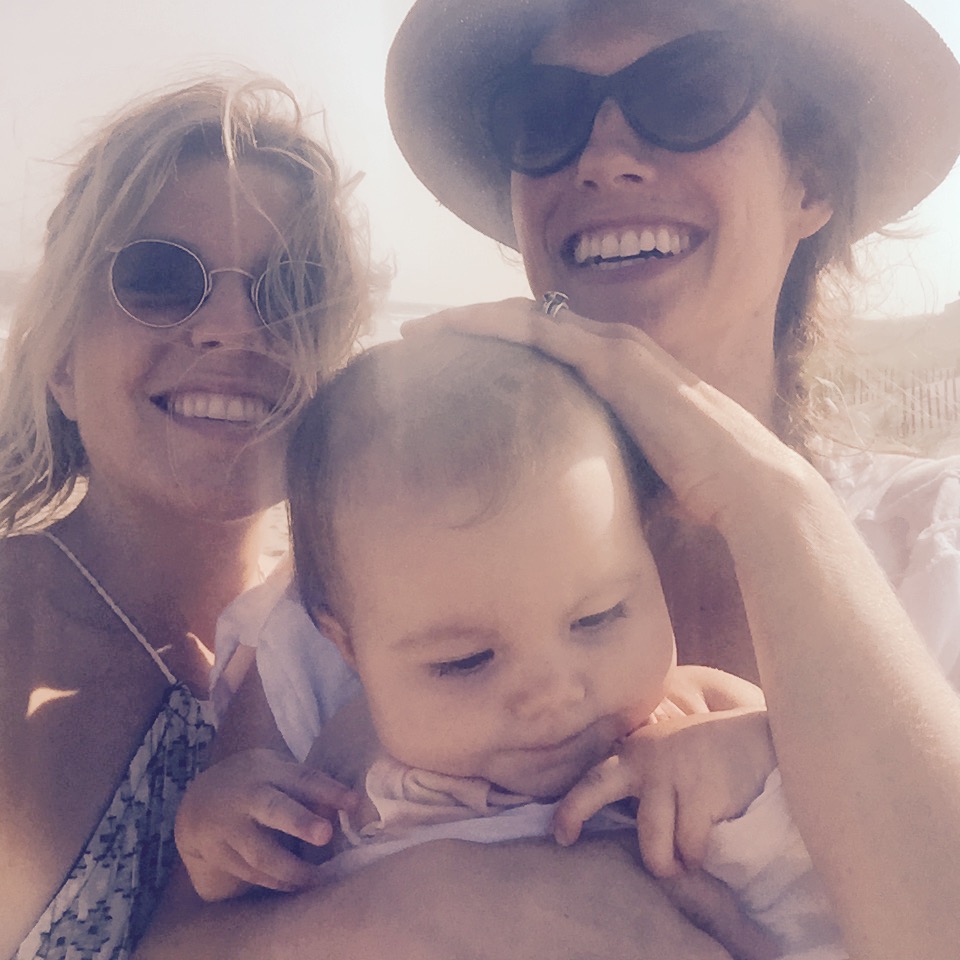
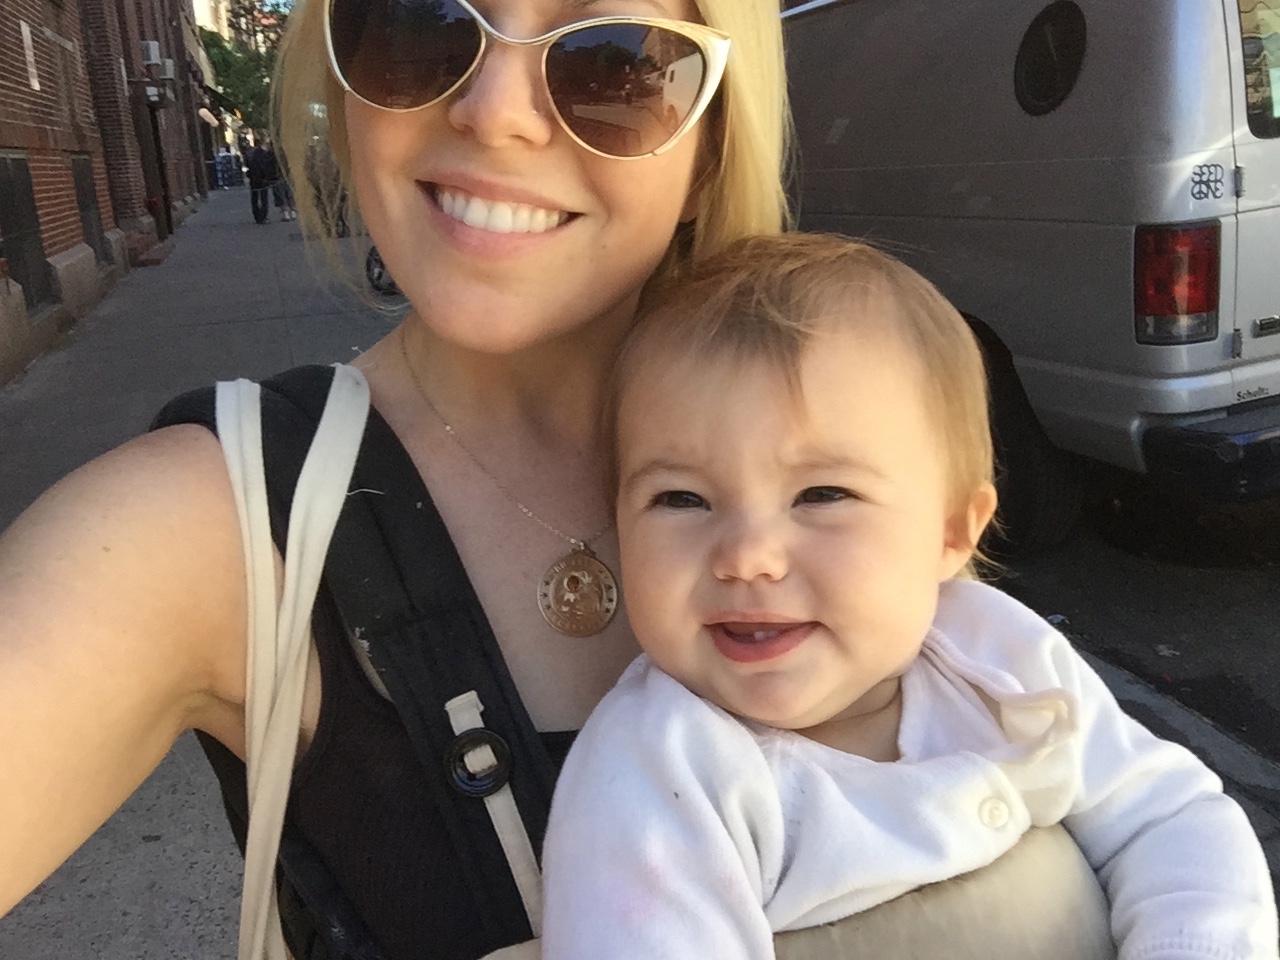
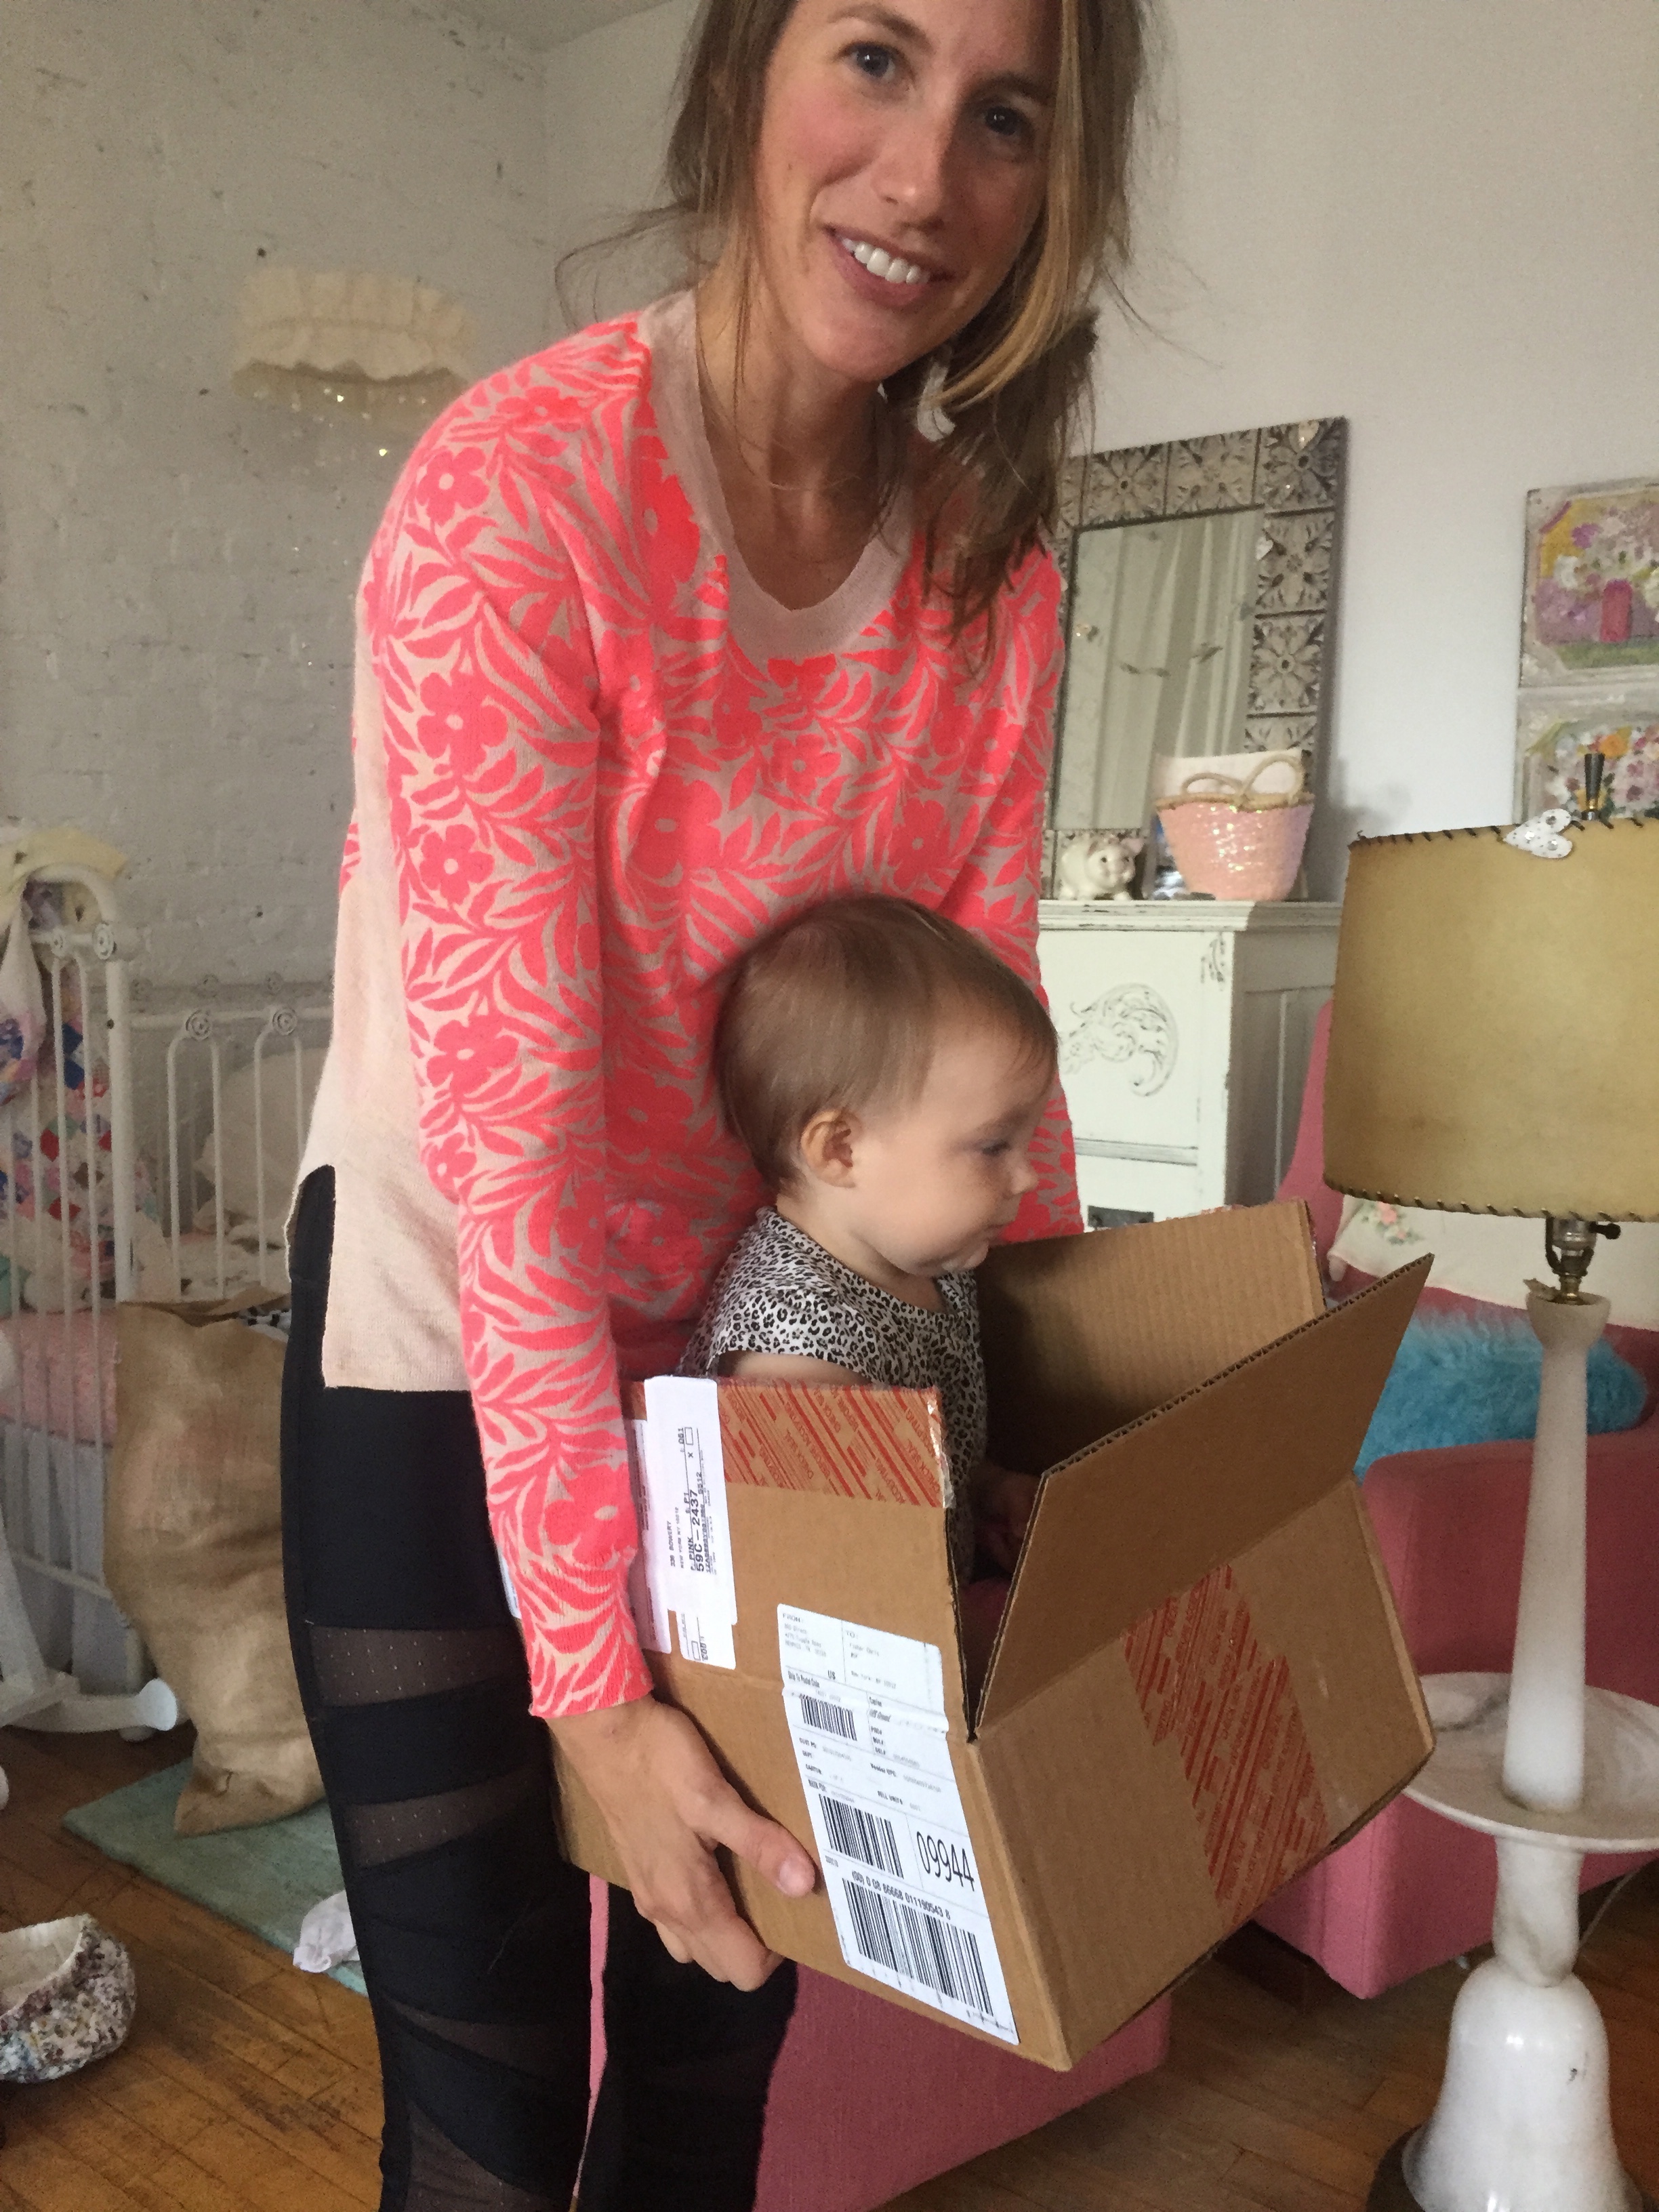
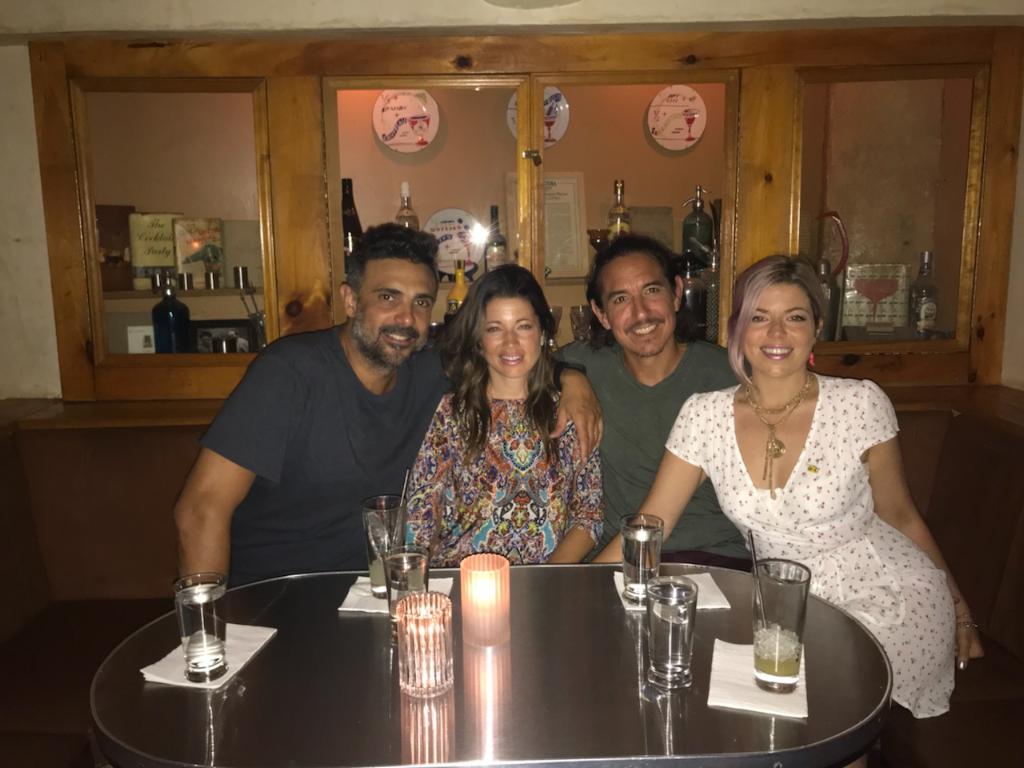
Now, Ari has two boys roughly ages 8 and 11, works full time, and is settling into her new home. Which is to say, she's very busy, and yet she and my brother-in-law (also Alex, I know it's hard to keep track around here) agreed to come up to NYC to stay with Jason and me for a weekend of fun. And we celebrated in perfect Ari fashion with this cake for breakfast!
INGREDIENTS FOR CAKE:
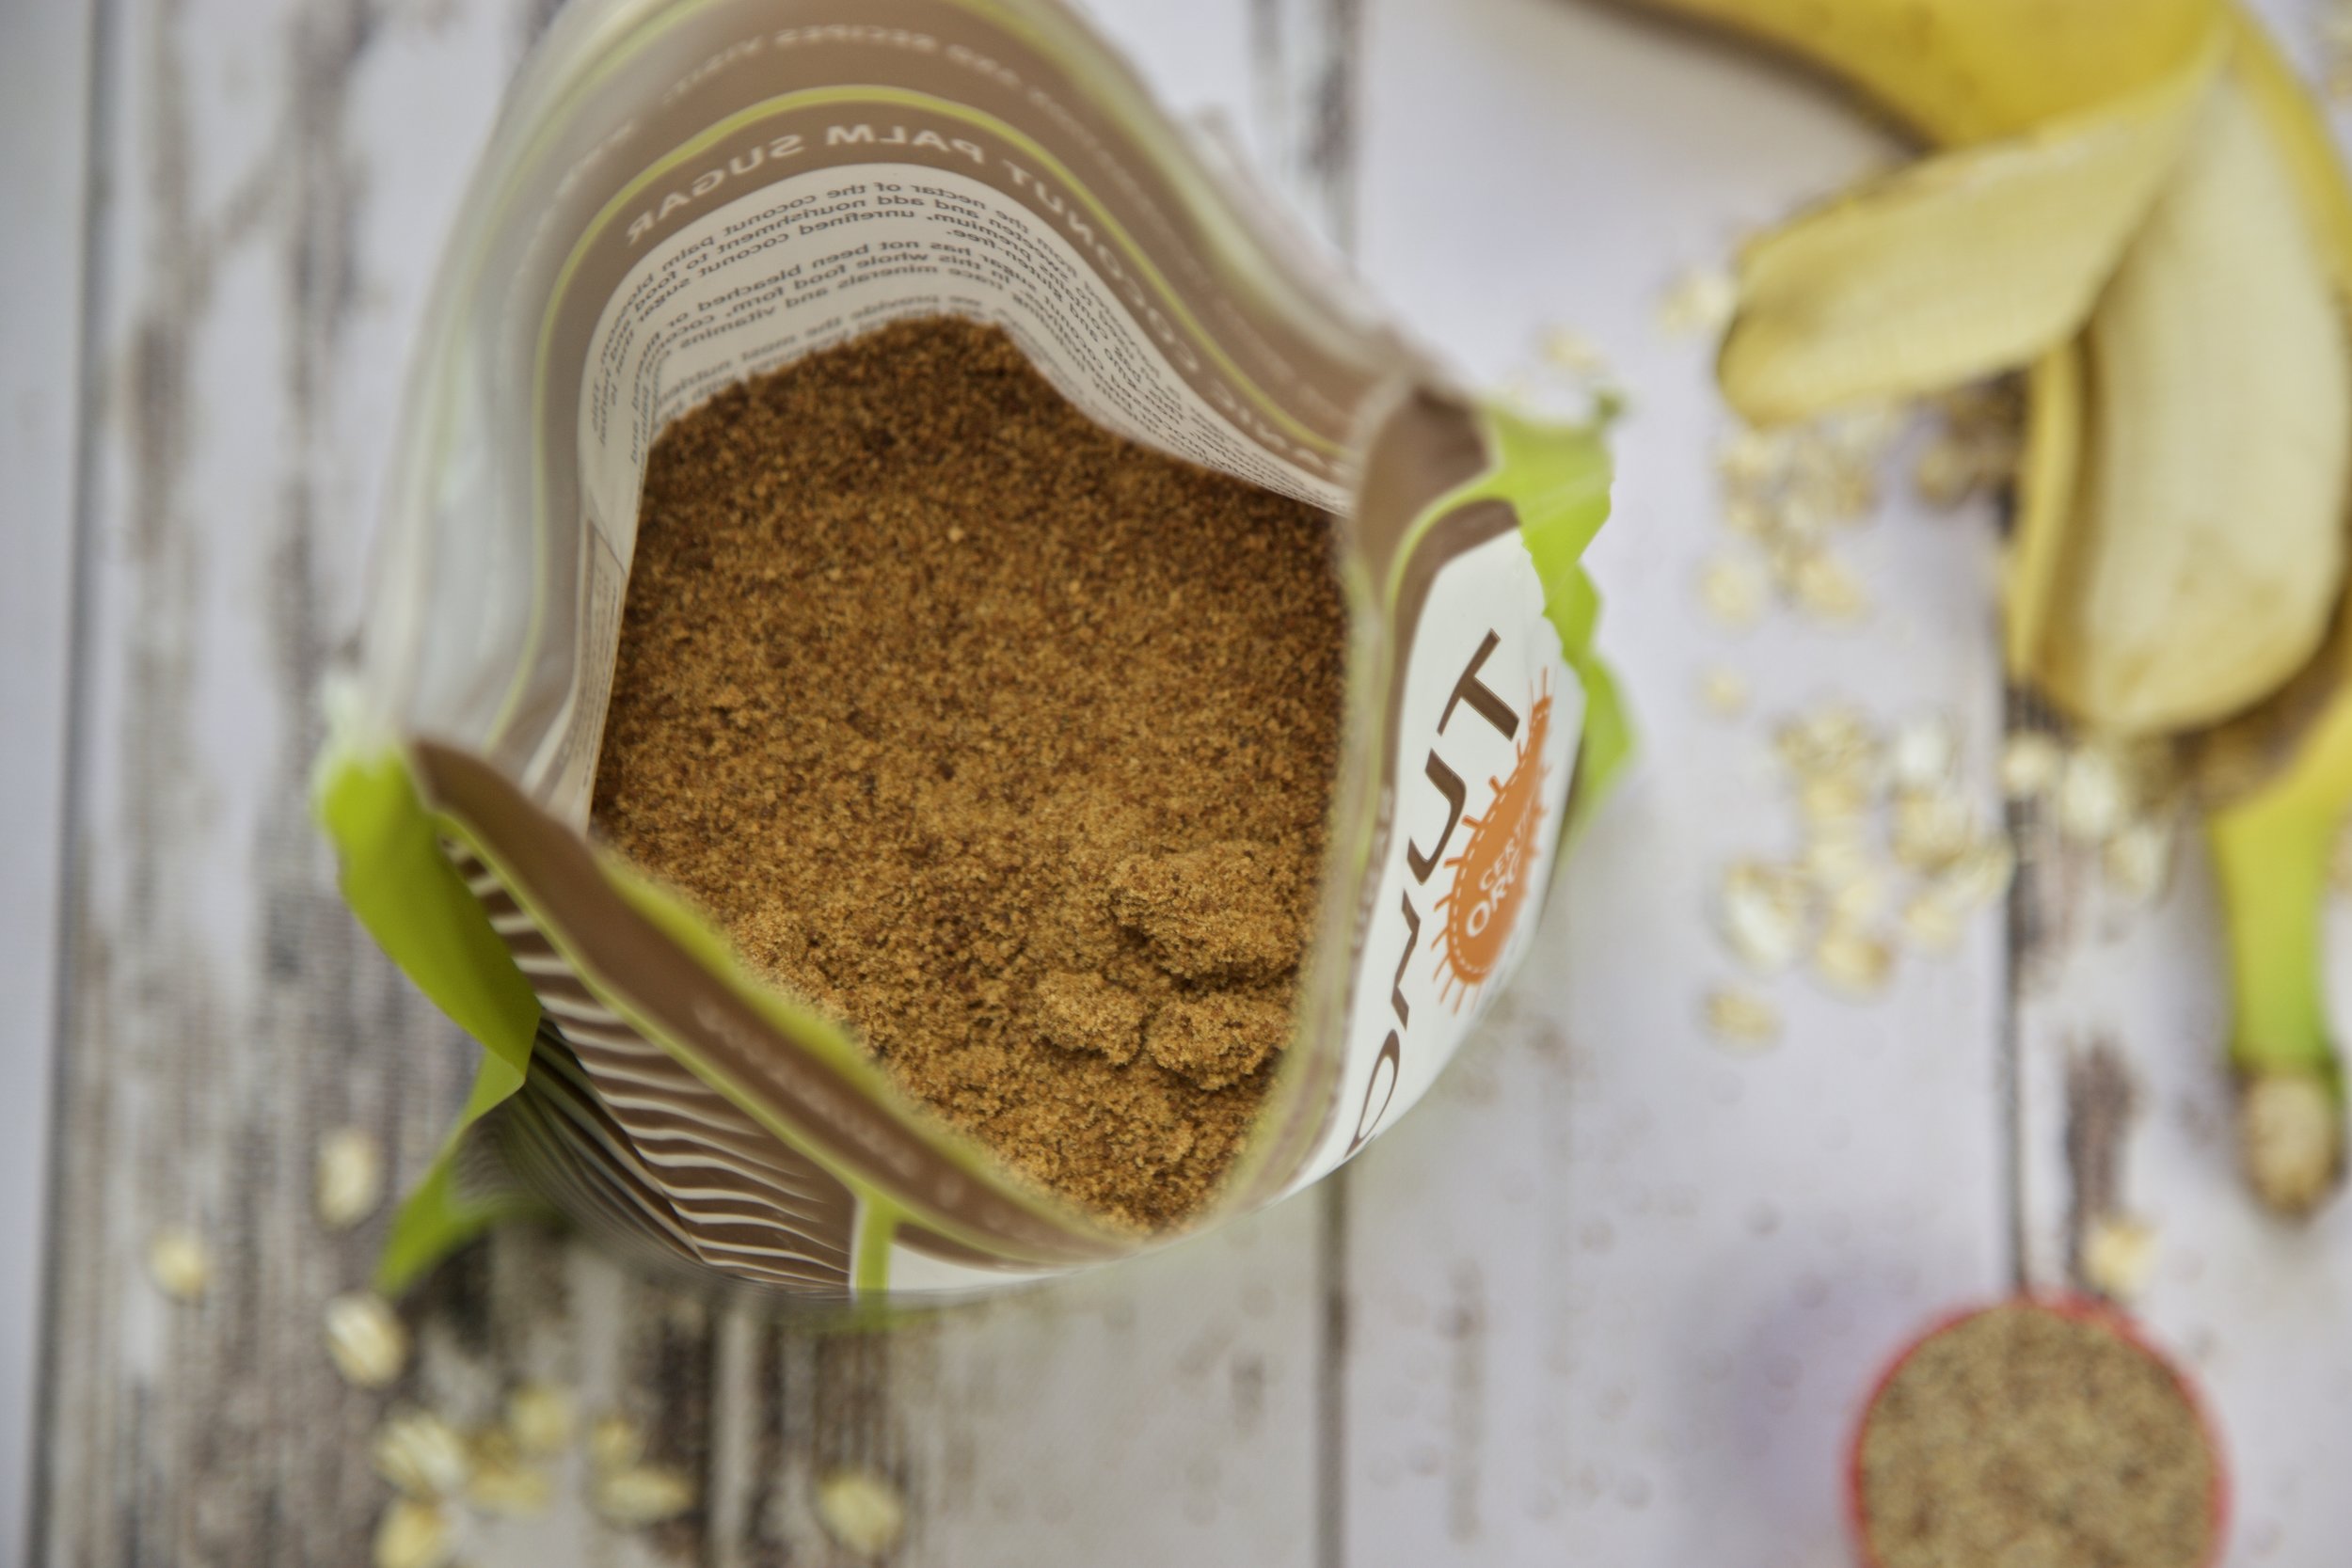
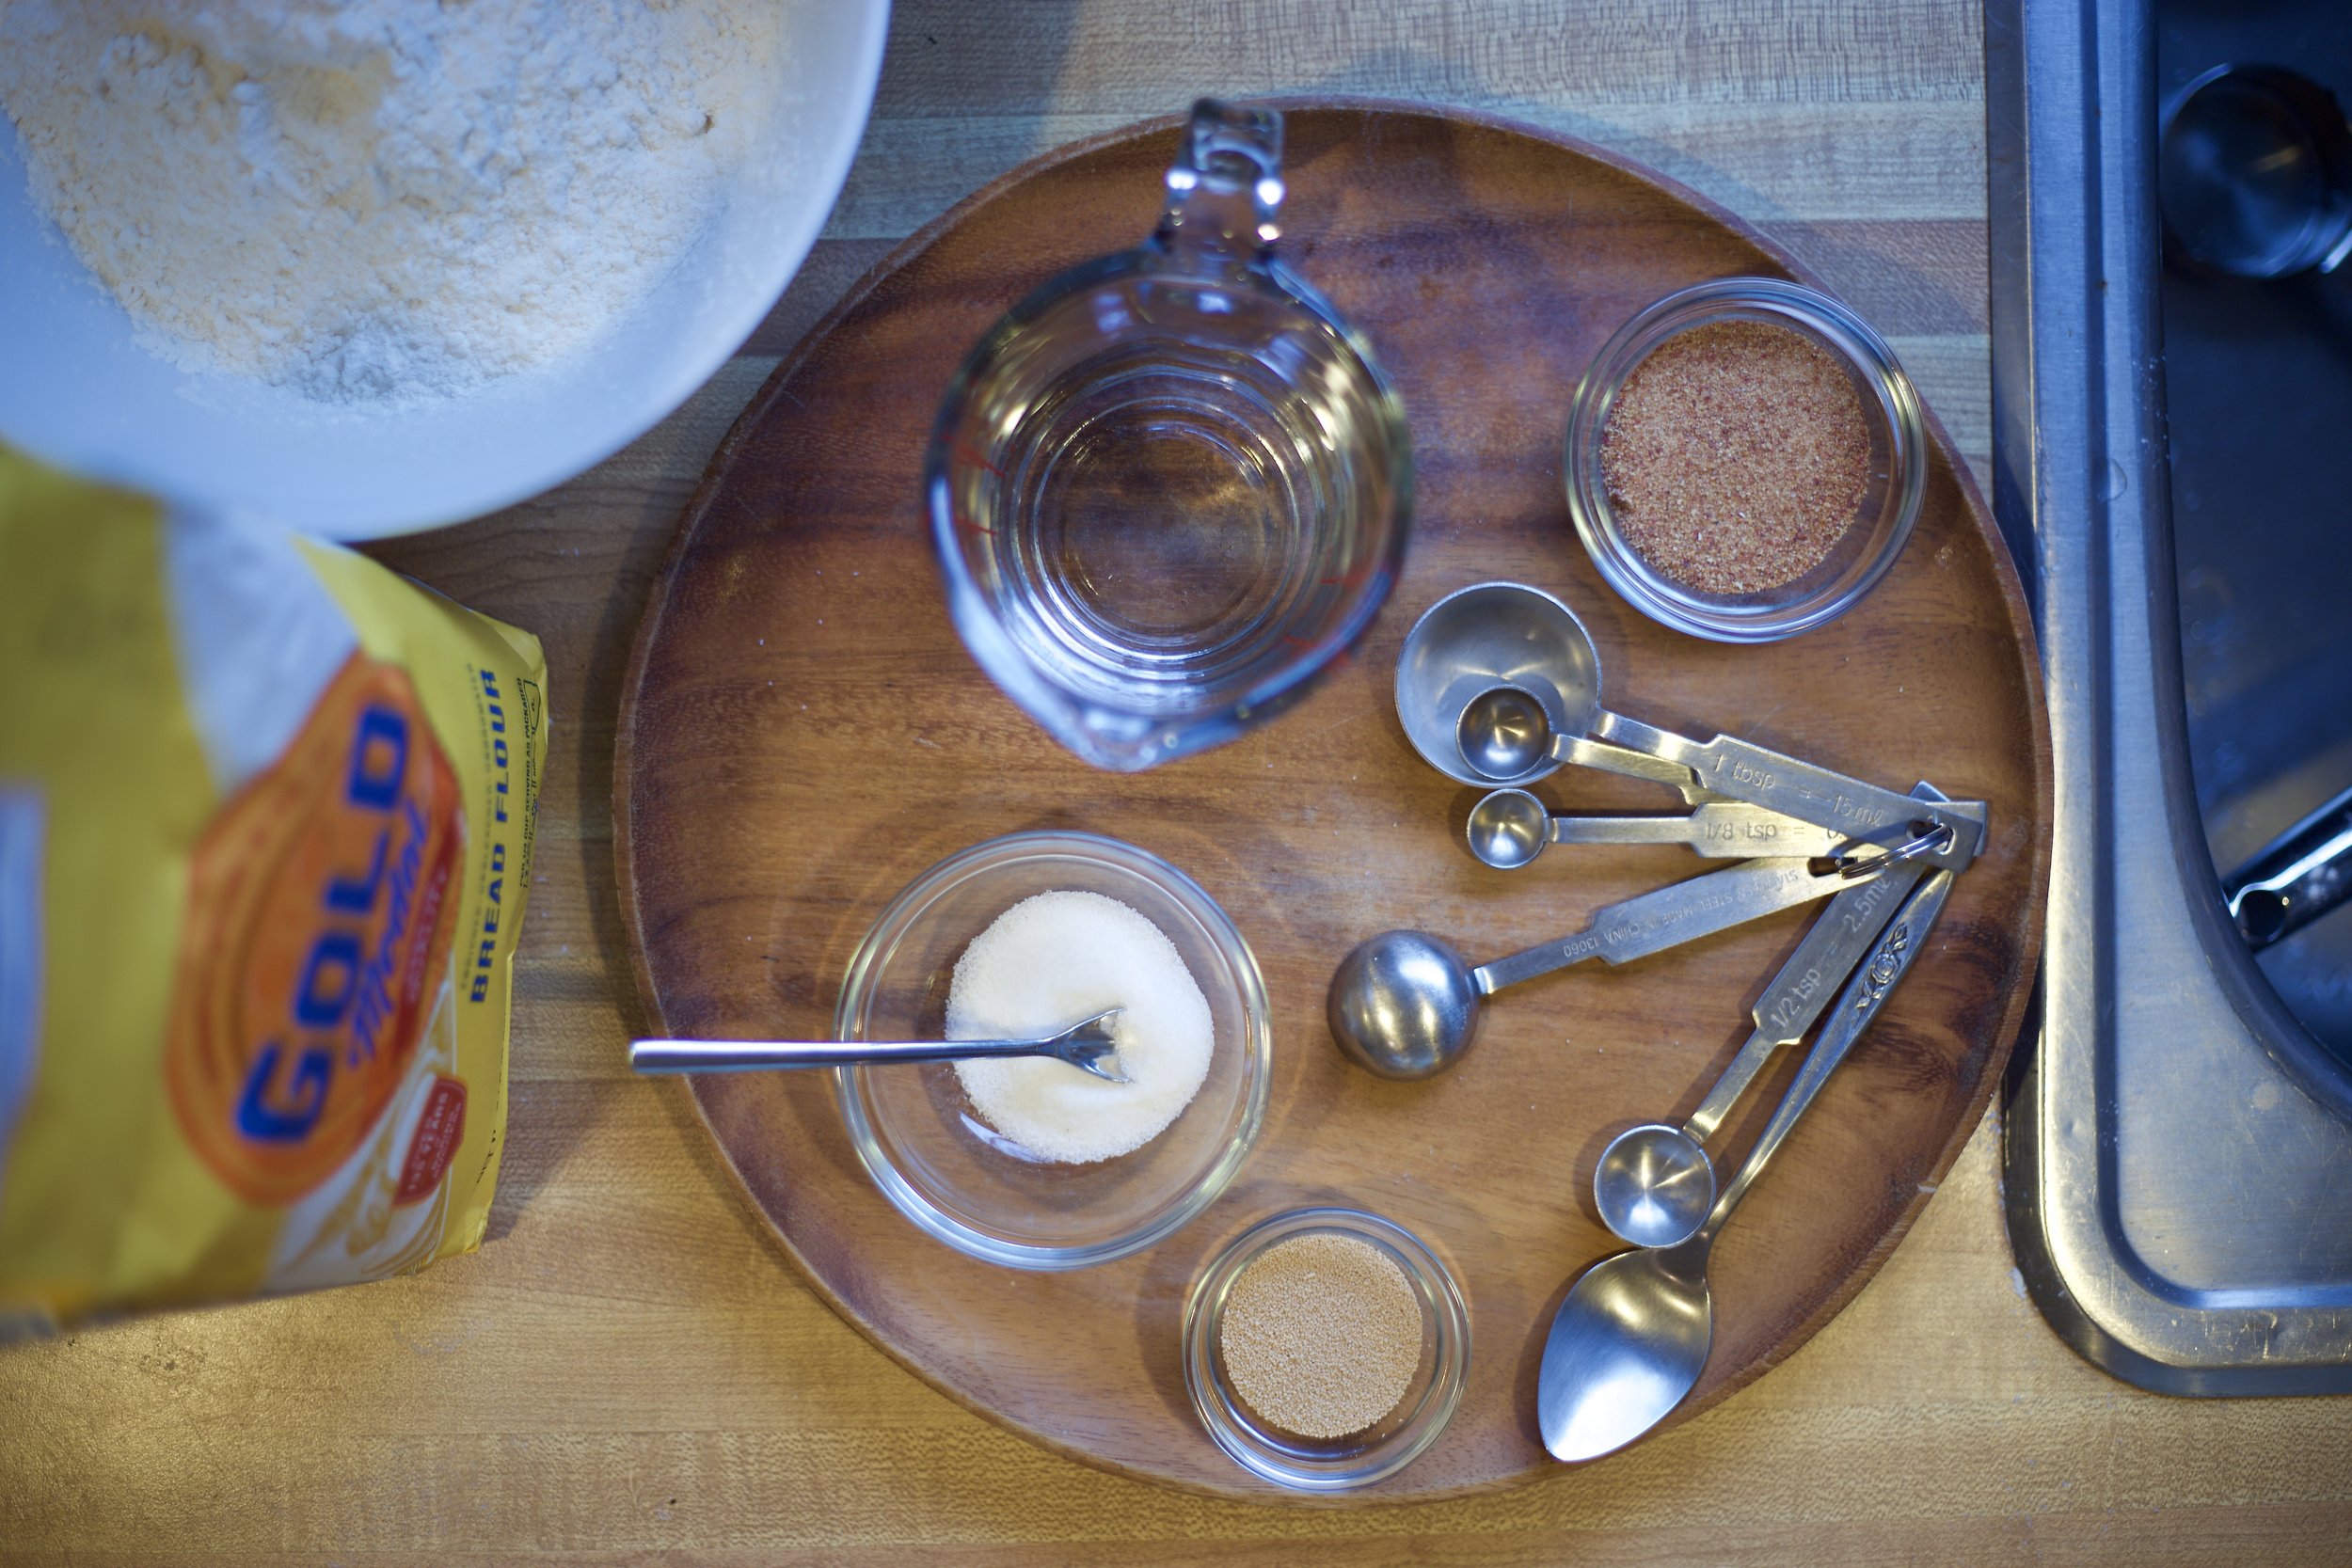
- 1/2 cup Vegan Butter (I use Miyoko’s, because no palm oil)
- 1 cup White Sugar (you can try date sugar as a refined sugar free substitute)
- 1 tsp Vanilla Extract
- 2 tsp Lemon Extract
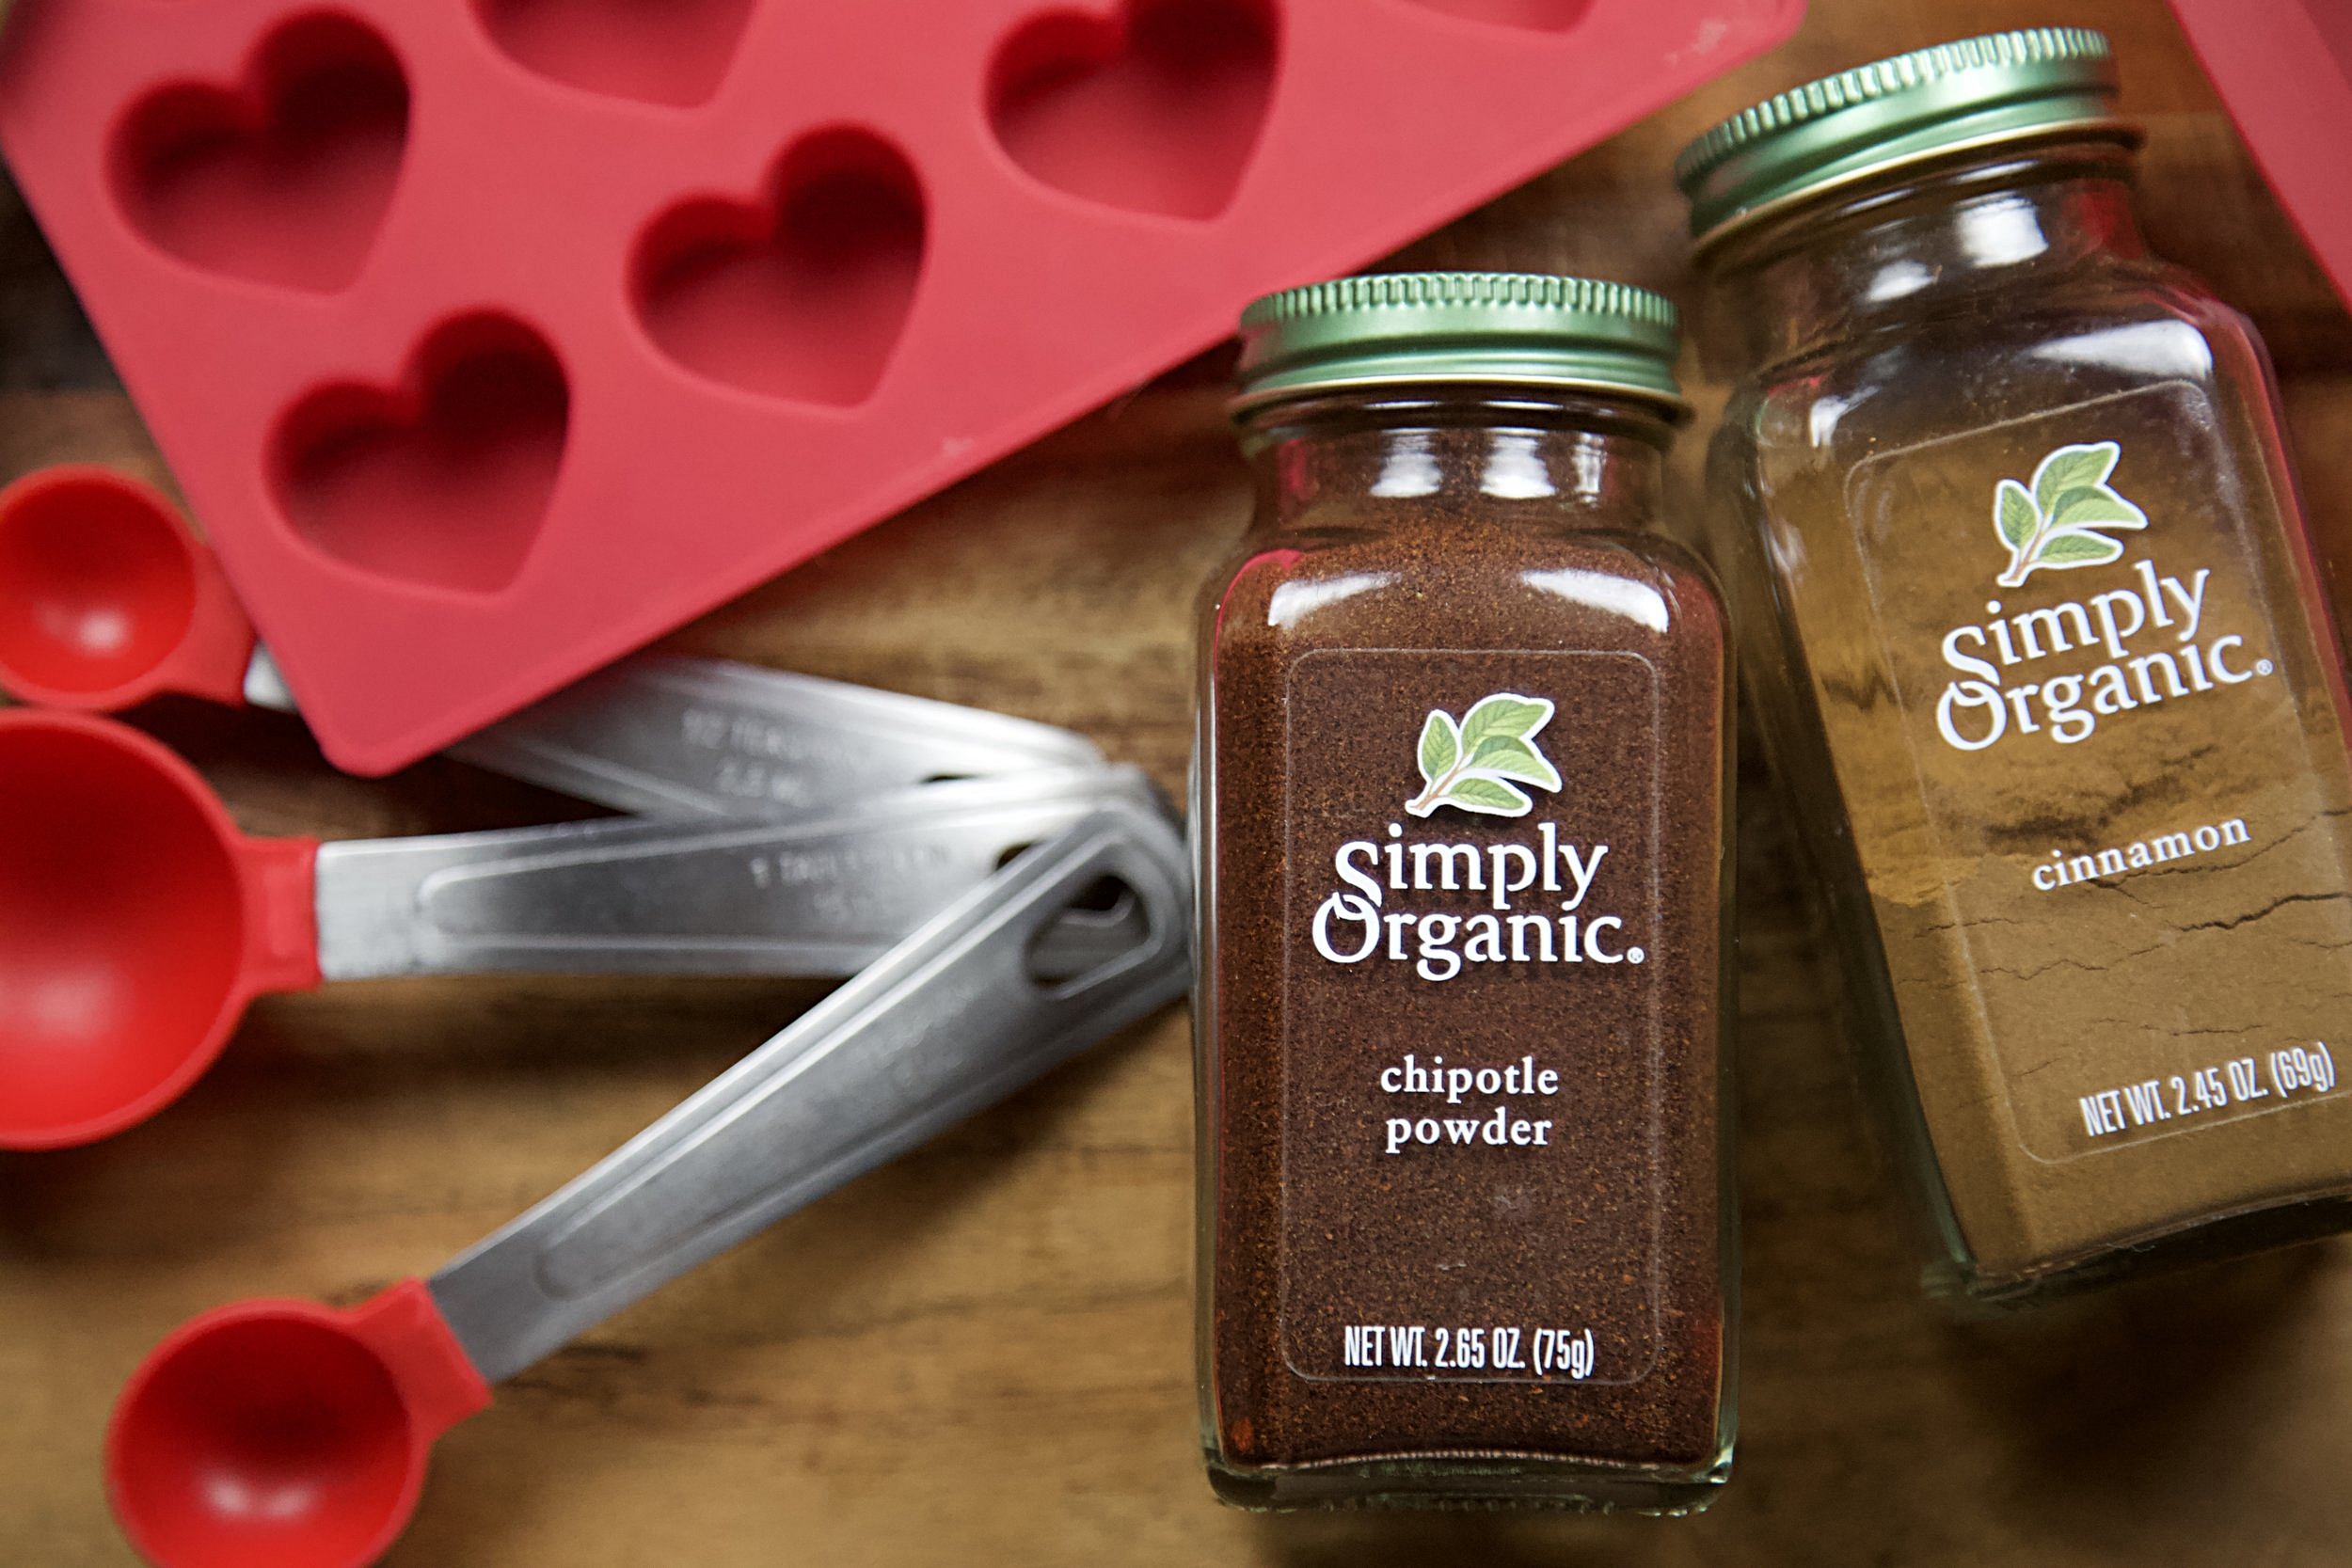
- 1/4 tsp Lavender Extract
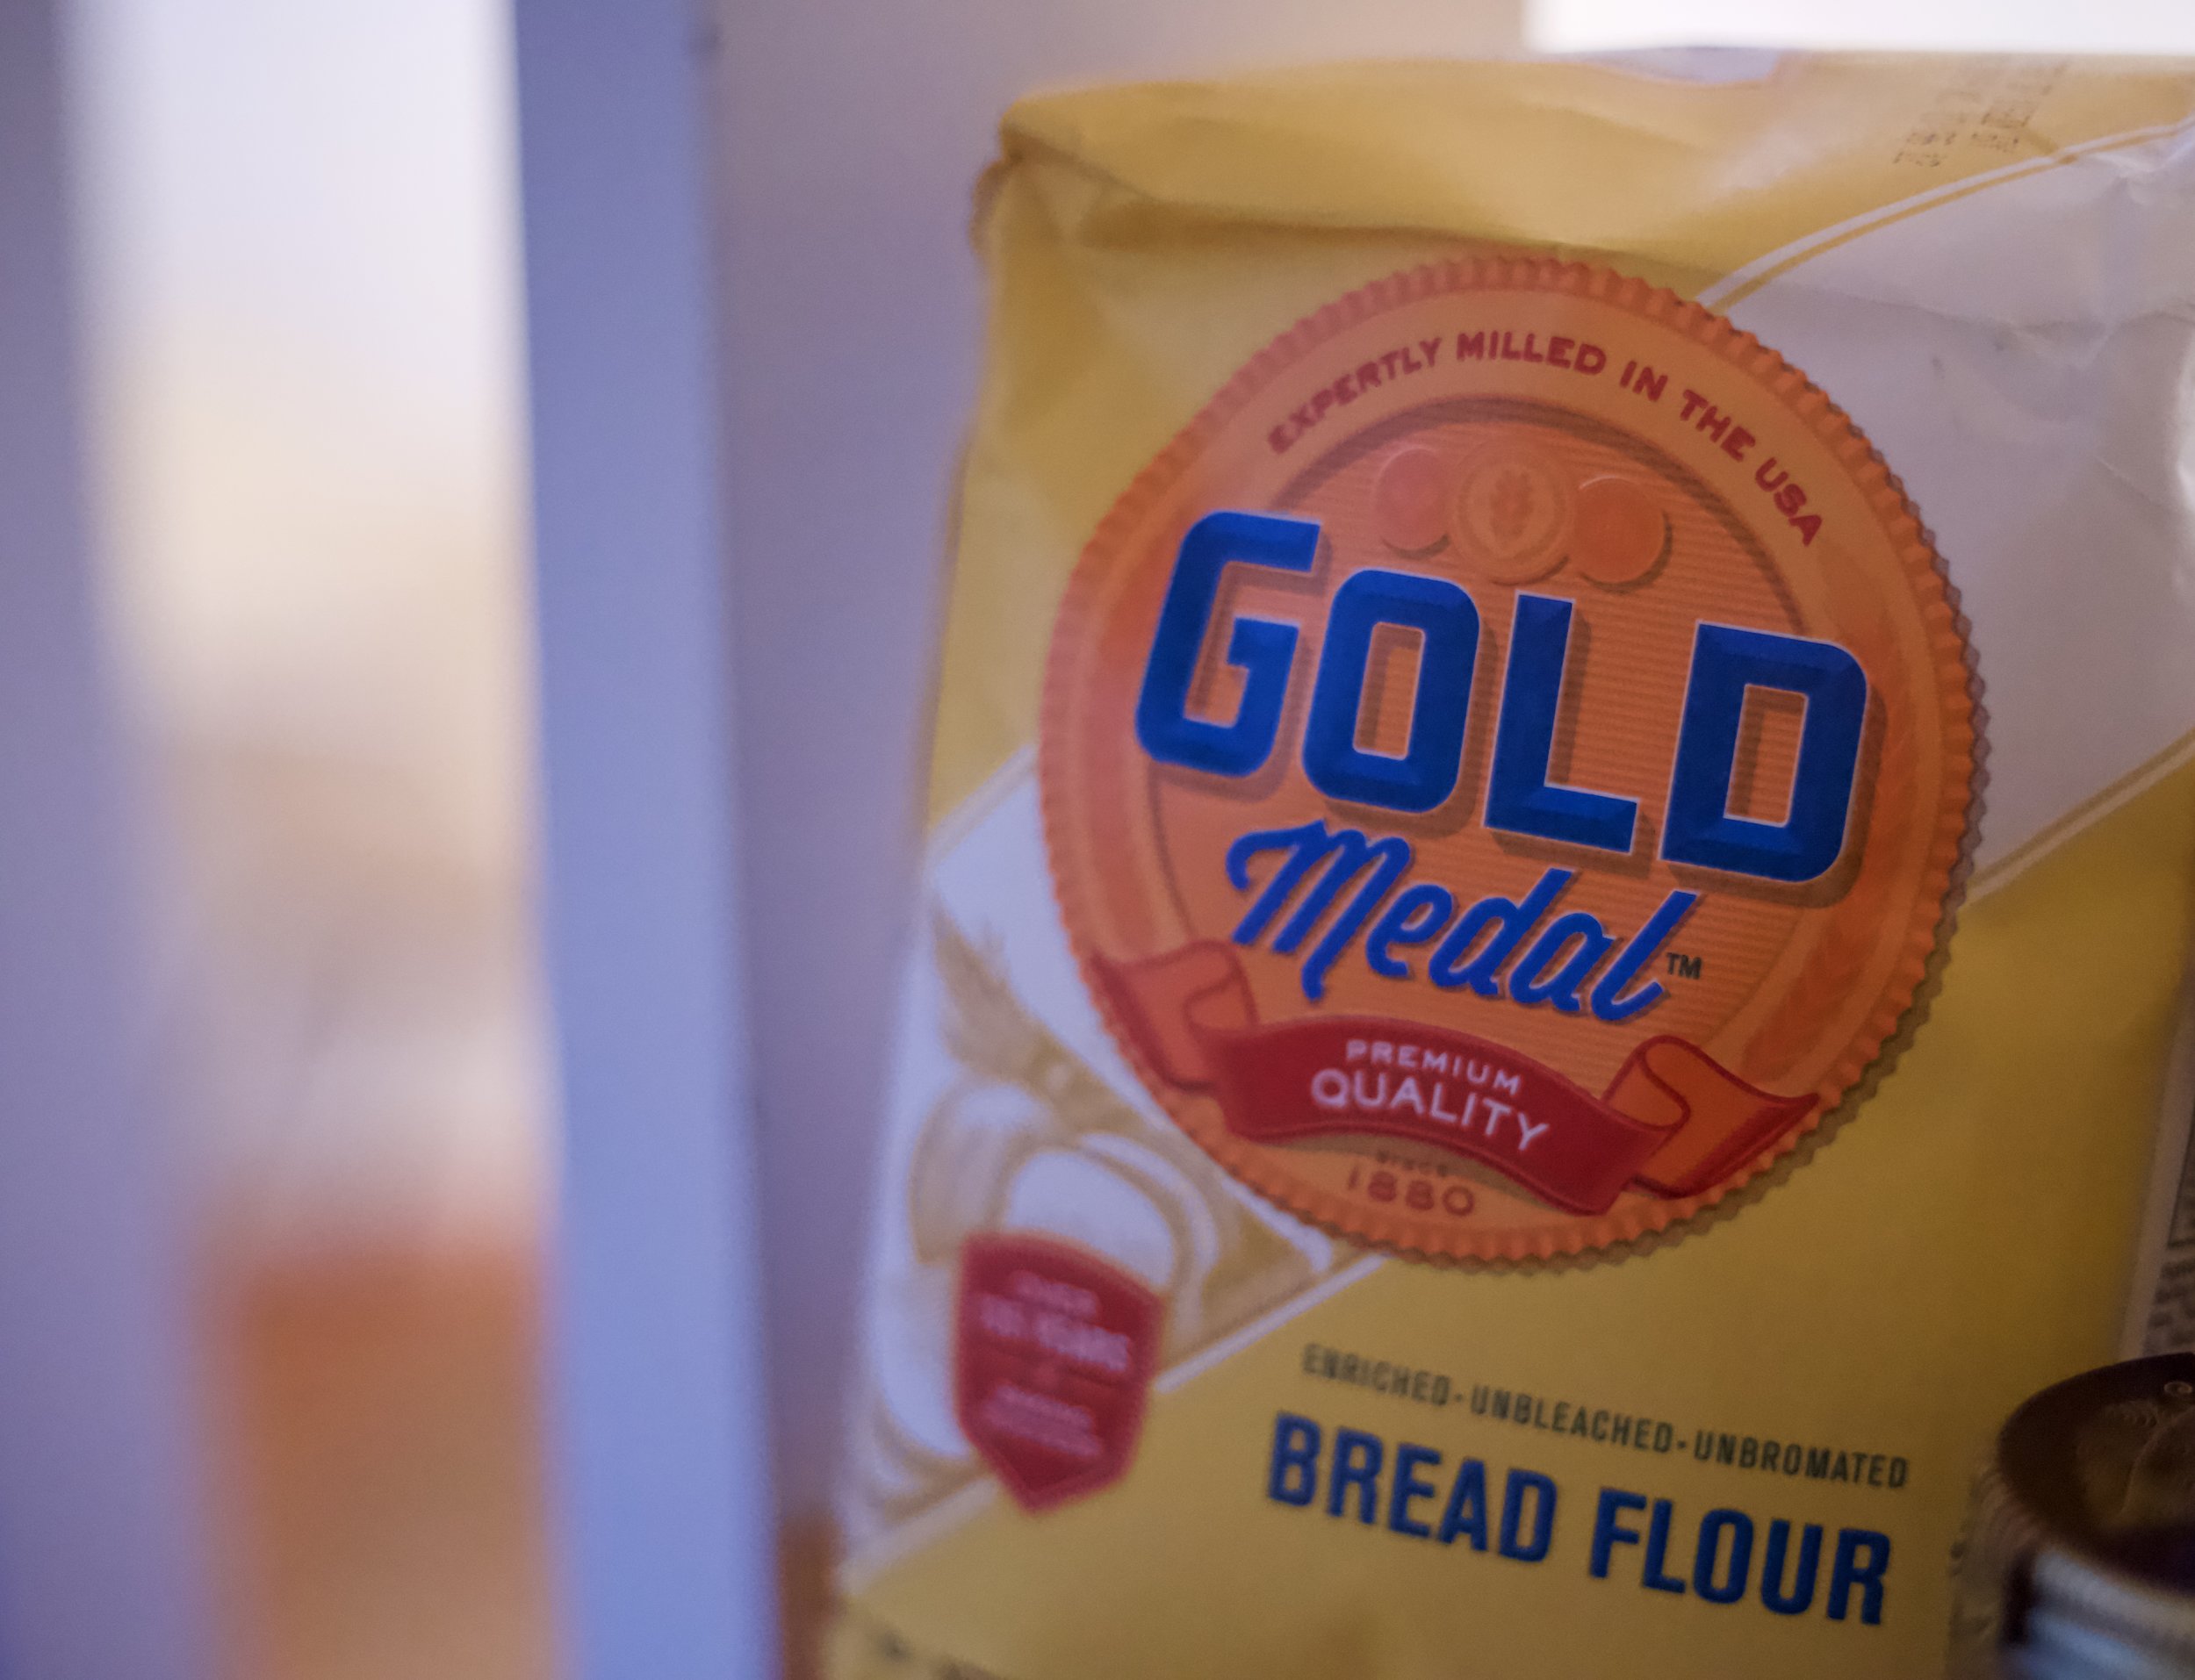
- 2 cups All Purpose Flour
- 3 tsp Baking Powder
- 1/2 tsp Pink Salt
- 1 cup Vegan Buttermilk (Add 2 TBSP of Apple Cider Vinegar to 1 cup measuring cup and fill the rest with almond, coconut, soy or oat milk - Whisk vigorously and let sit for 5 minutes)
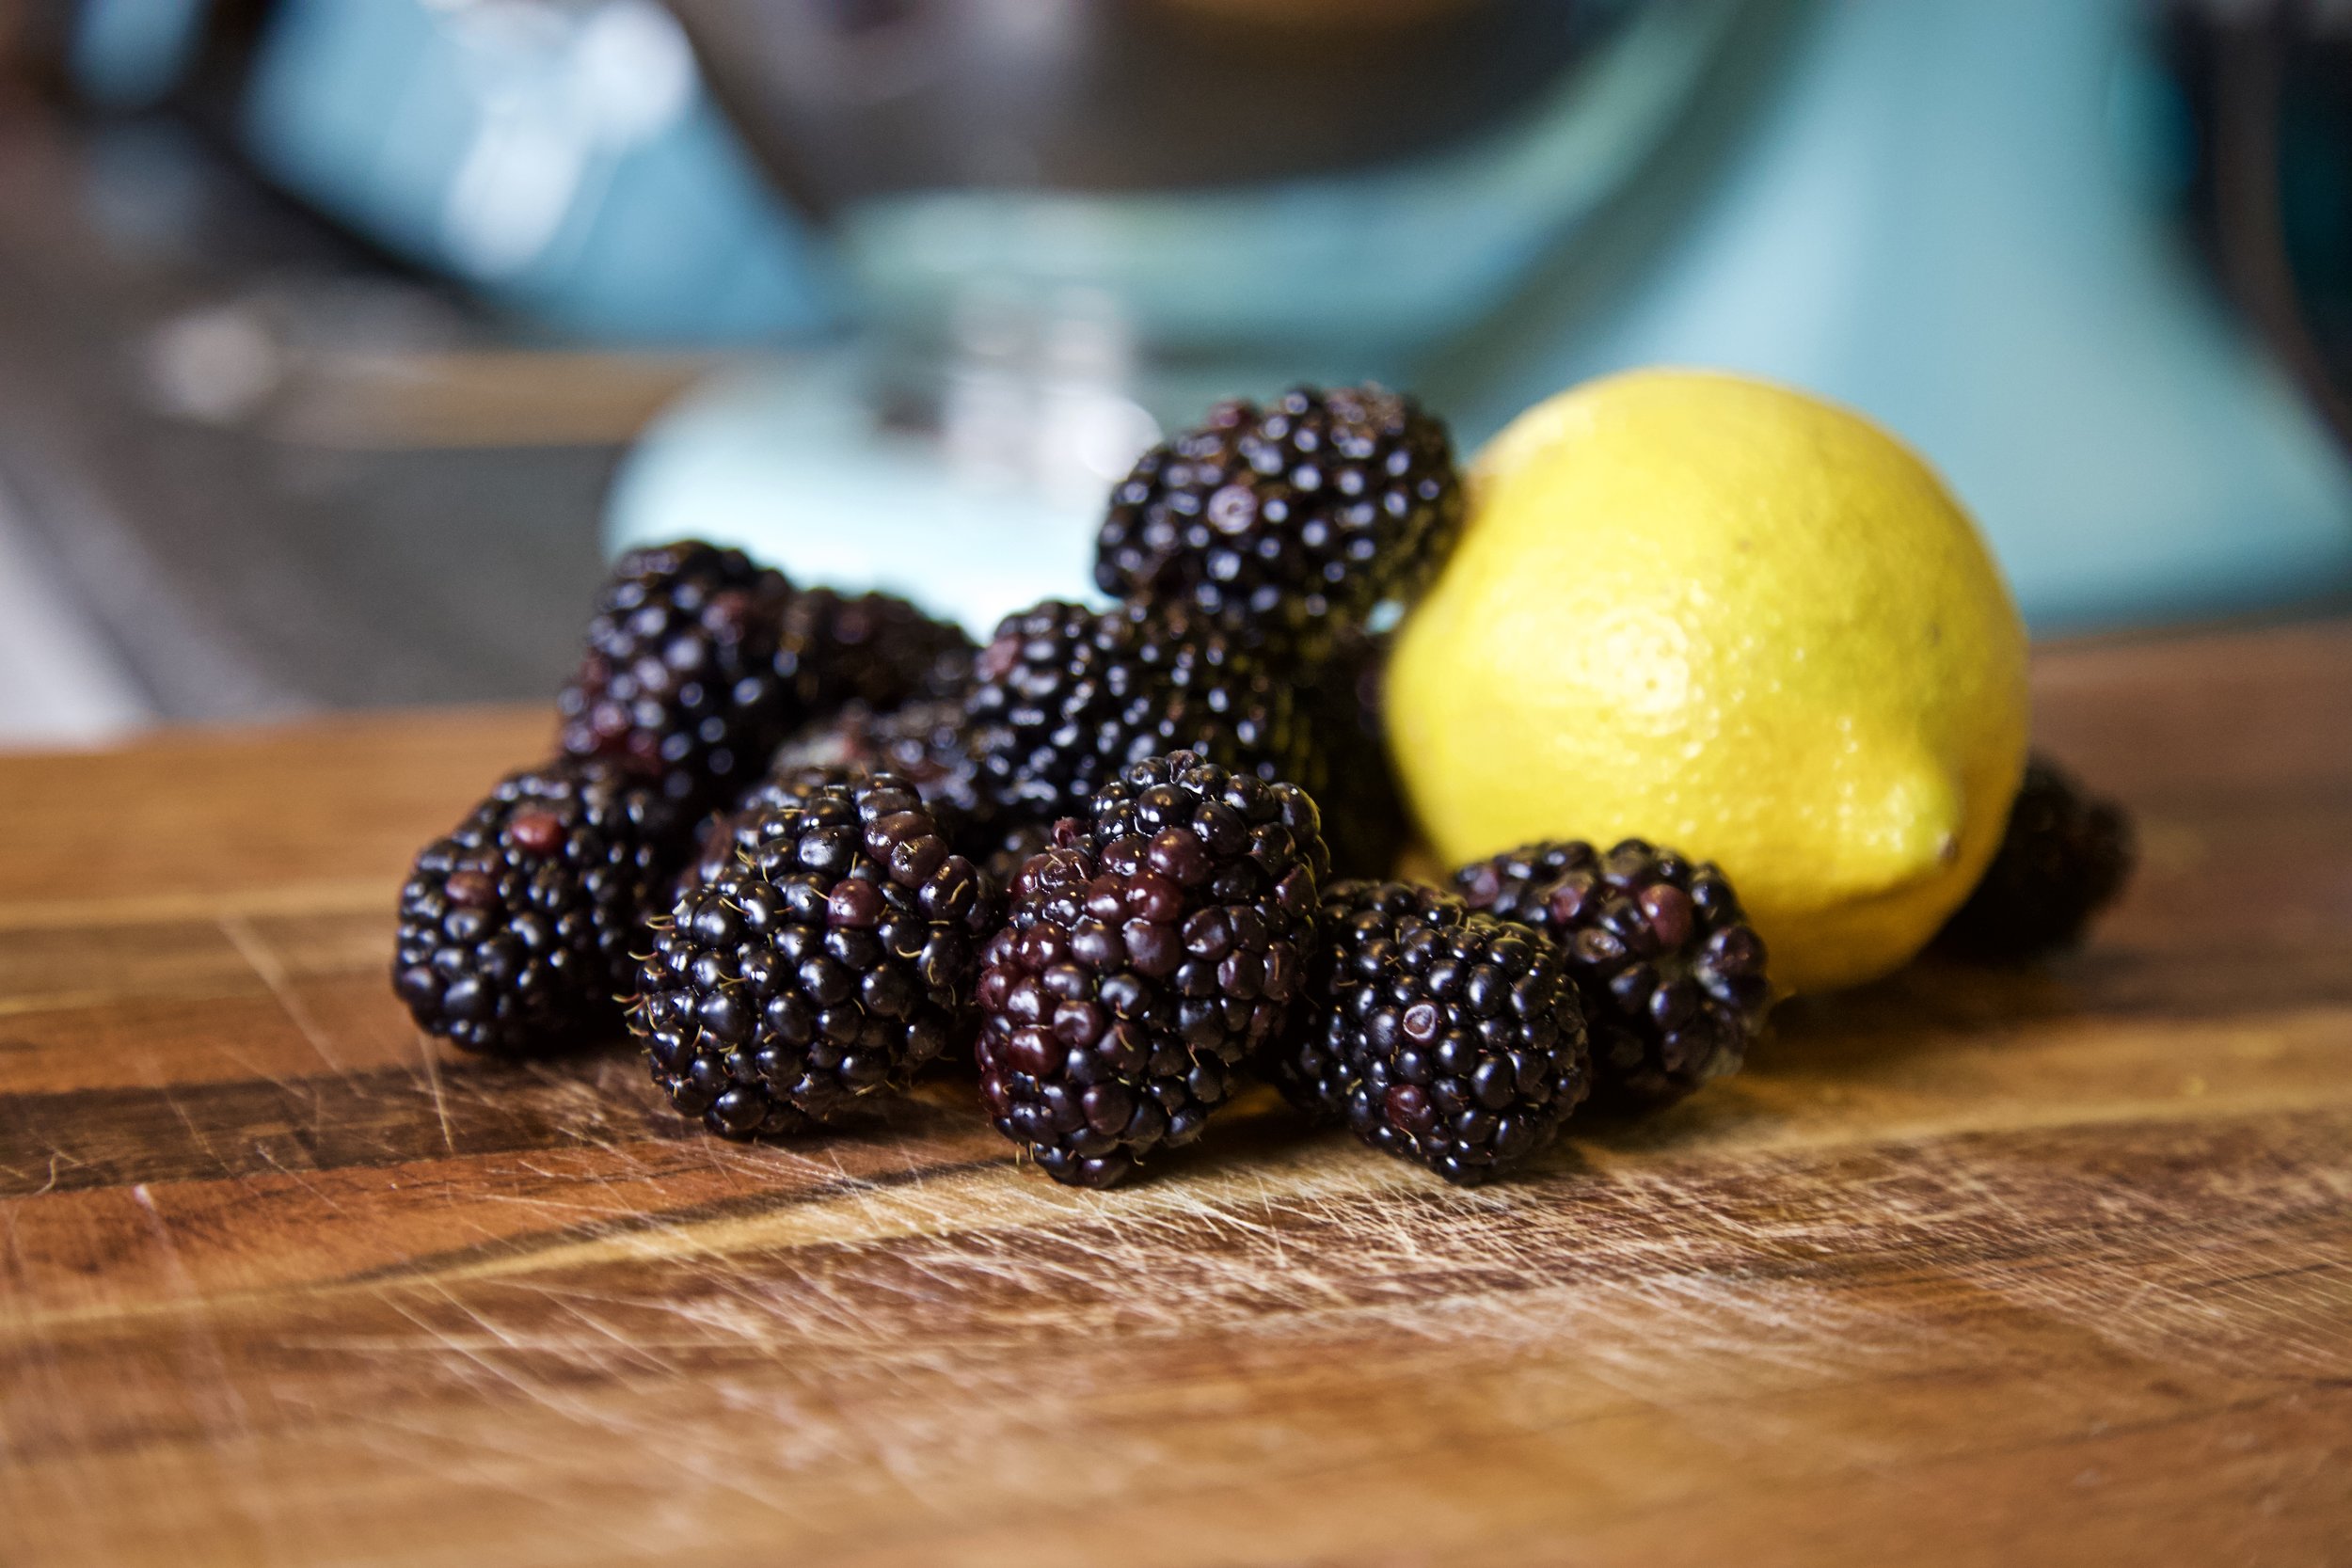
- Zest of 2 small meyer lemons or 1.5 large lemons or really whatever you want (basically make sure you have 3 to 4 meyer lemons on hand for this recipe. Can I just use regular lemons? Sure, but you've obviously never had a meyer lemon. It's a game changer, but they can be harder to find).
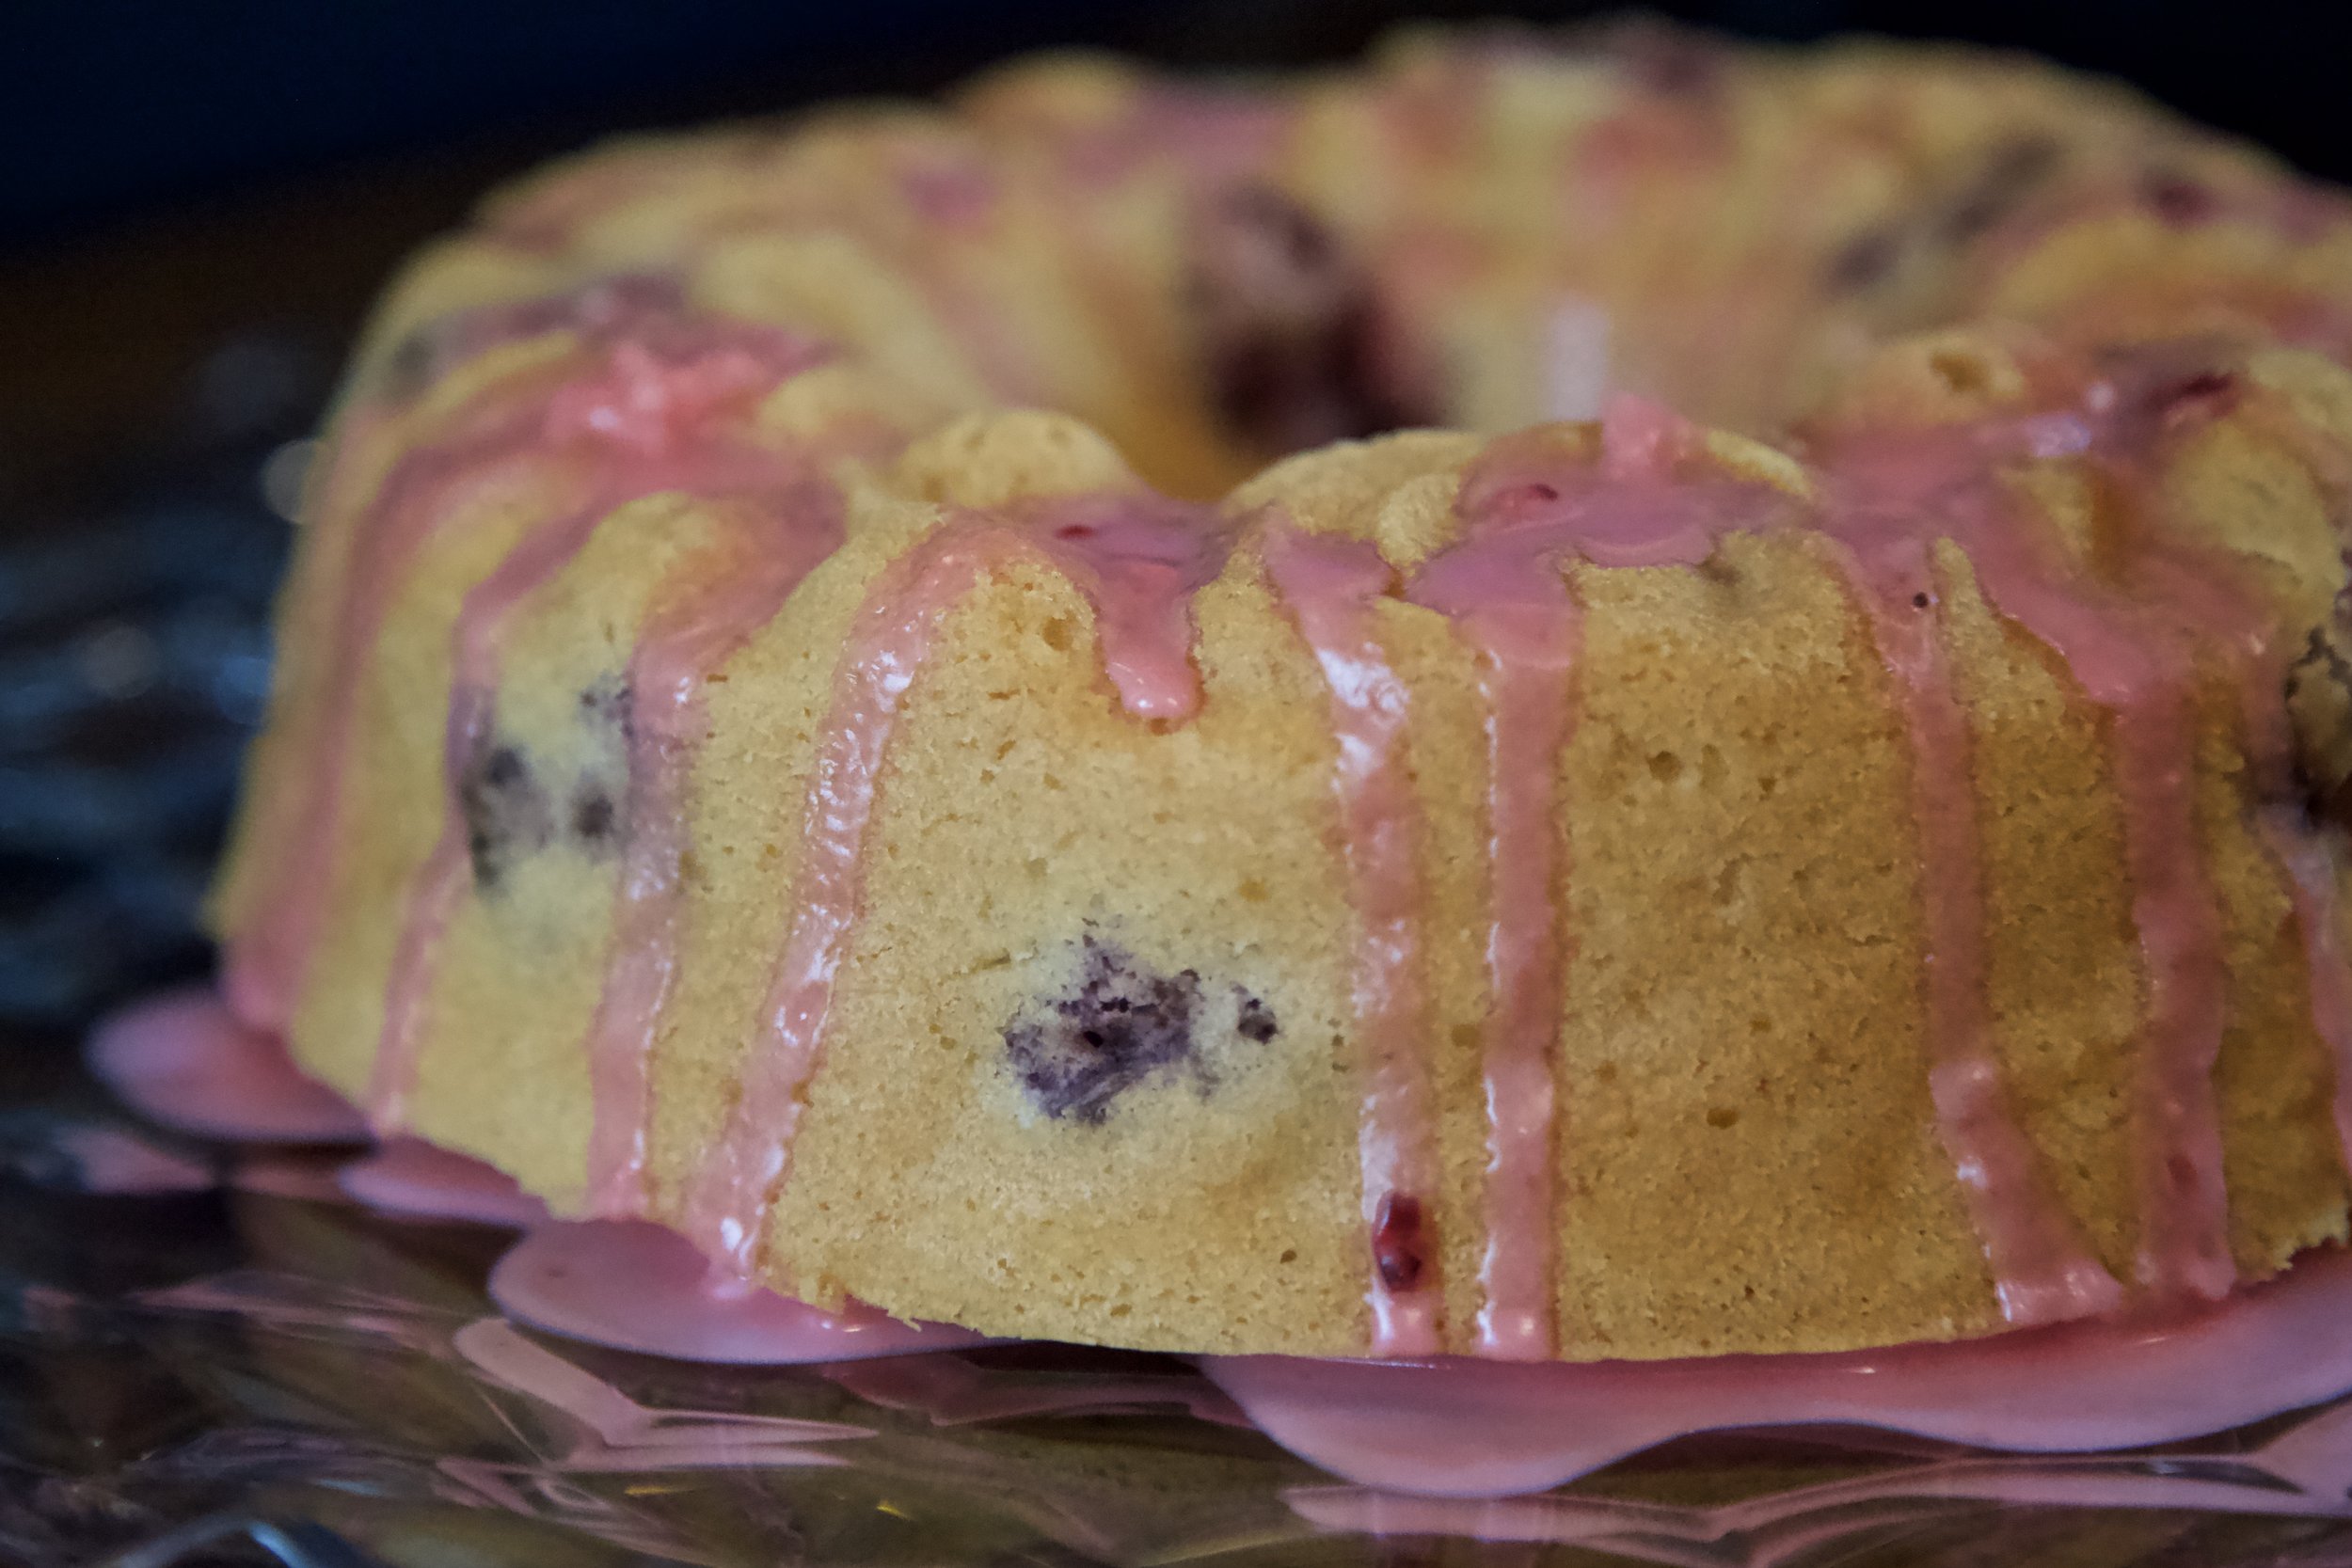
- 1 1/2 cups of fresh blackberries
- note ~ you will need extra sugar, lemon juice and lavender extract to macerate the berries (best overnight, or at least for 1 hour. Don't worry about amounts, just enough to cover the berries. You can't really mess this part up).
INGREDIENTS FOR ICING:
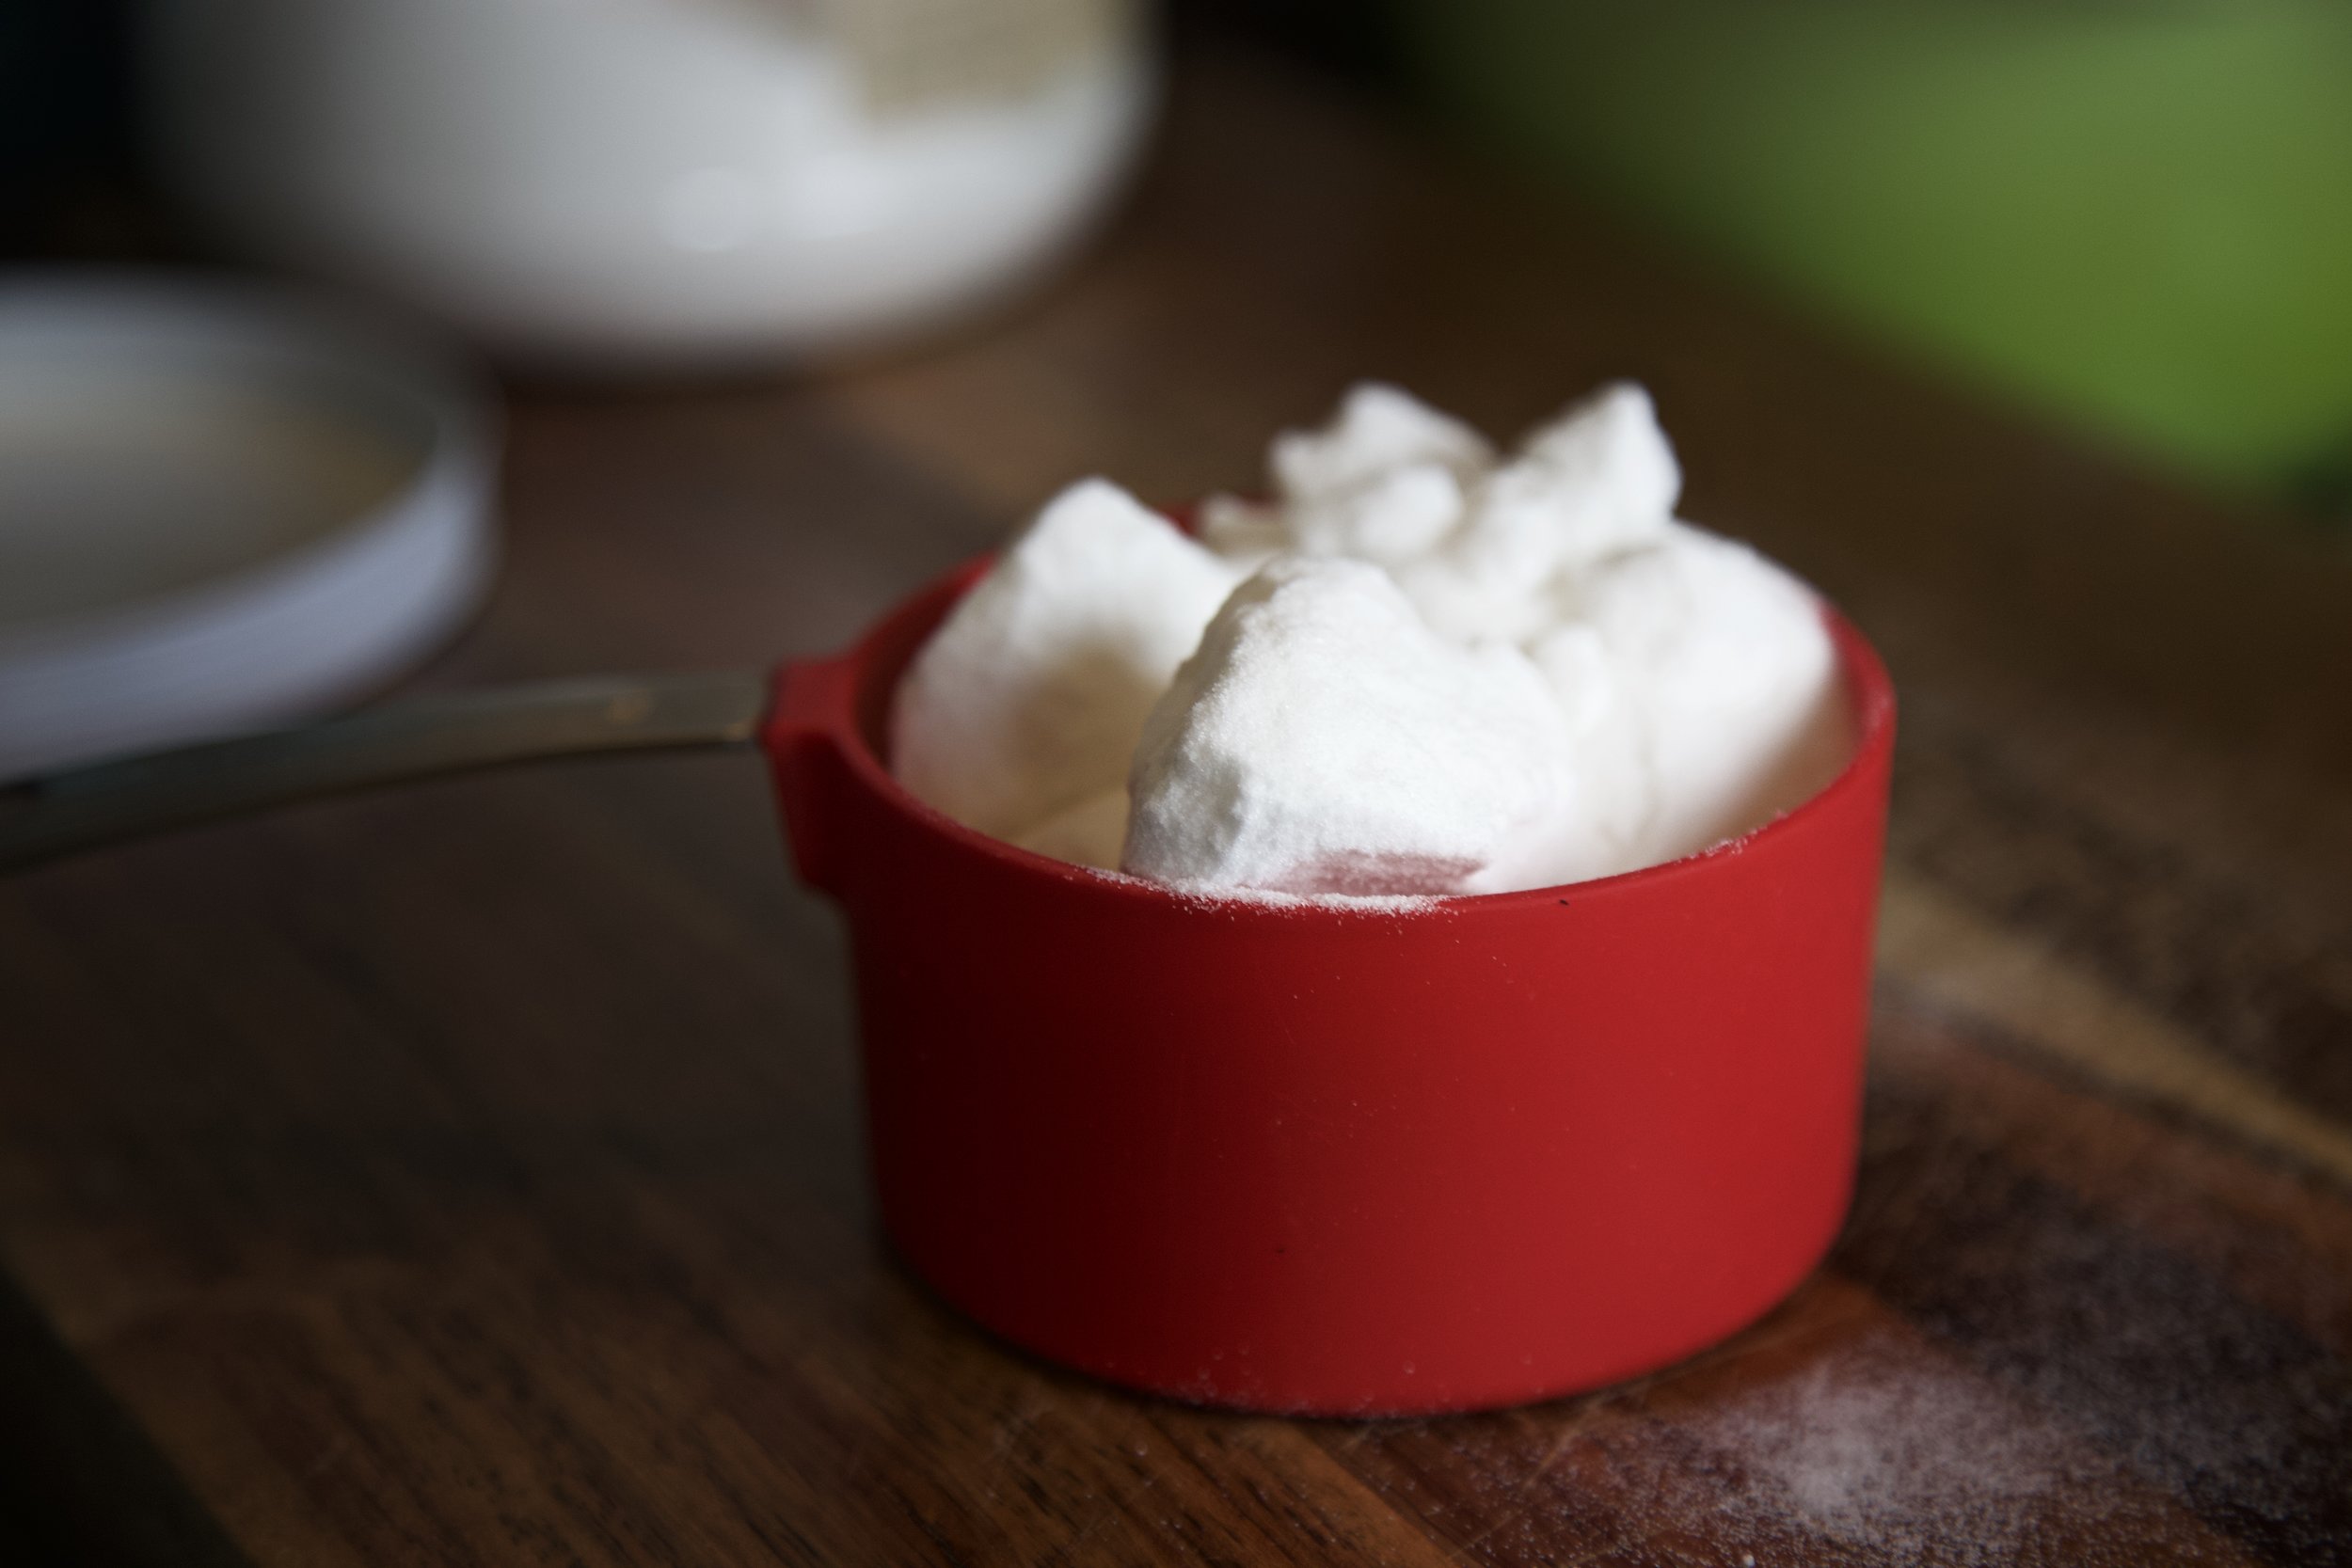
- 1 cup Powdered Sugar
- 1 and 1/2 Tbsp Lemon Juice
- 1/8 tsp lemon extract
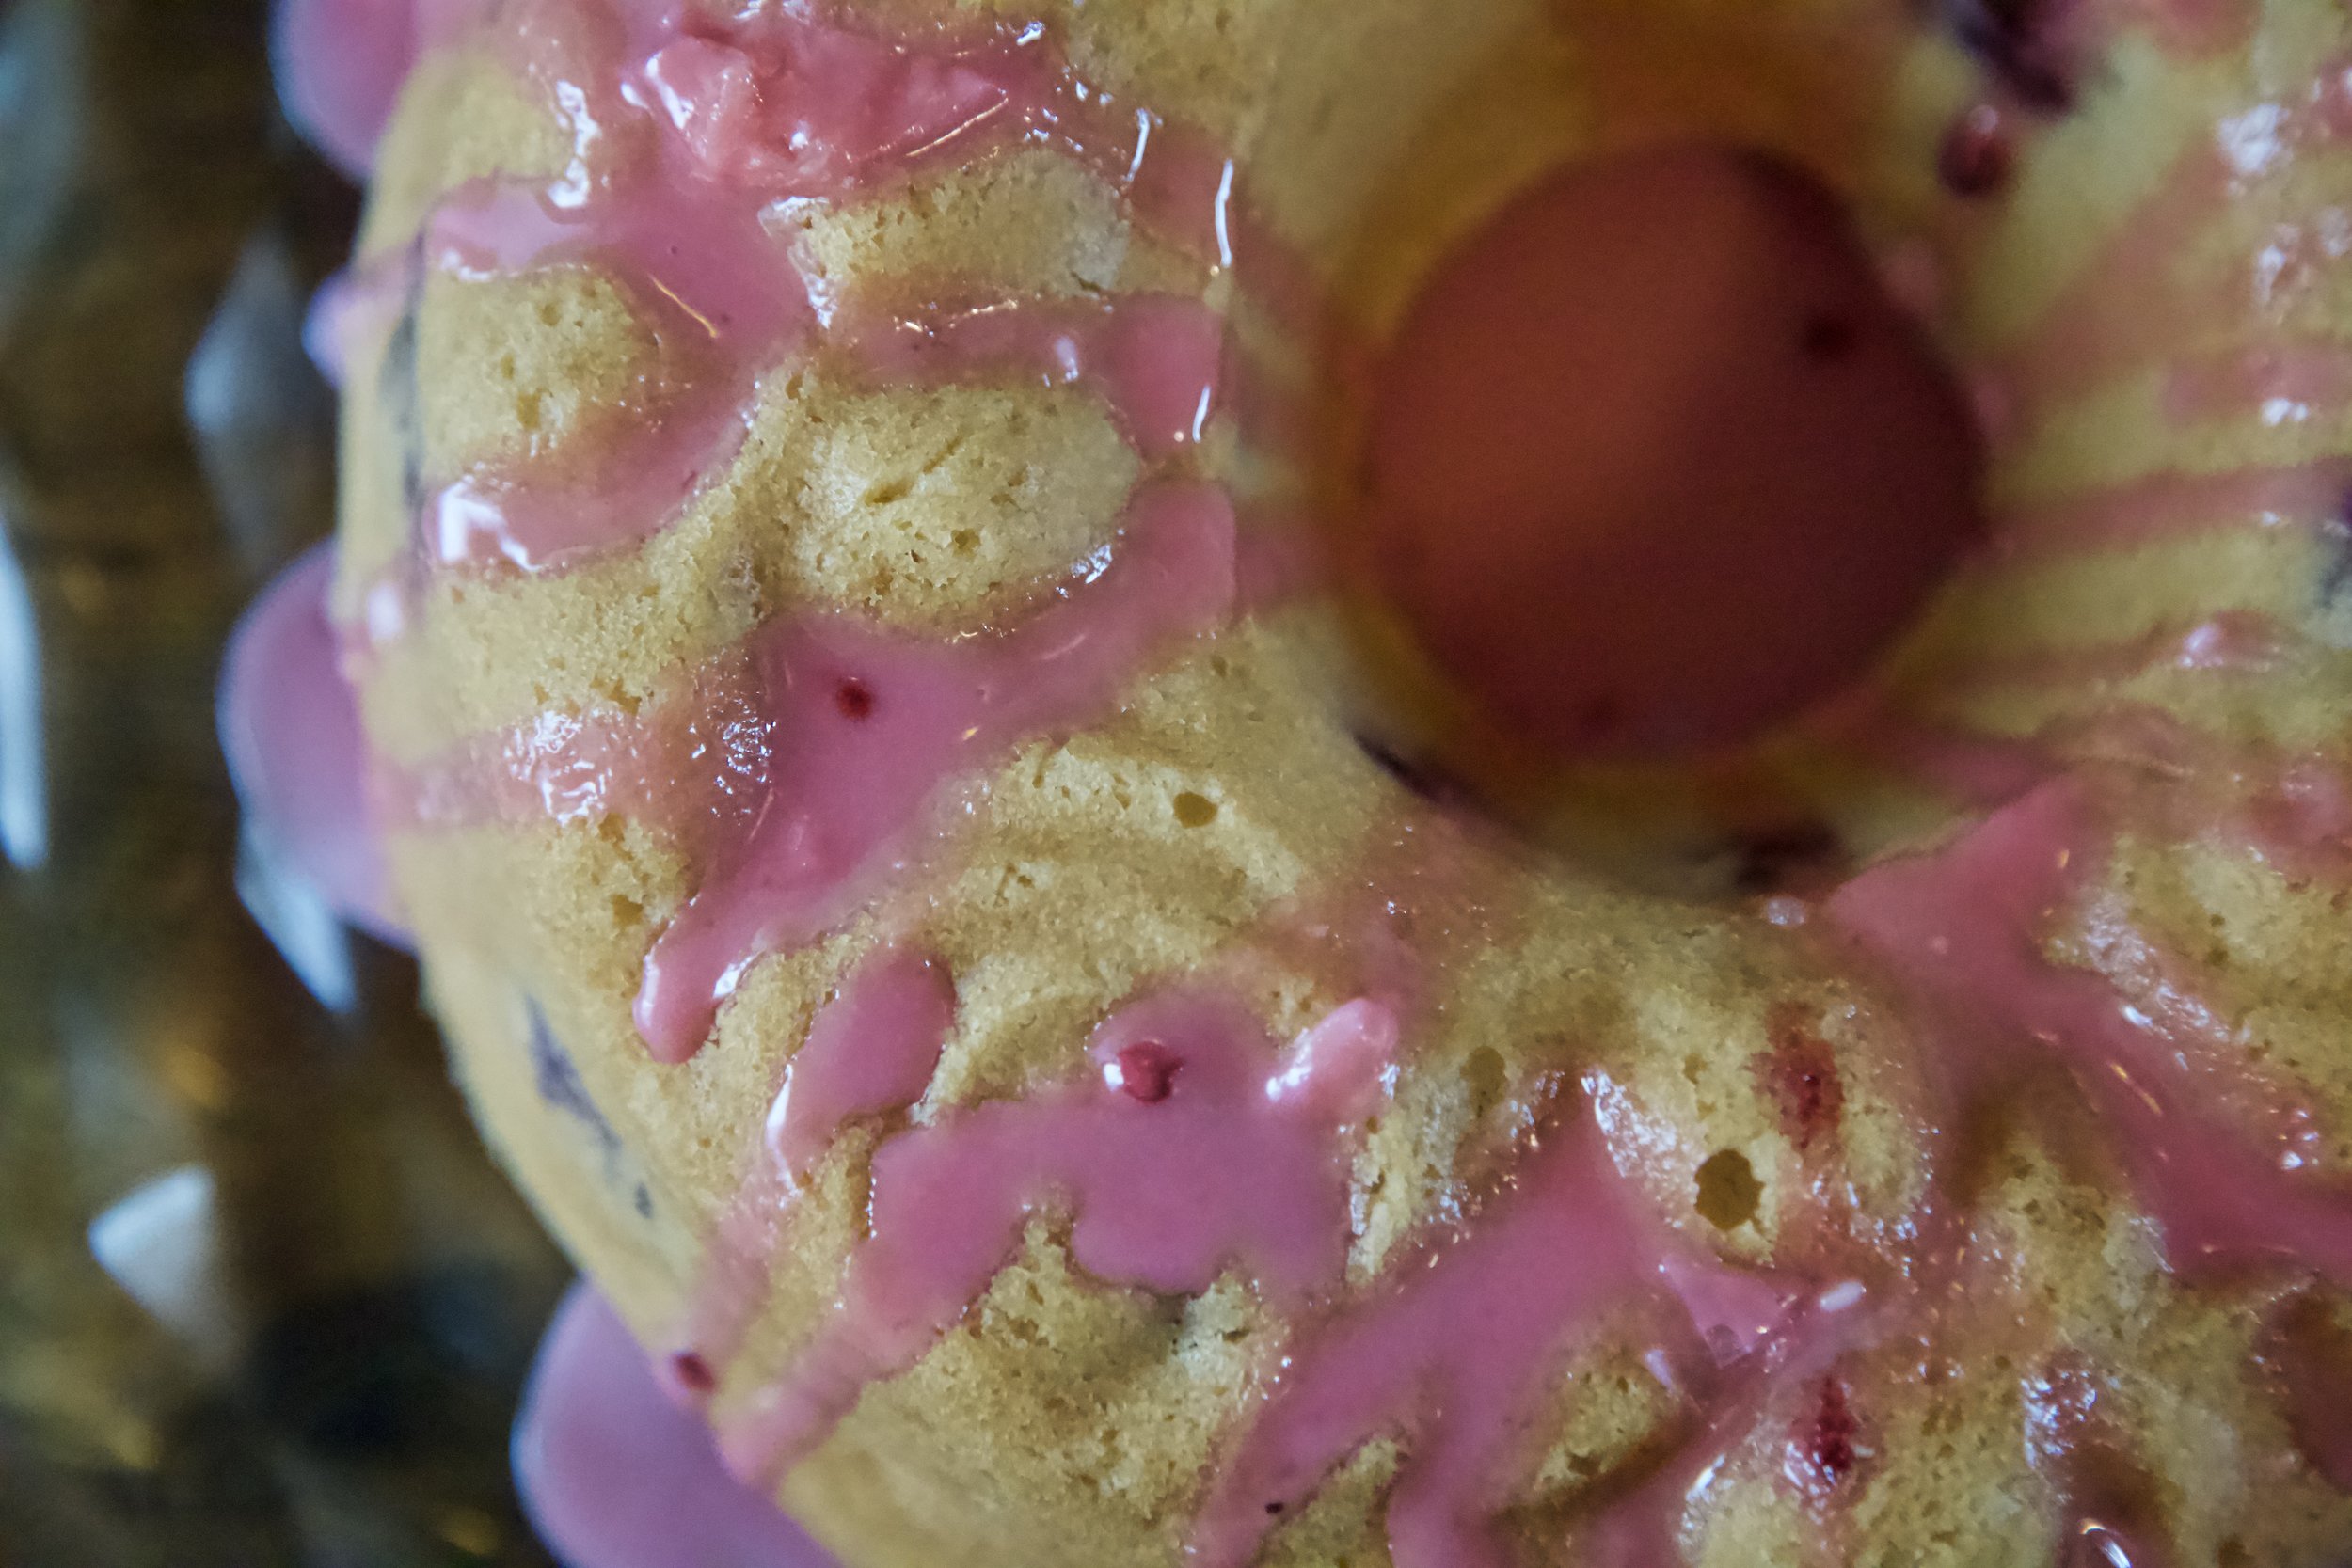
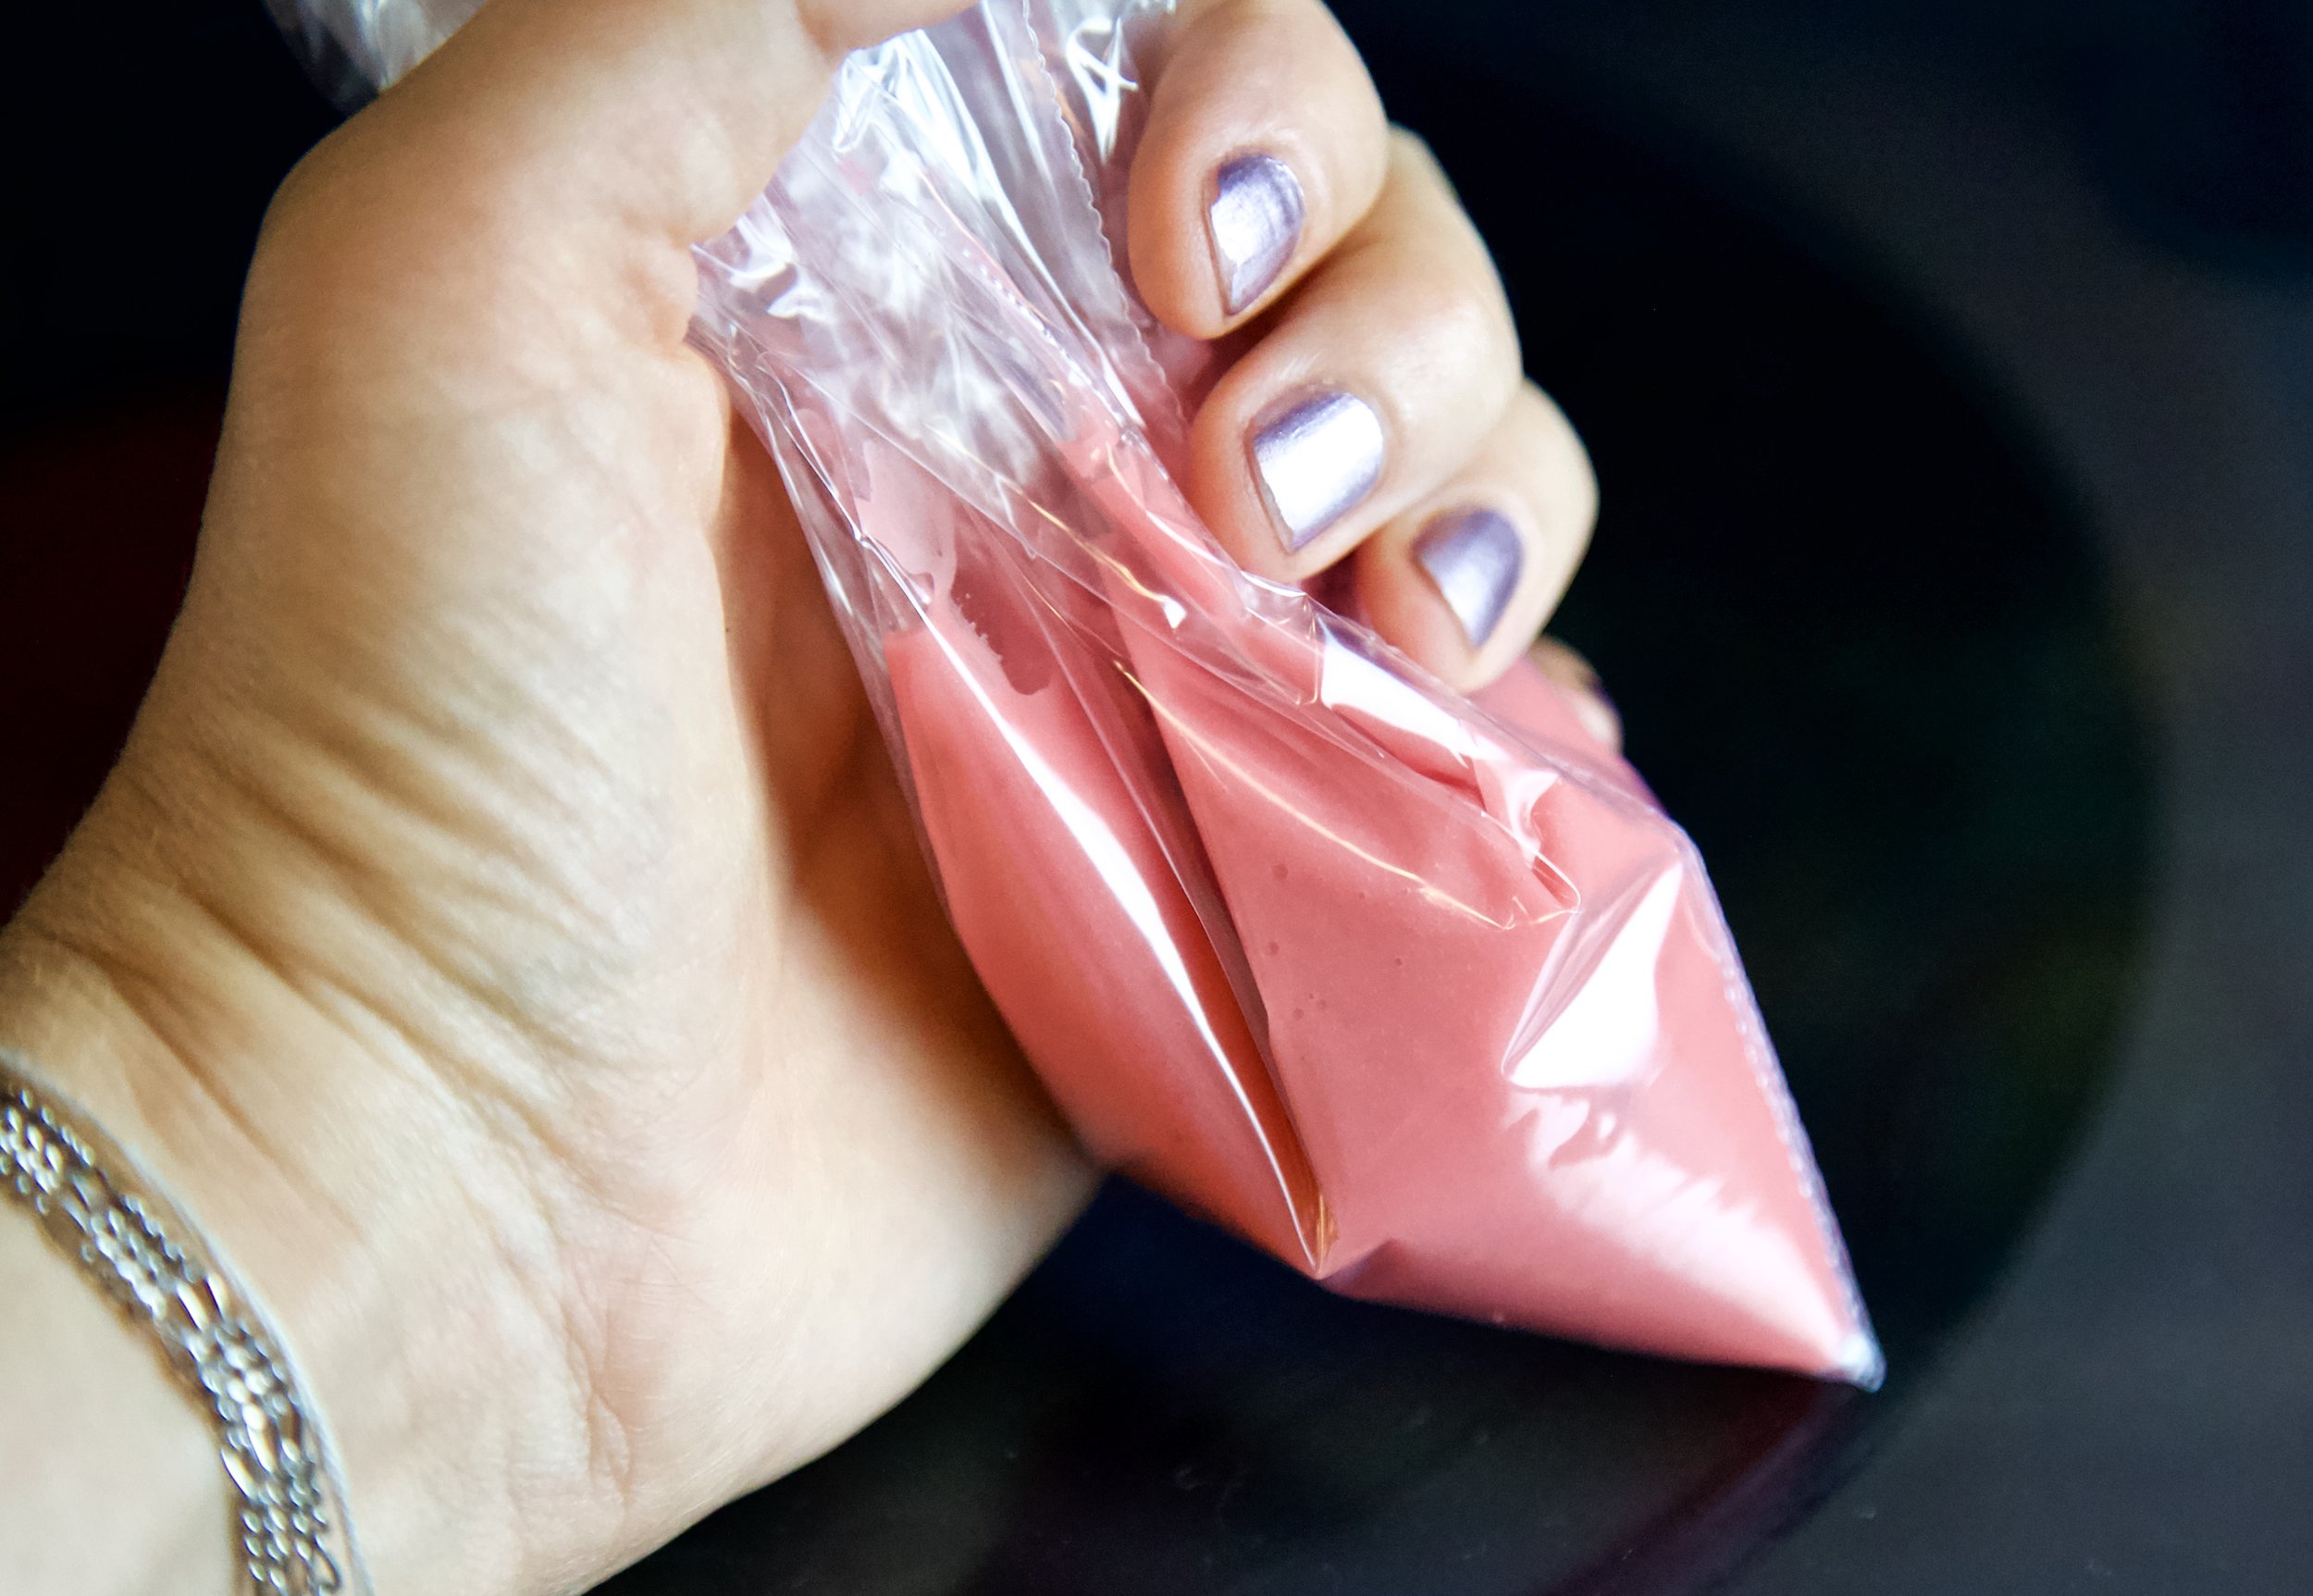
- 1 TBSP of blackberry lavender juice leftover from berries.

DIRECTIONS FOR CAKE:
- If you didn’t already prepare your blackberries the night before, now's your chance. Take a bowl, put the berries in. Squeeze one whole lemon over the berries. Add 1 tsp of lavender and the sugar and 1/8 cup of water. Cover and let saturate for 1 hour to 24 hours (the longer you keep them juiced, the more flavorful and tender they will be)
- Preheat oven to 350°F (Amerikah) and 180ºC (e’ryone else)
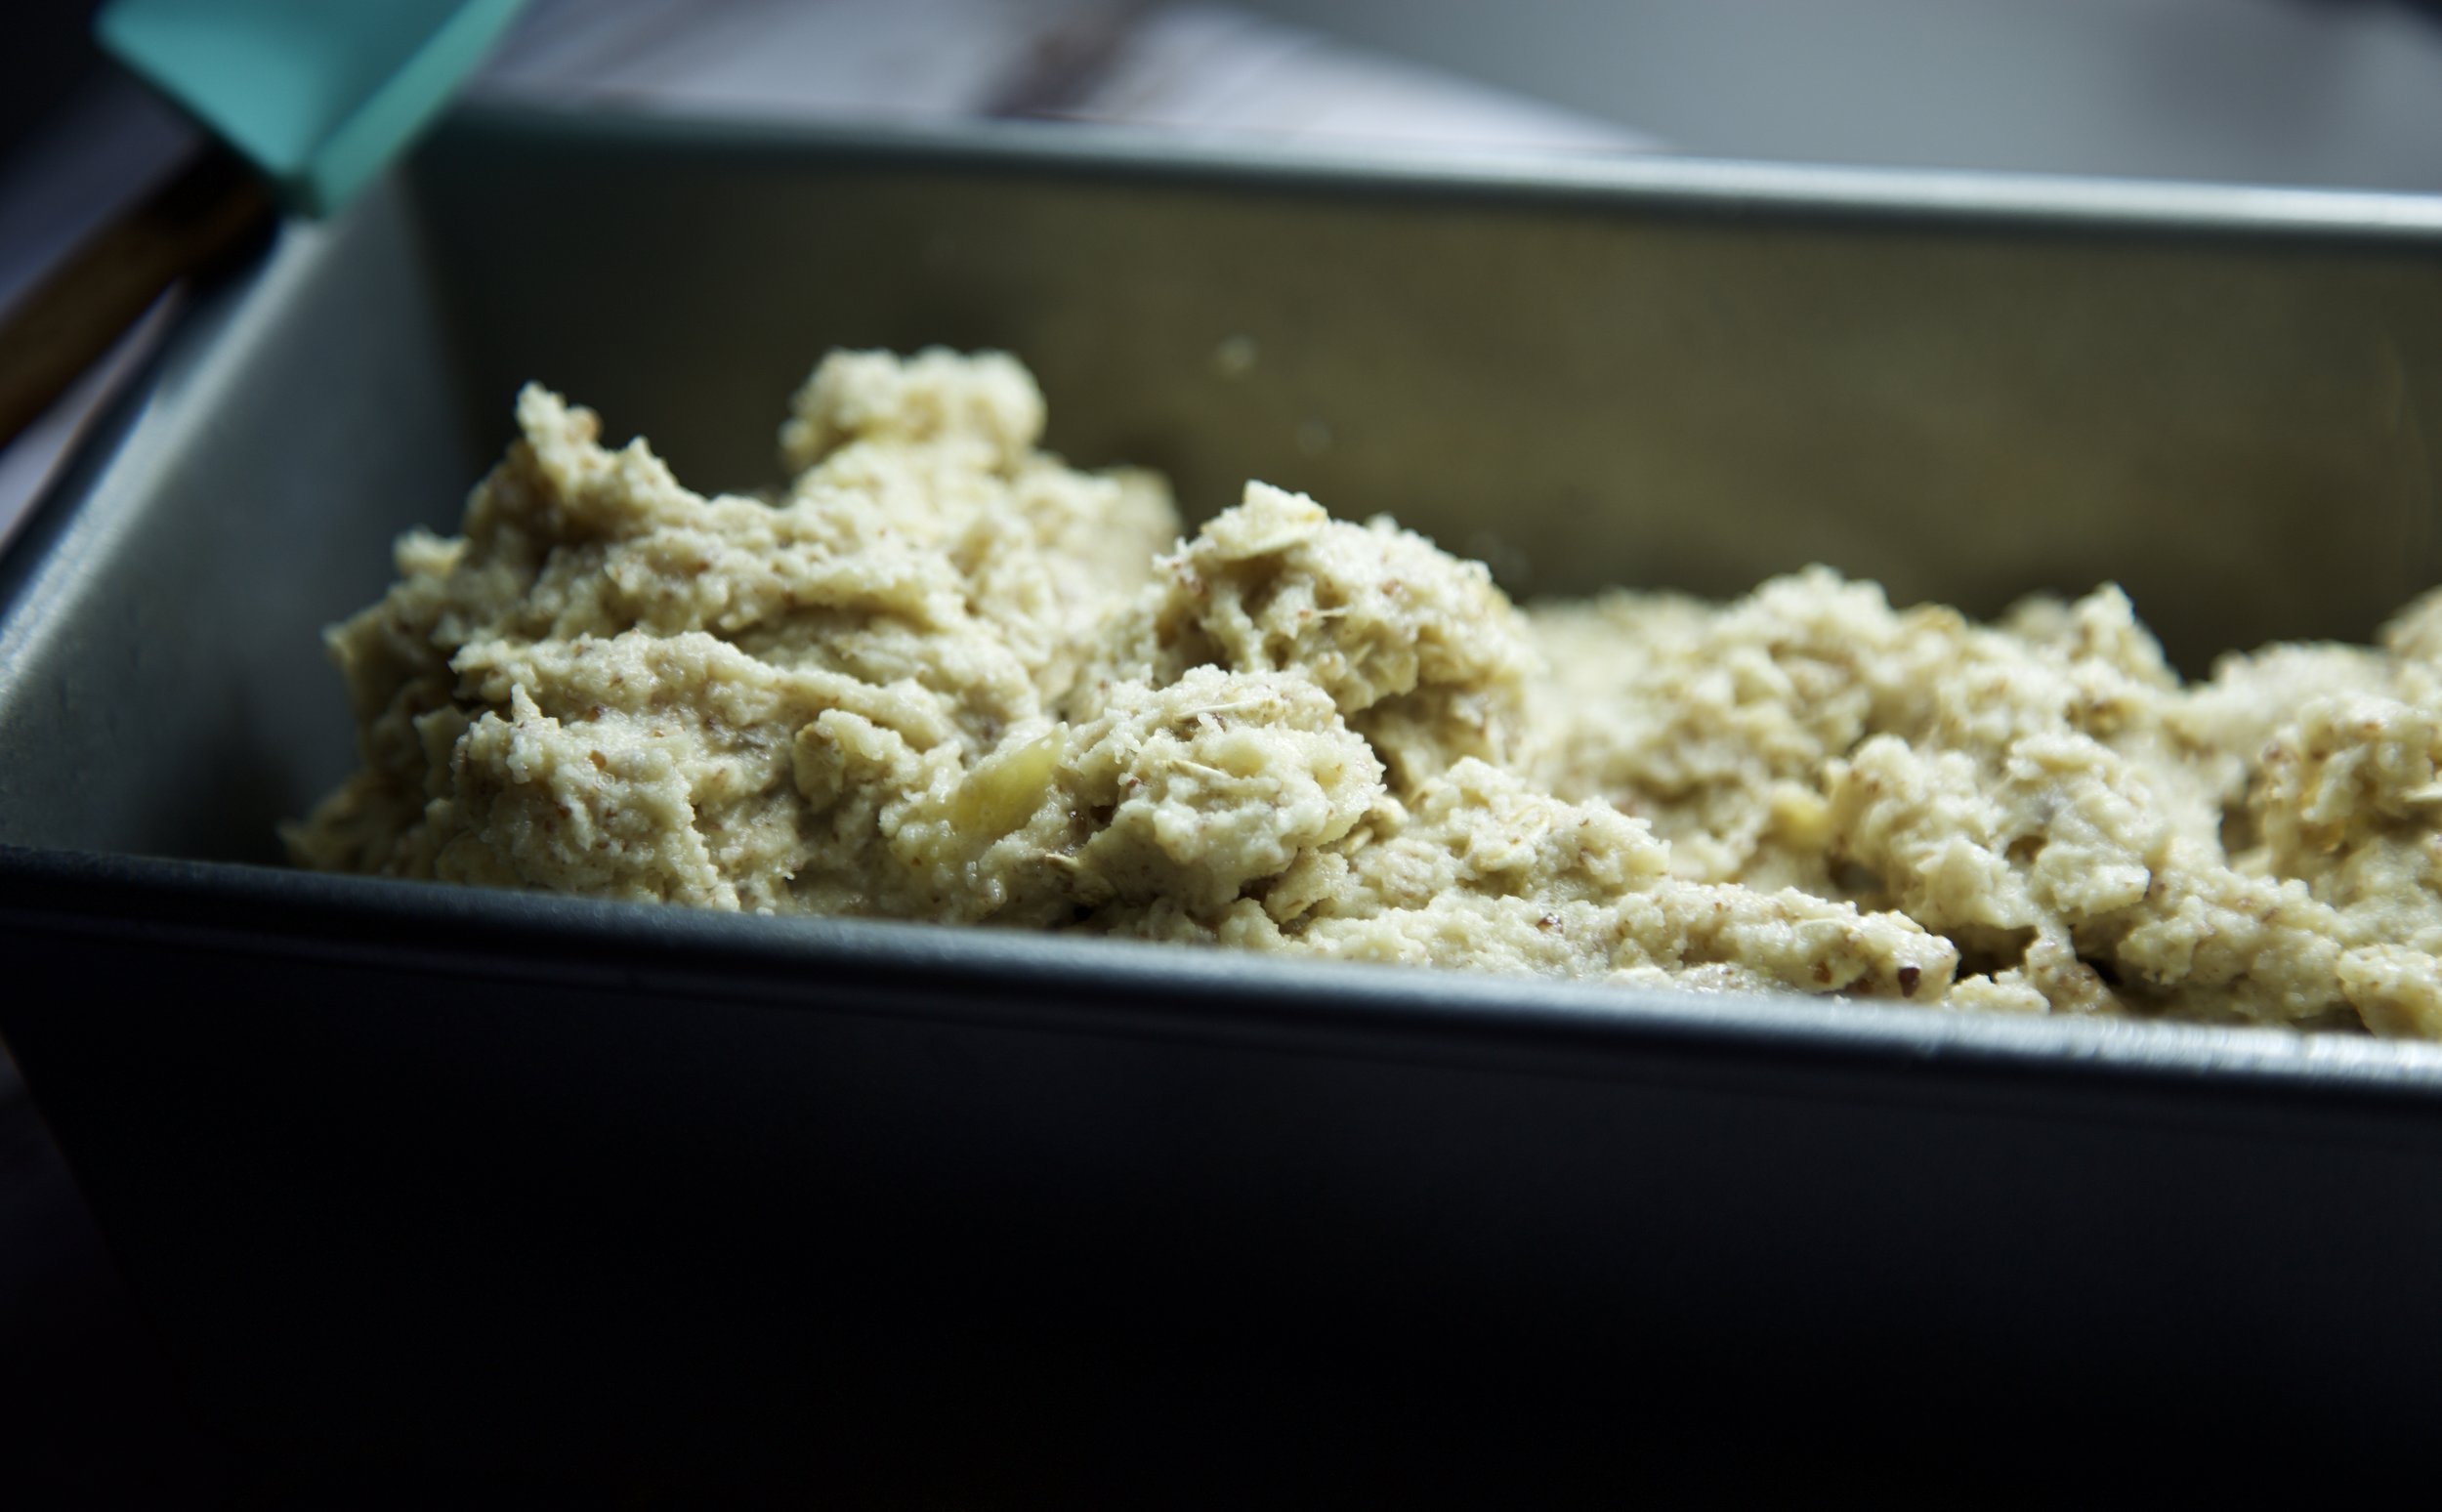
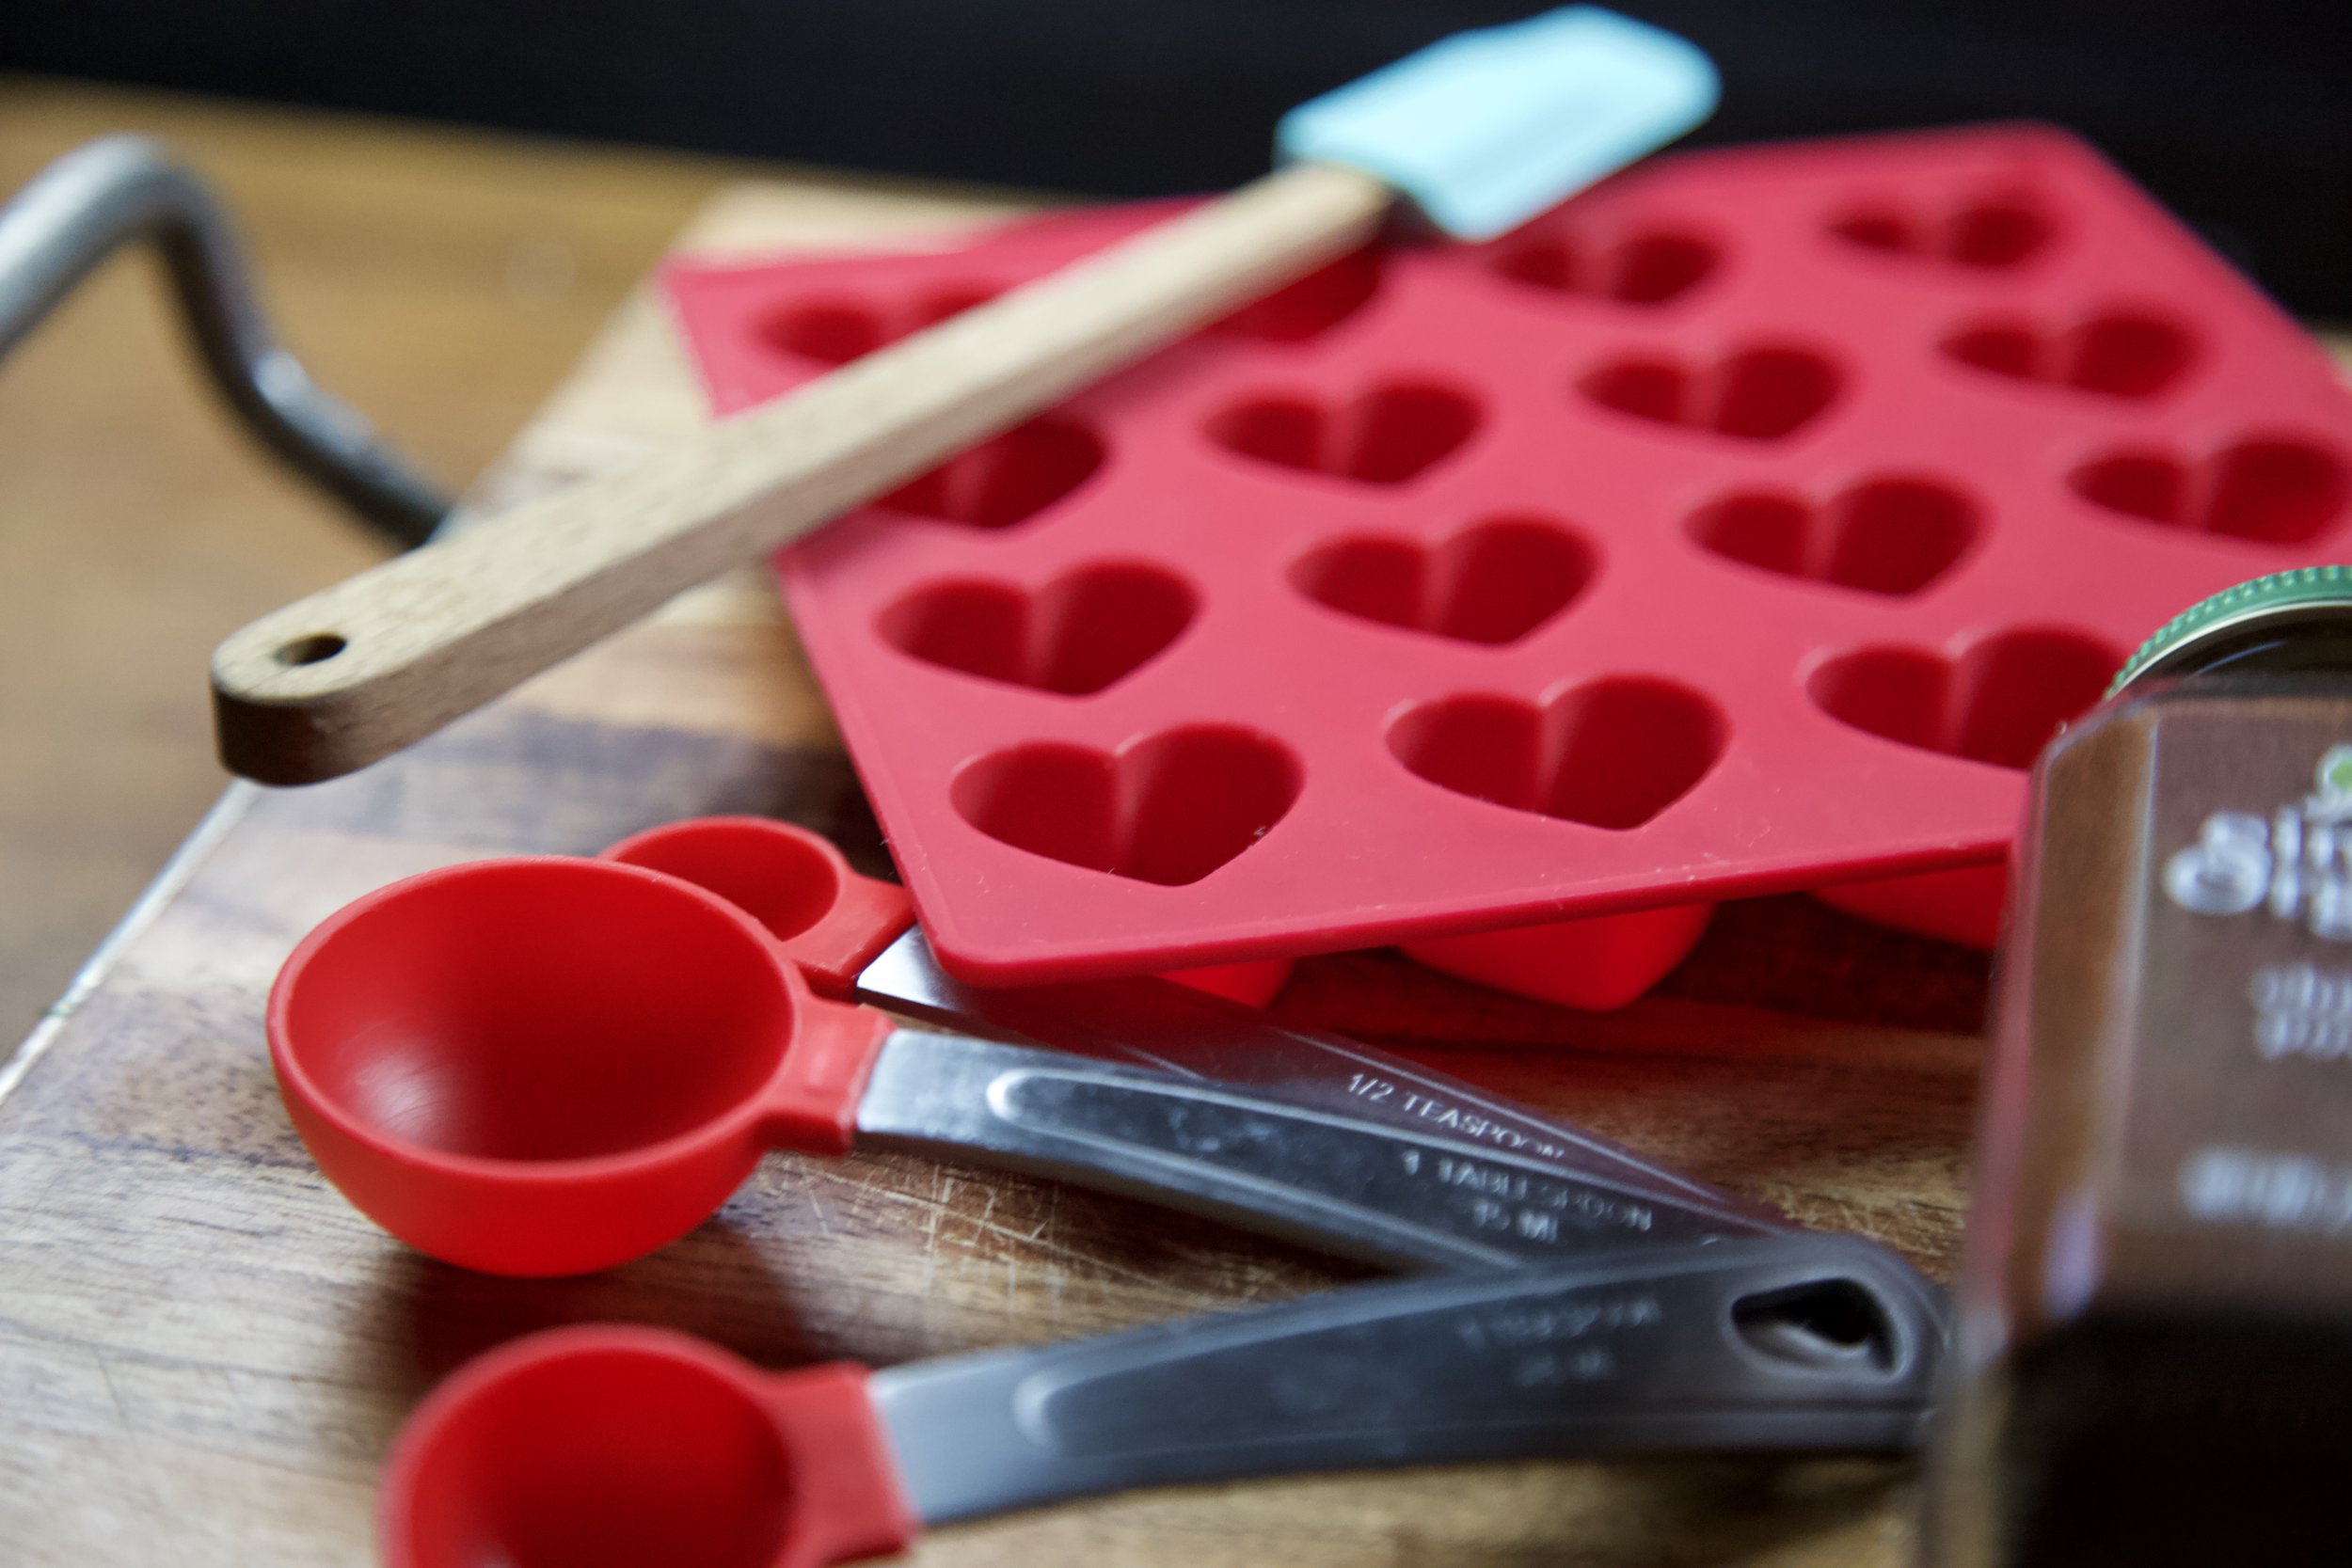
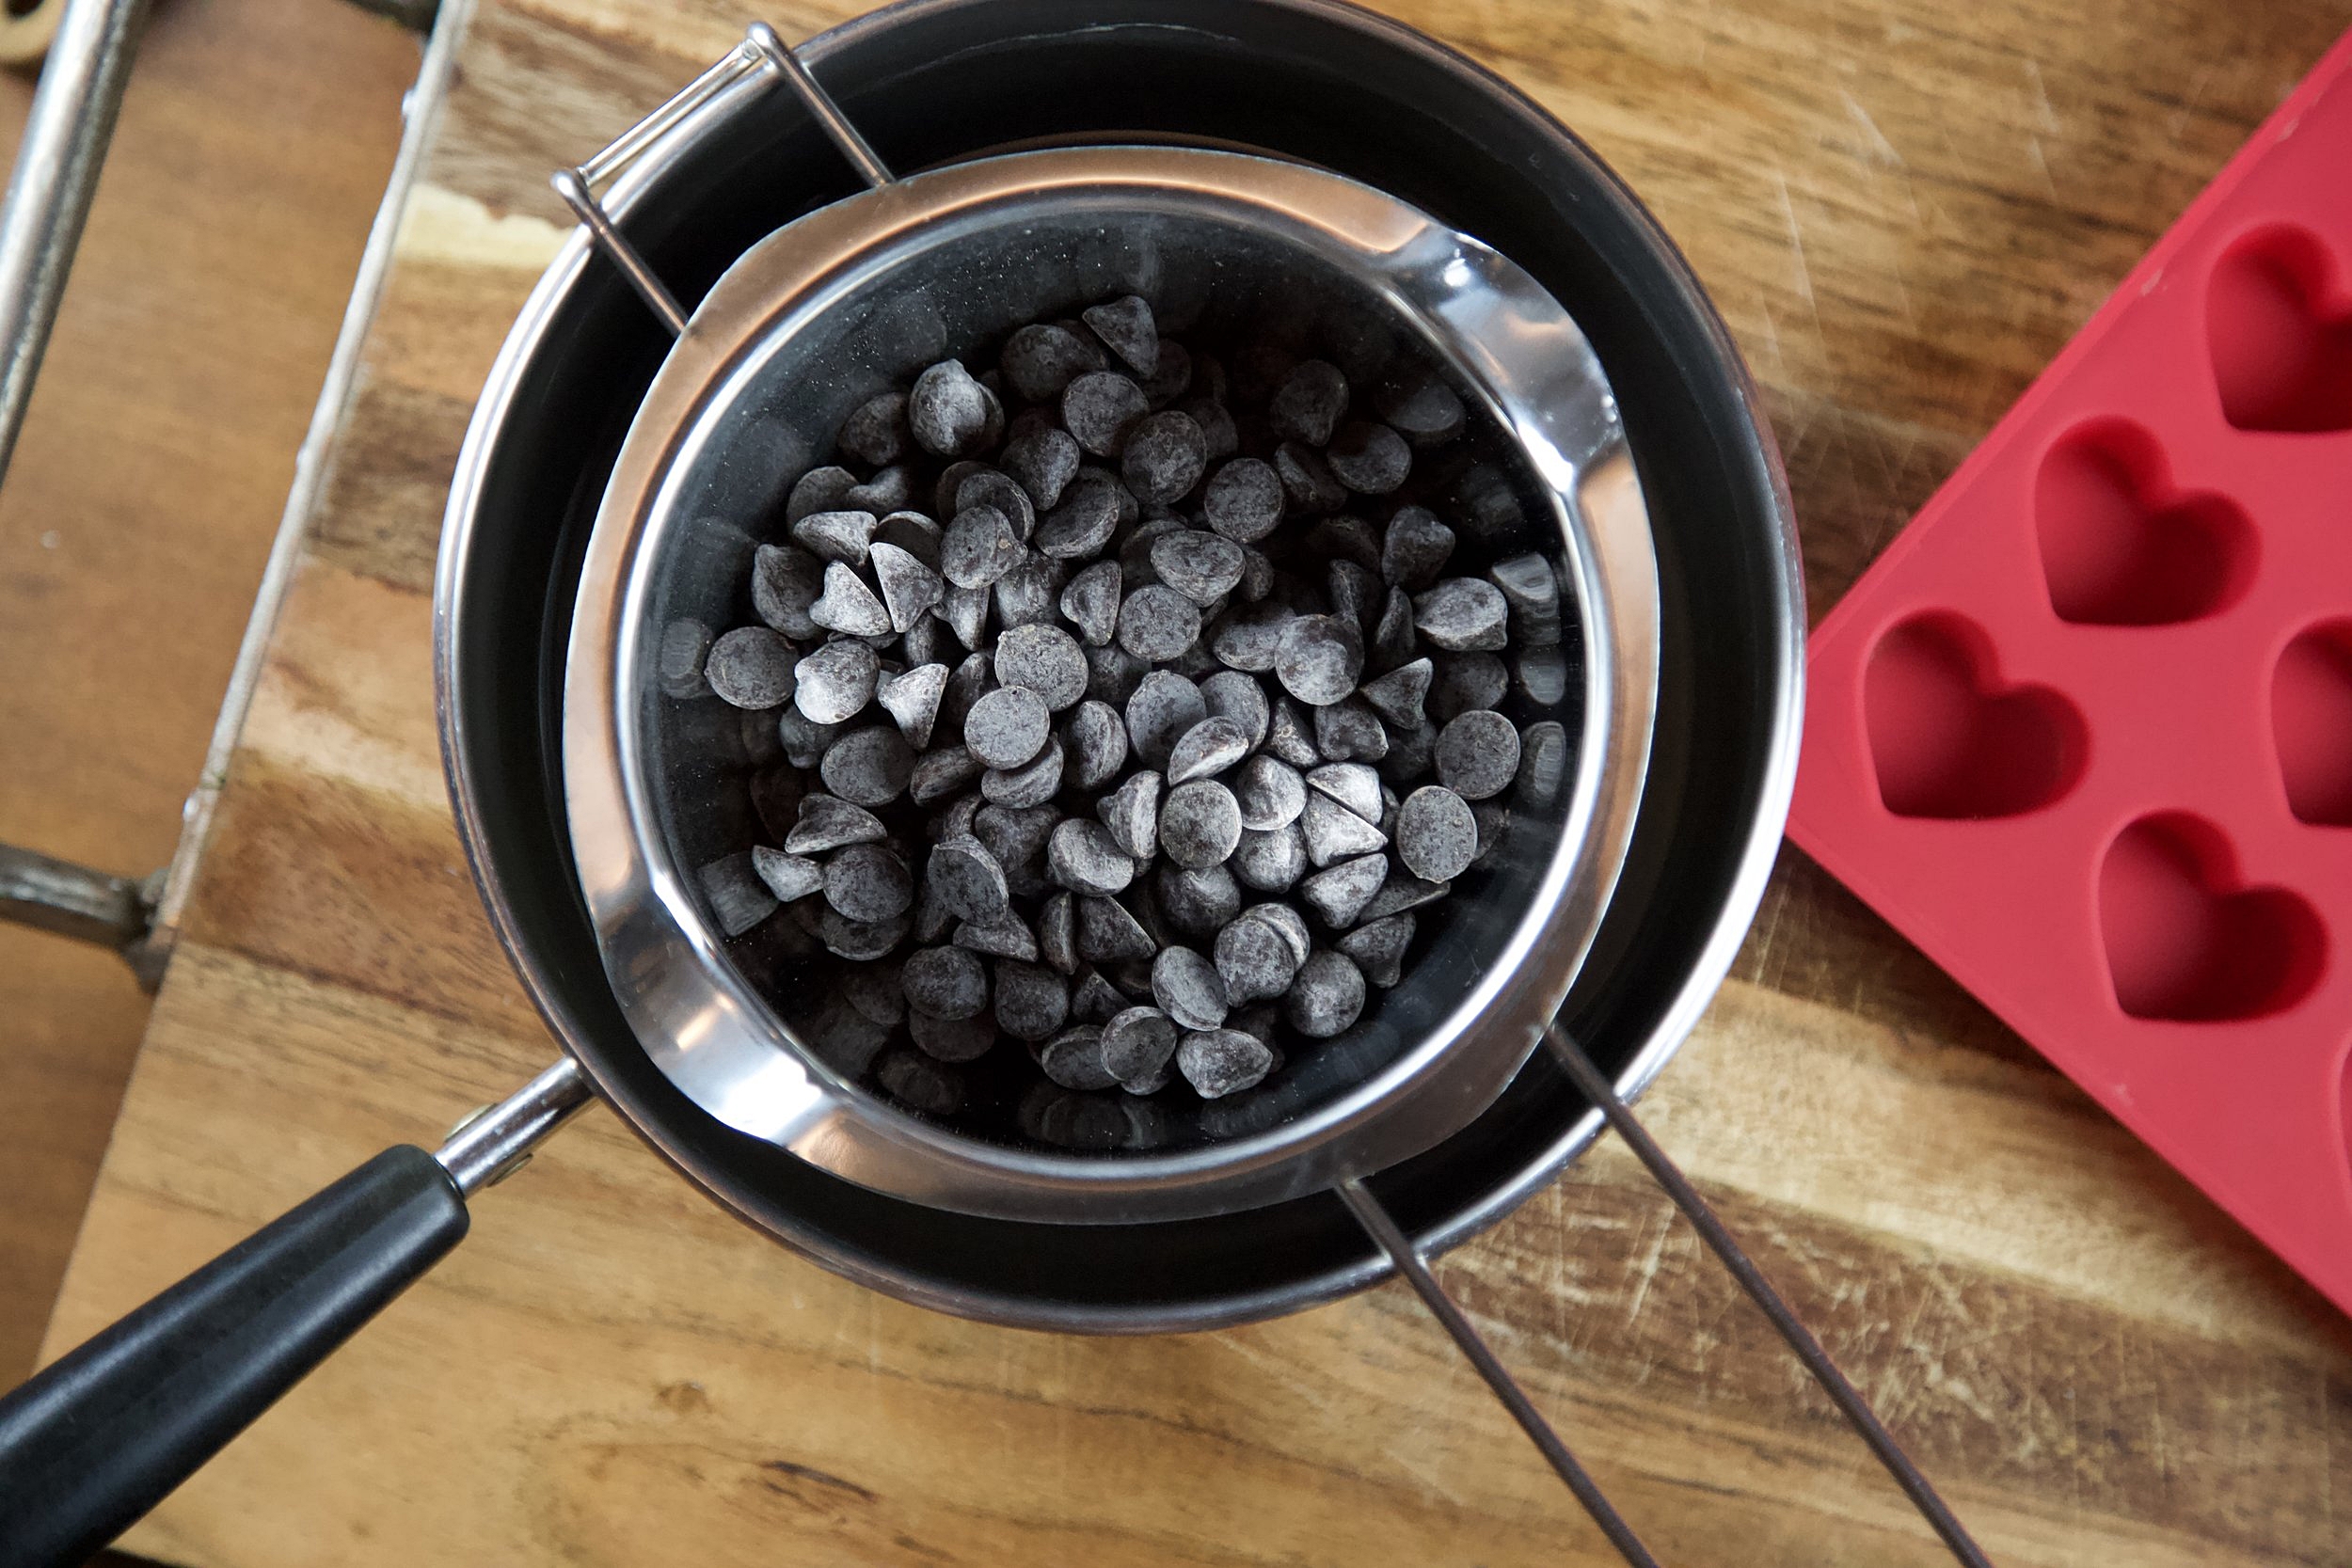
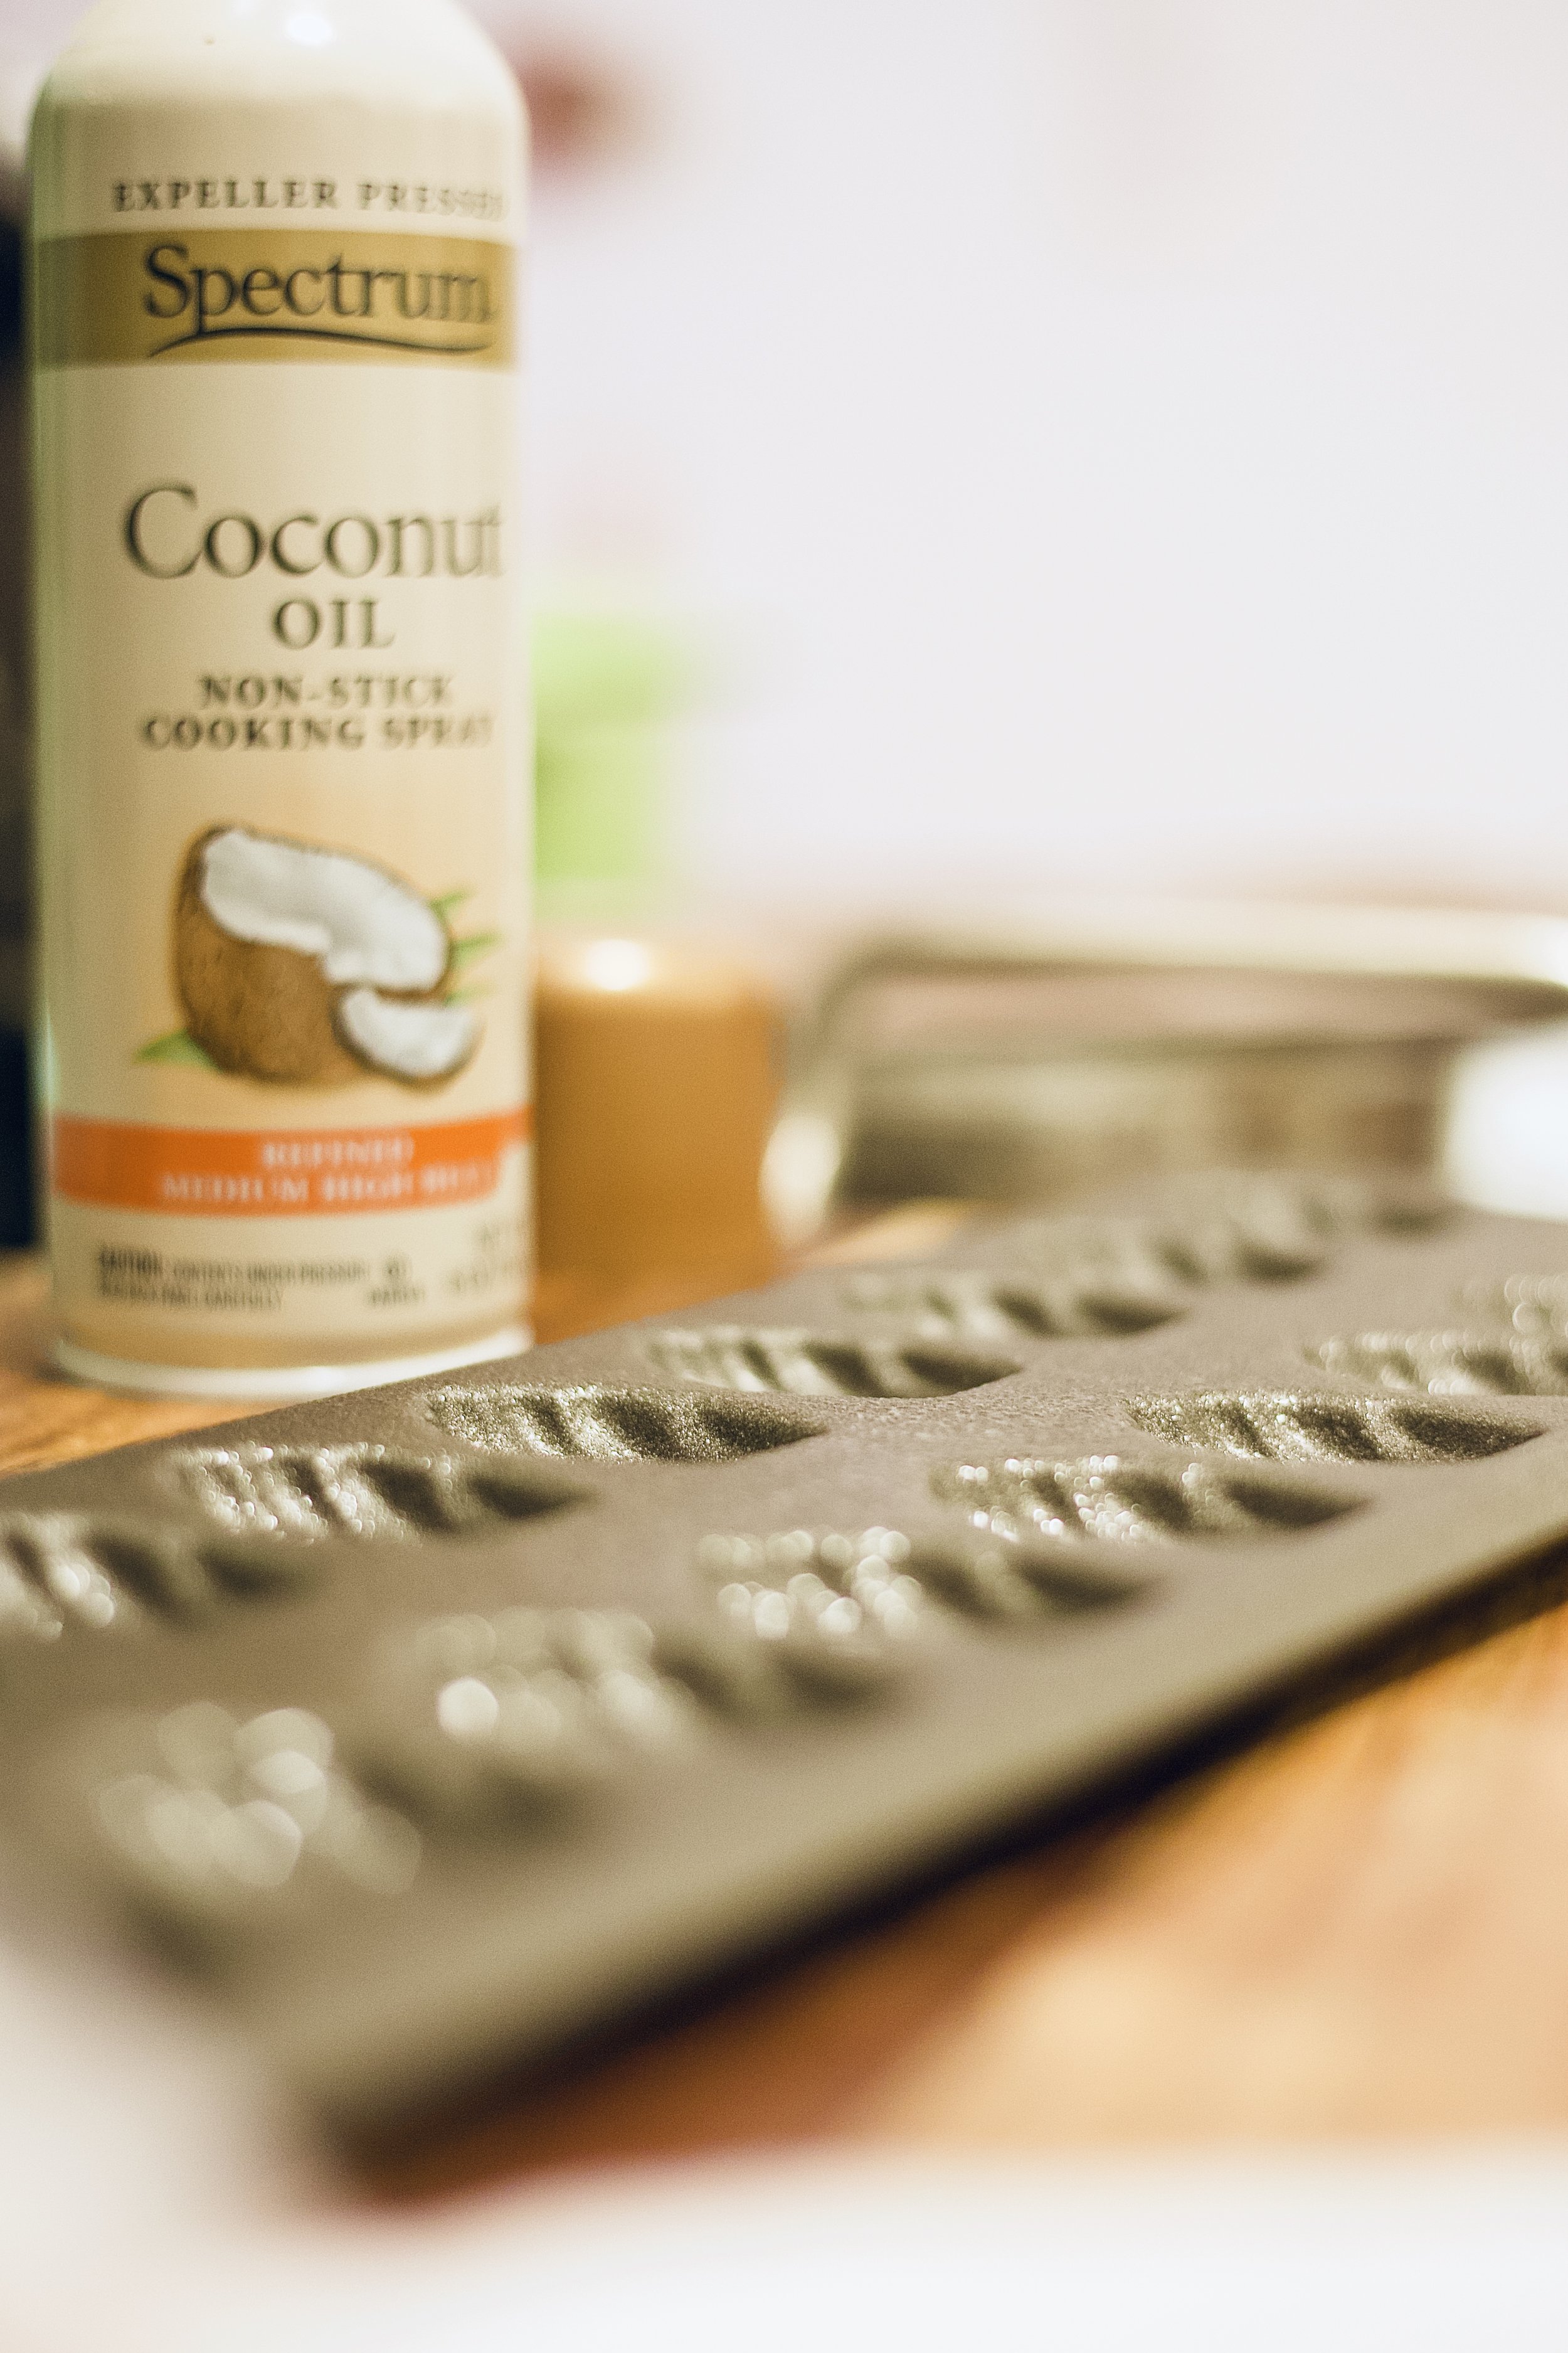
- Grease your bread loaf pan, or in my case I used a beautiful copper bundt cake mould that I bought for $1 upstate and then fugeddabouit.
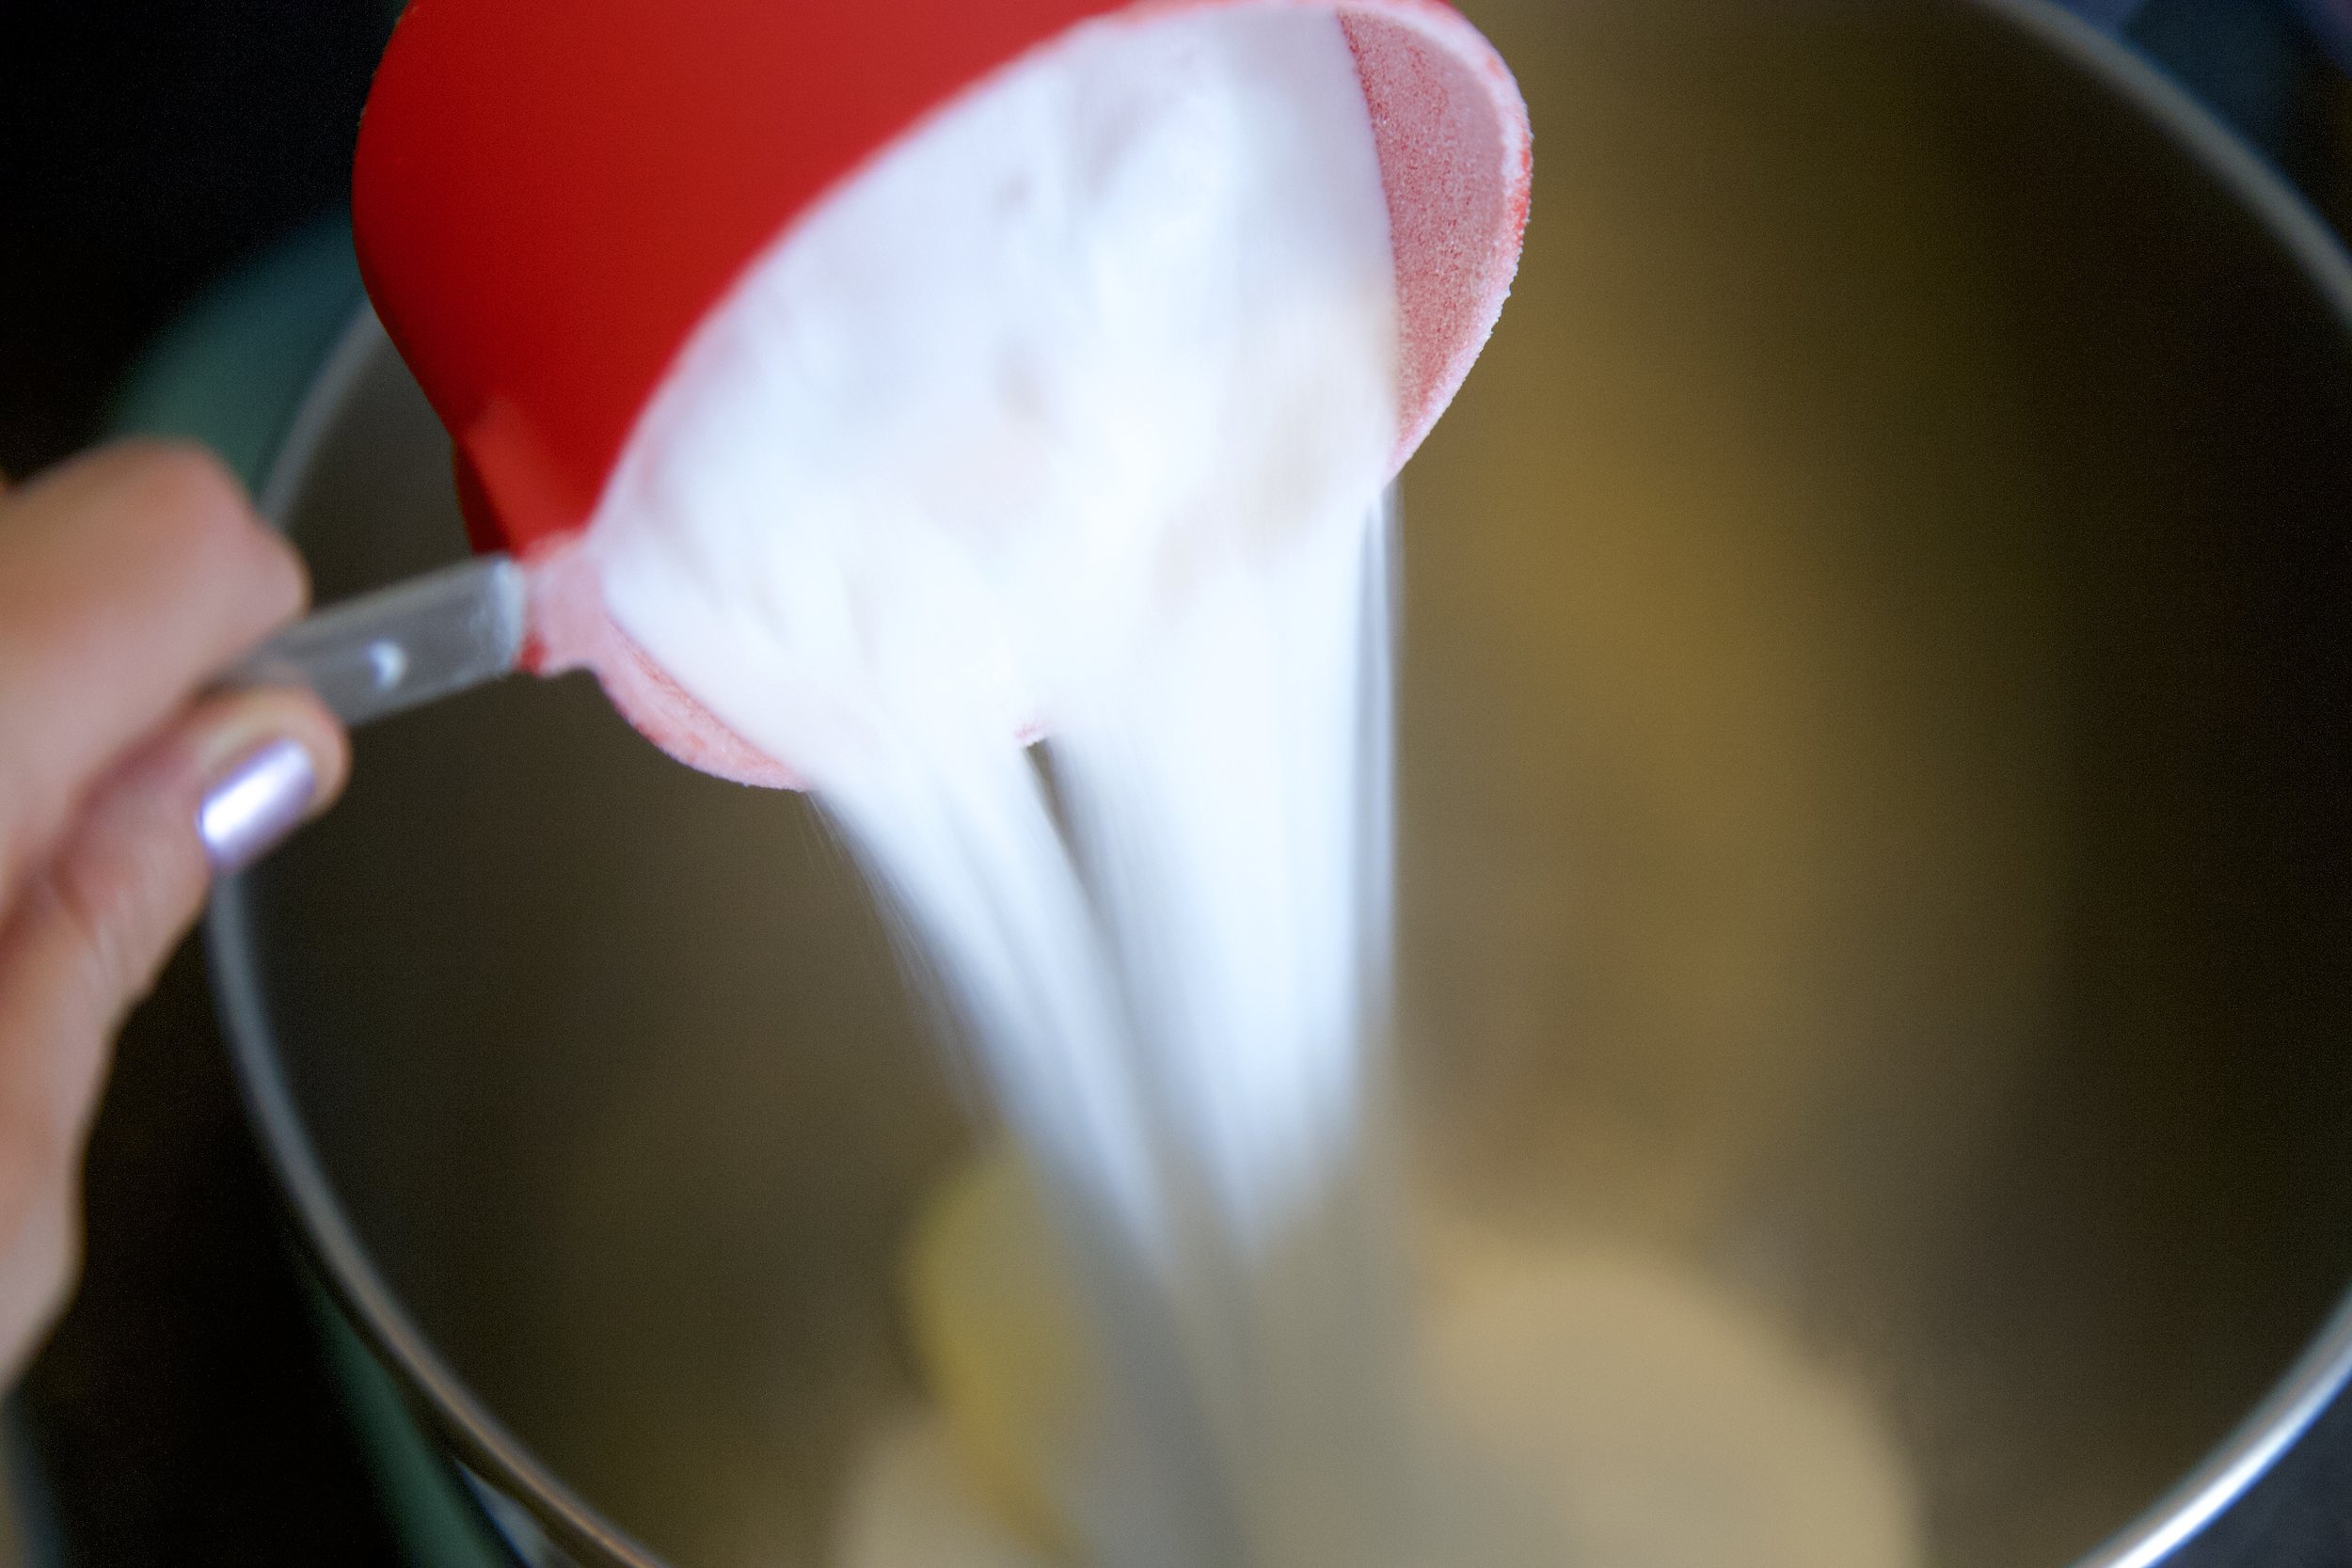
- Using an electric mixer cream the buttah and shugah
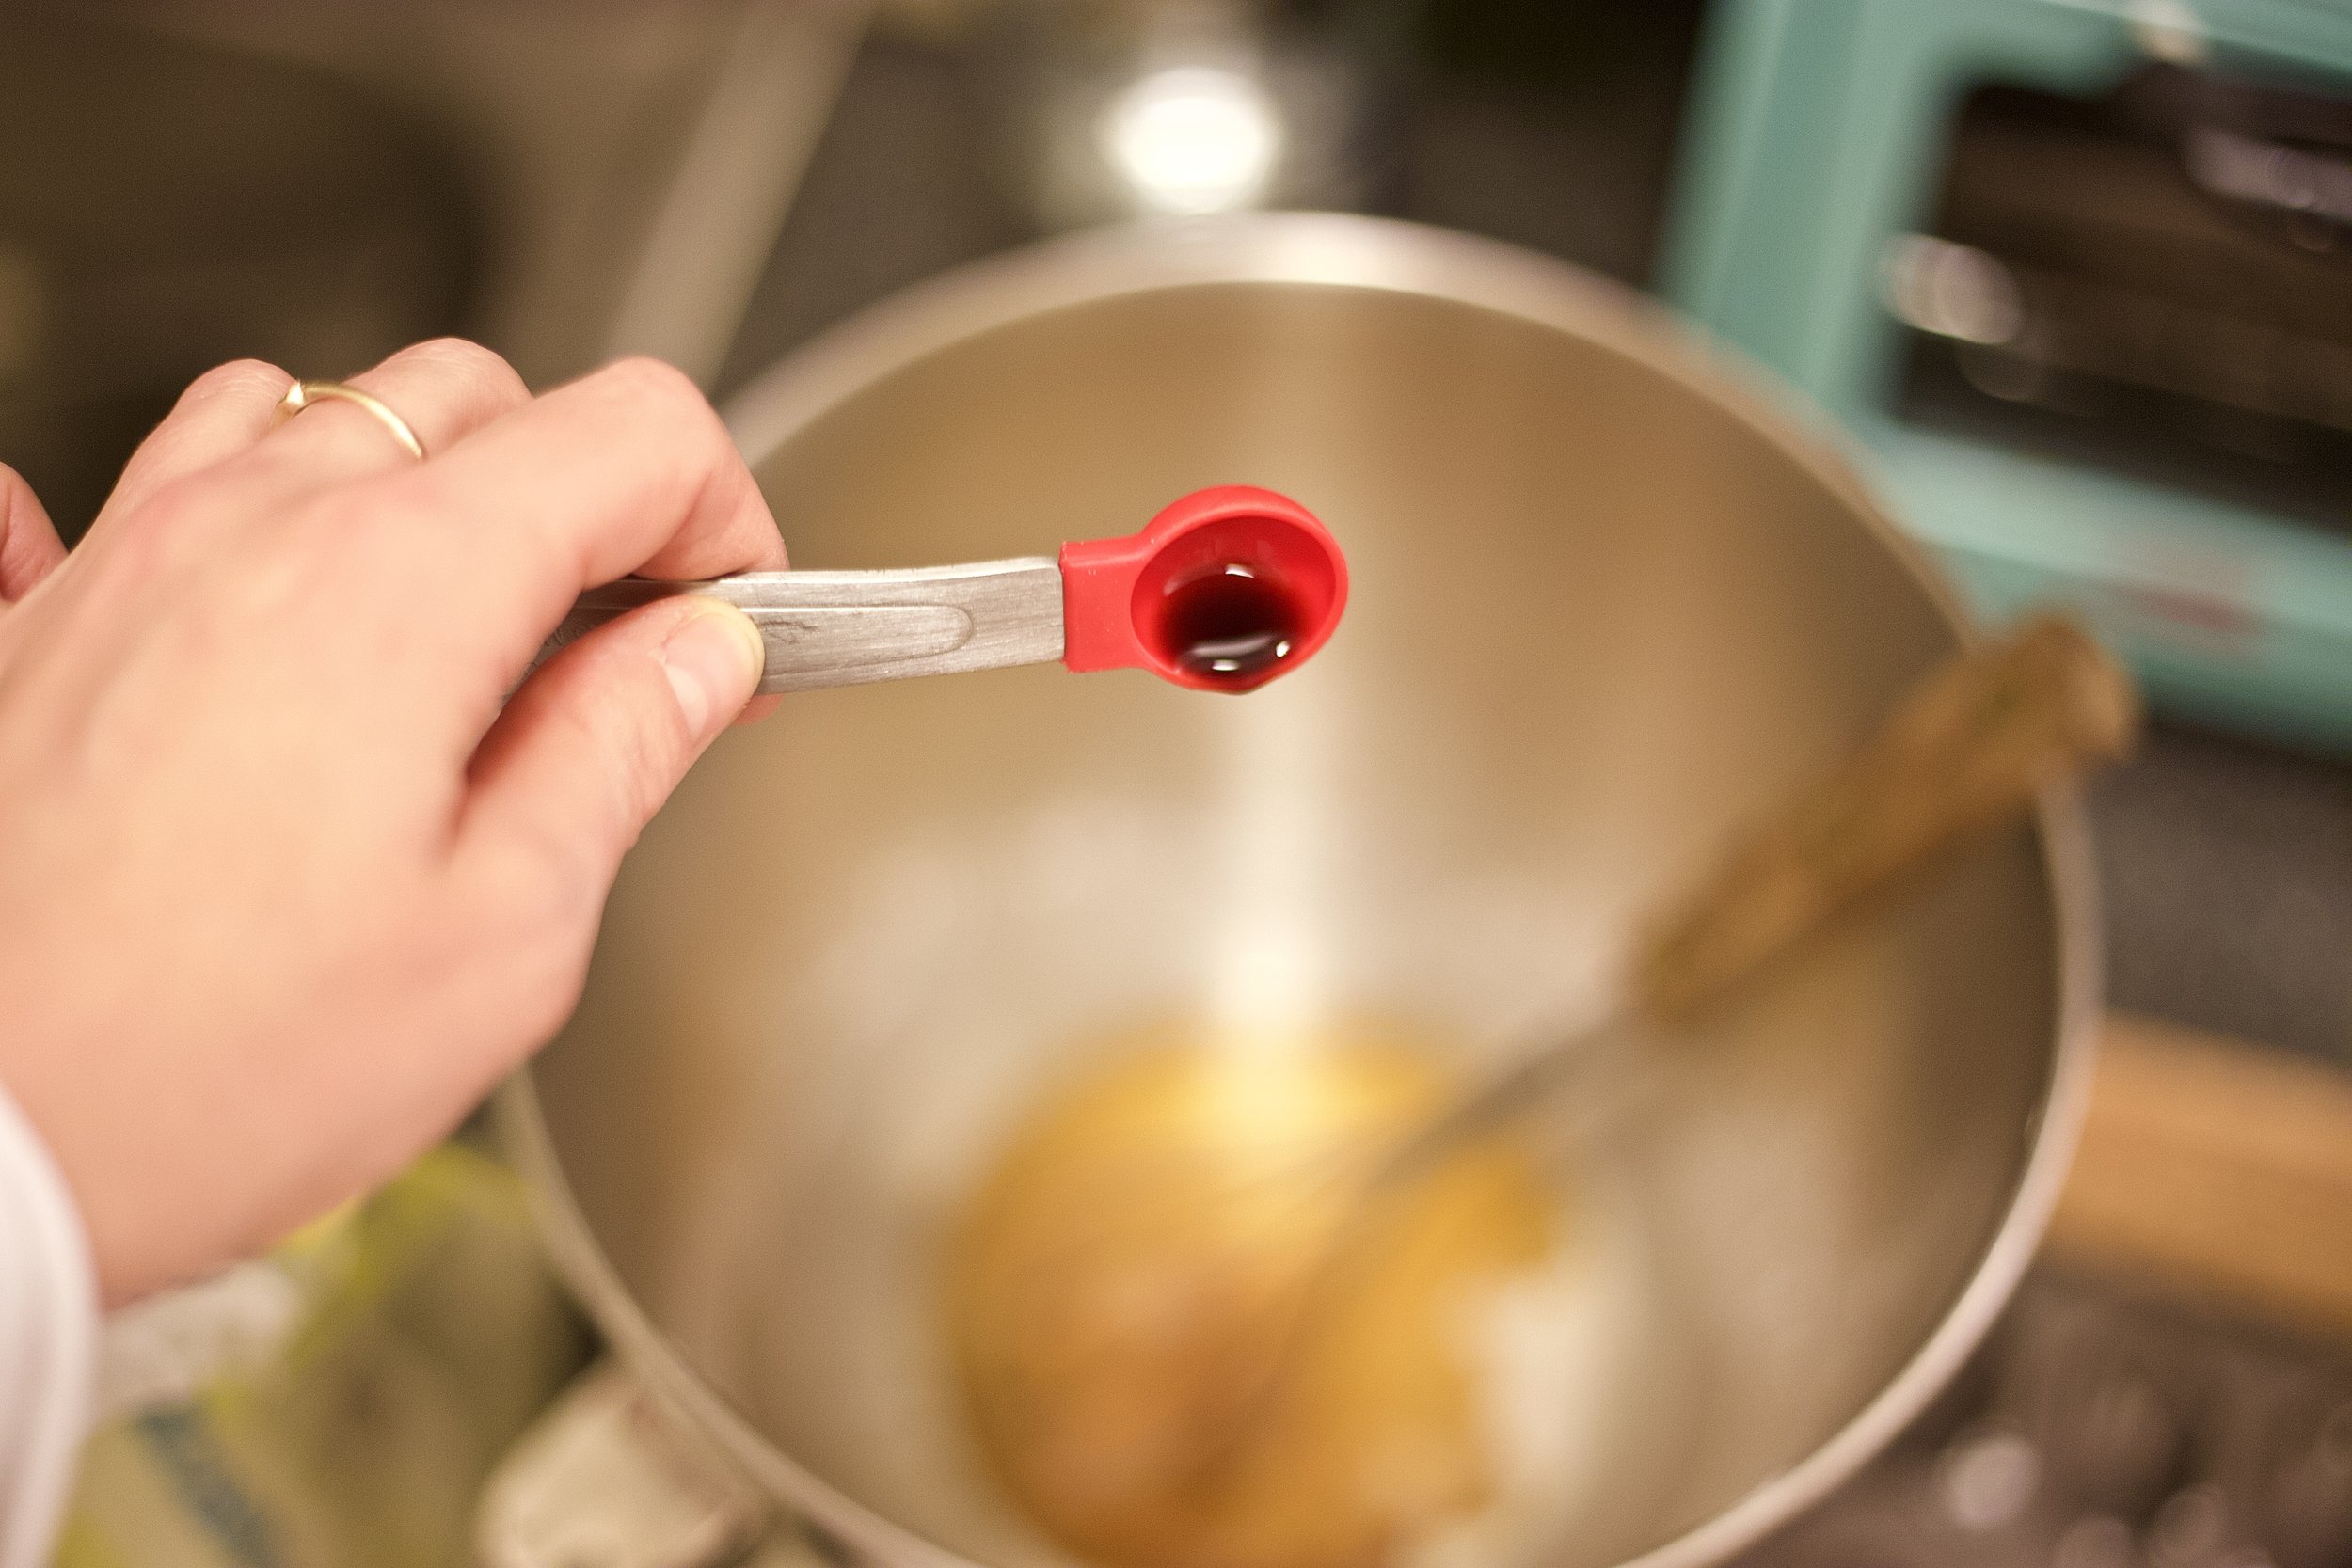
- Next, add in all three extracts.
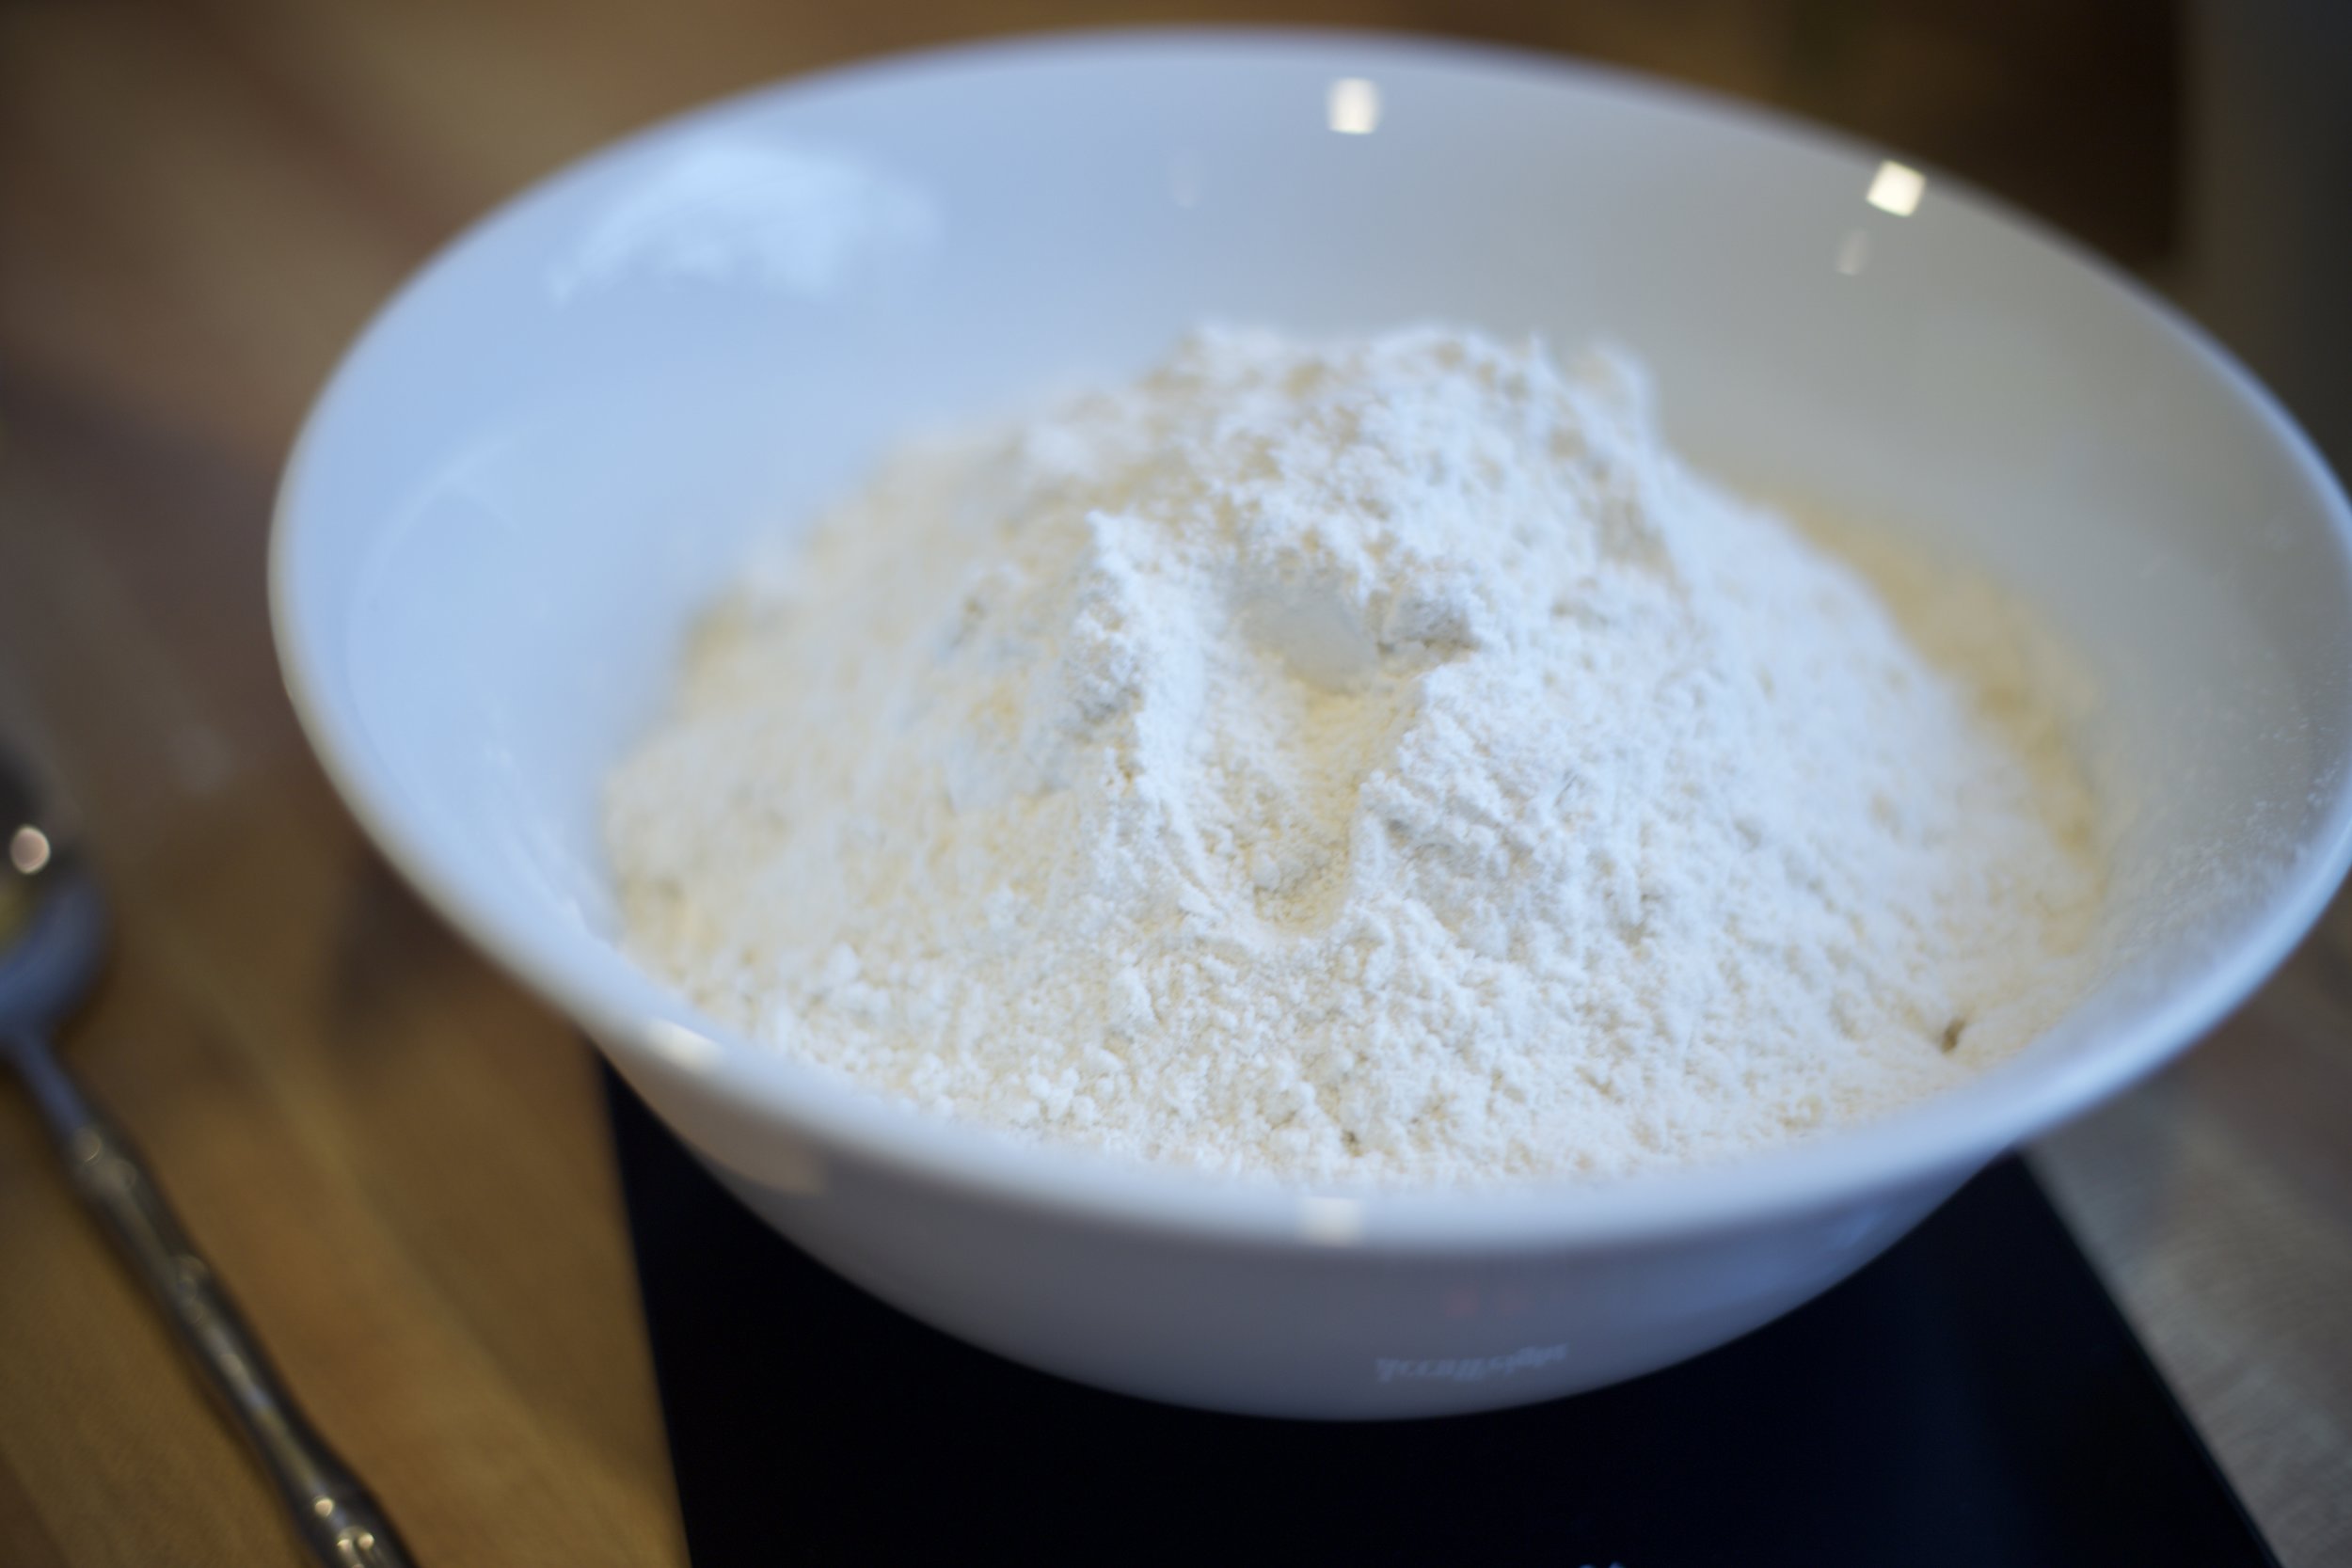
- Sift your flour into a medium/large bowl and add the baking powder and salt. Stir to mix.
- Add the dry ingredients in small batches with the sugar/butter mixture and mix until combined.
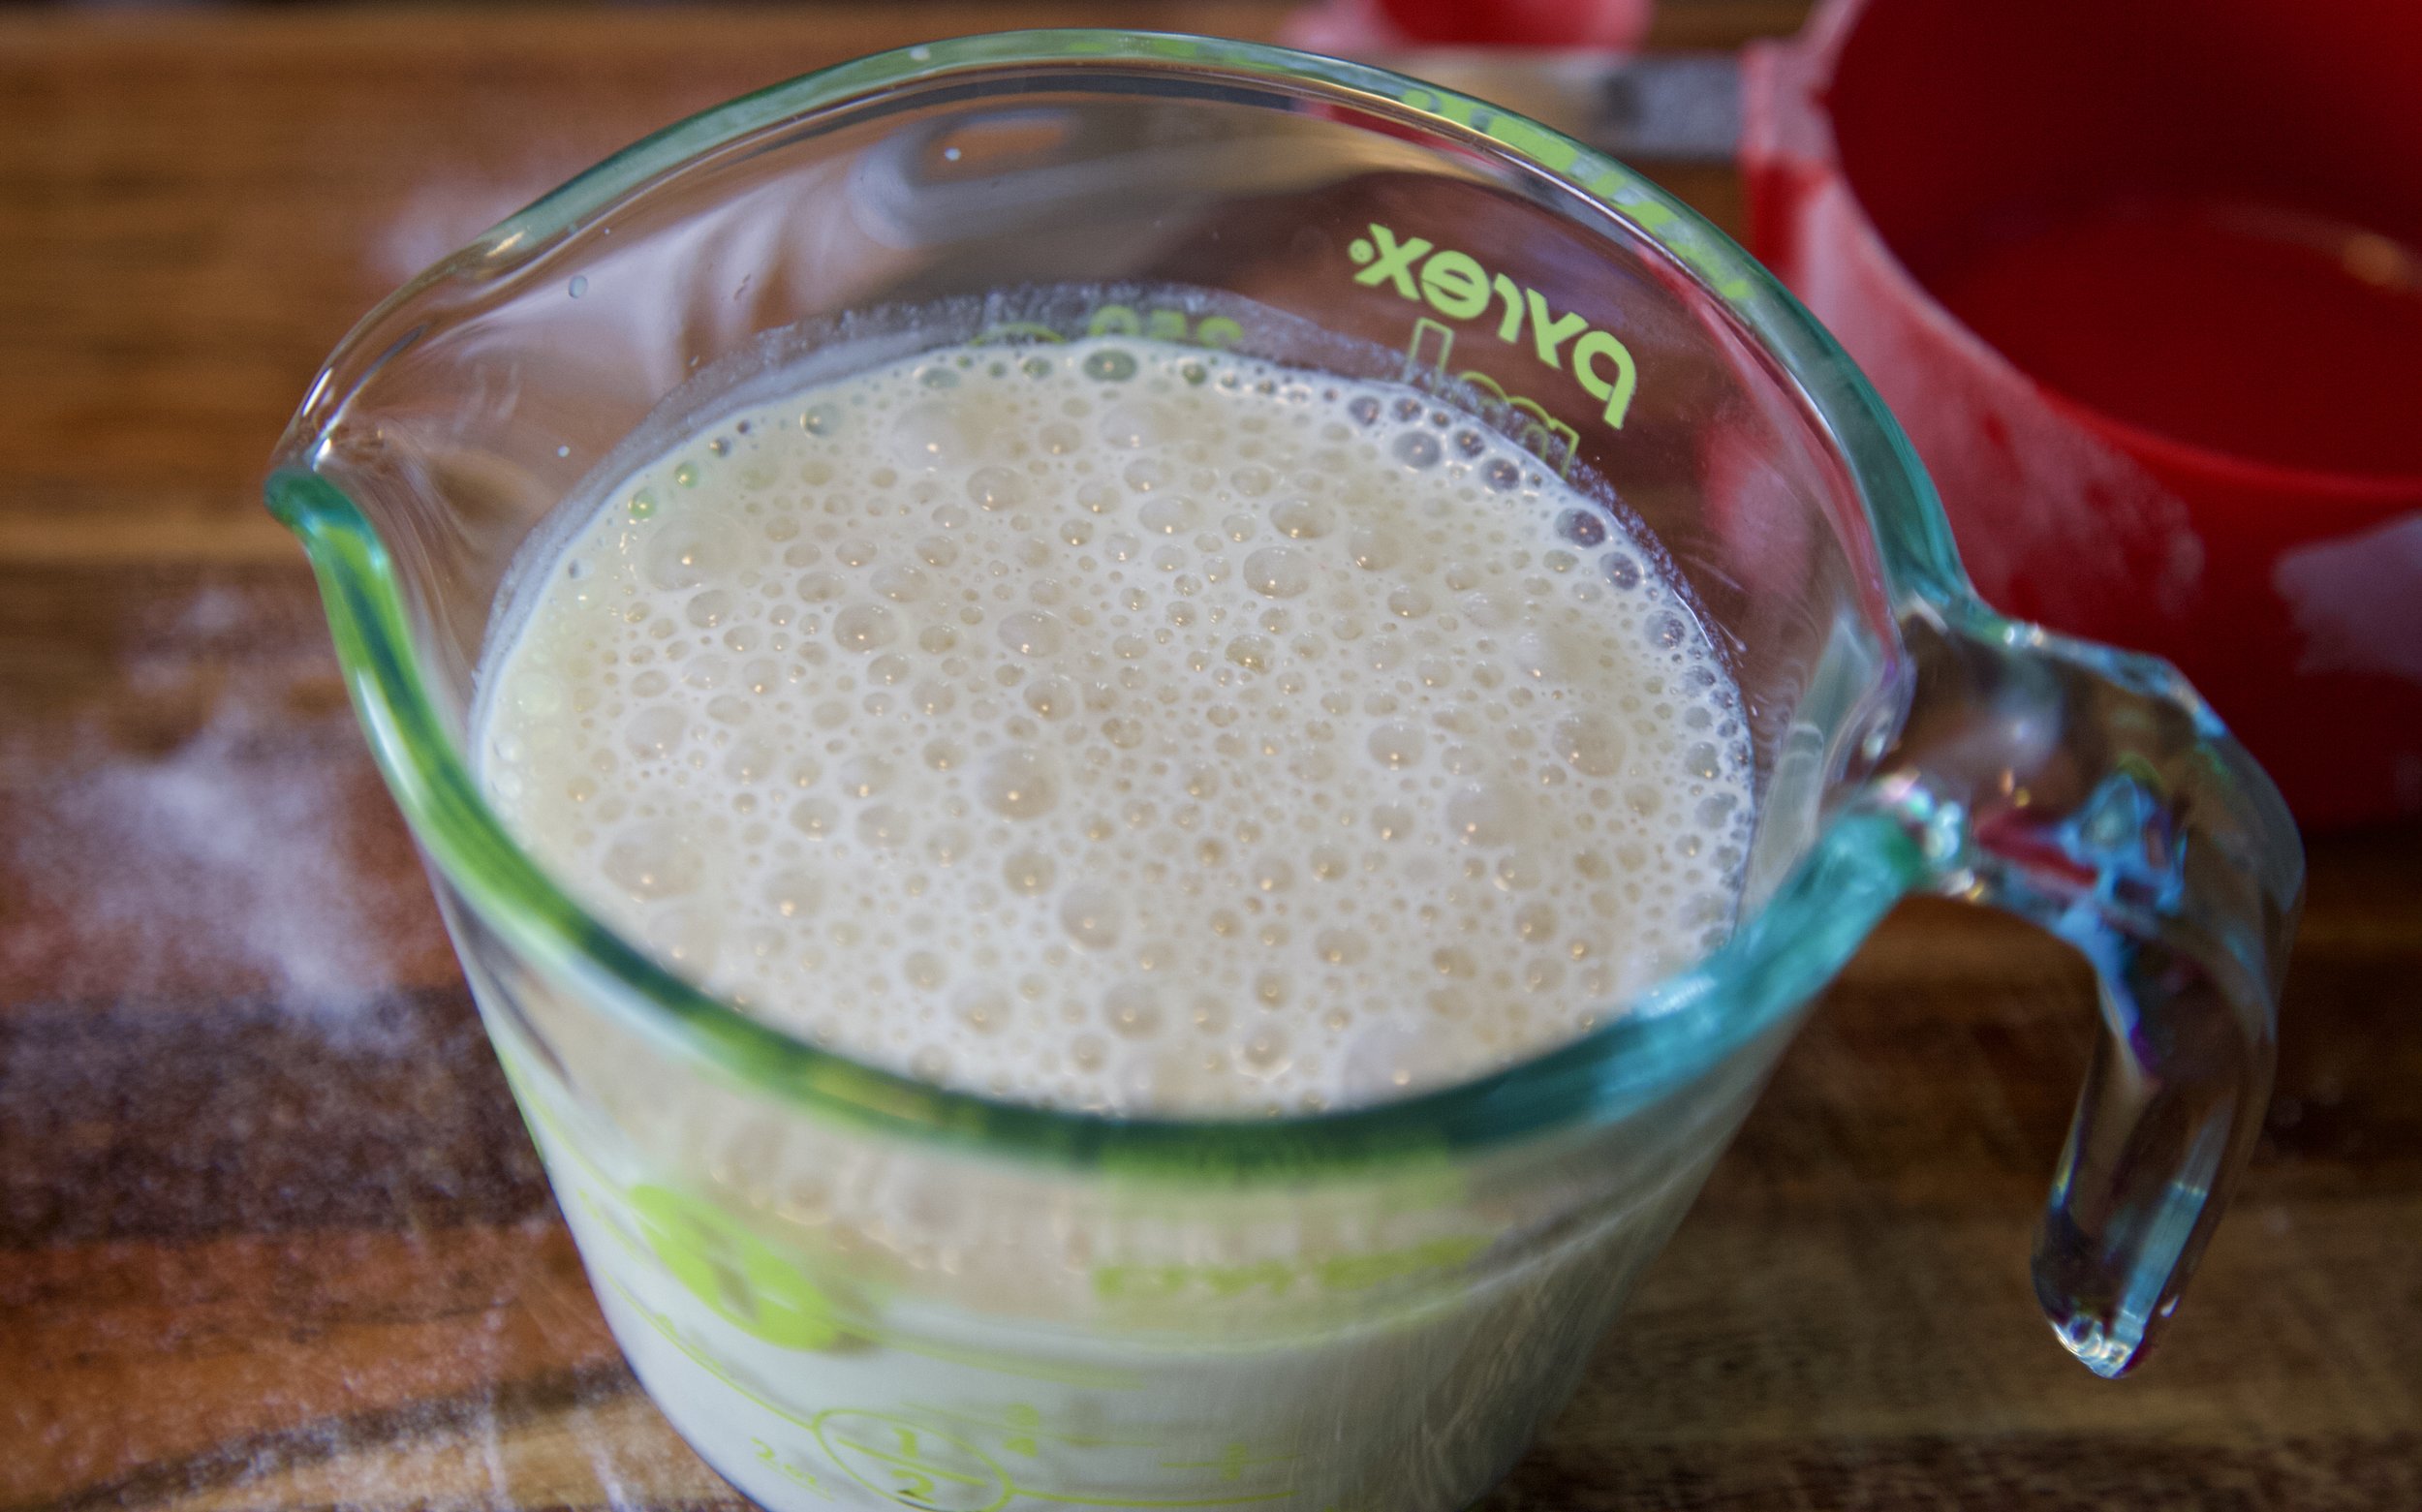
- In a separate measuring cup mix 2 TBSP of apple cider vinegar and then add your dairy free milk choice up to the 1 cup line. Whisk briskly. Then let stand for at least 5 minutes until it bubbles.
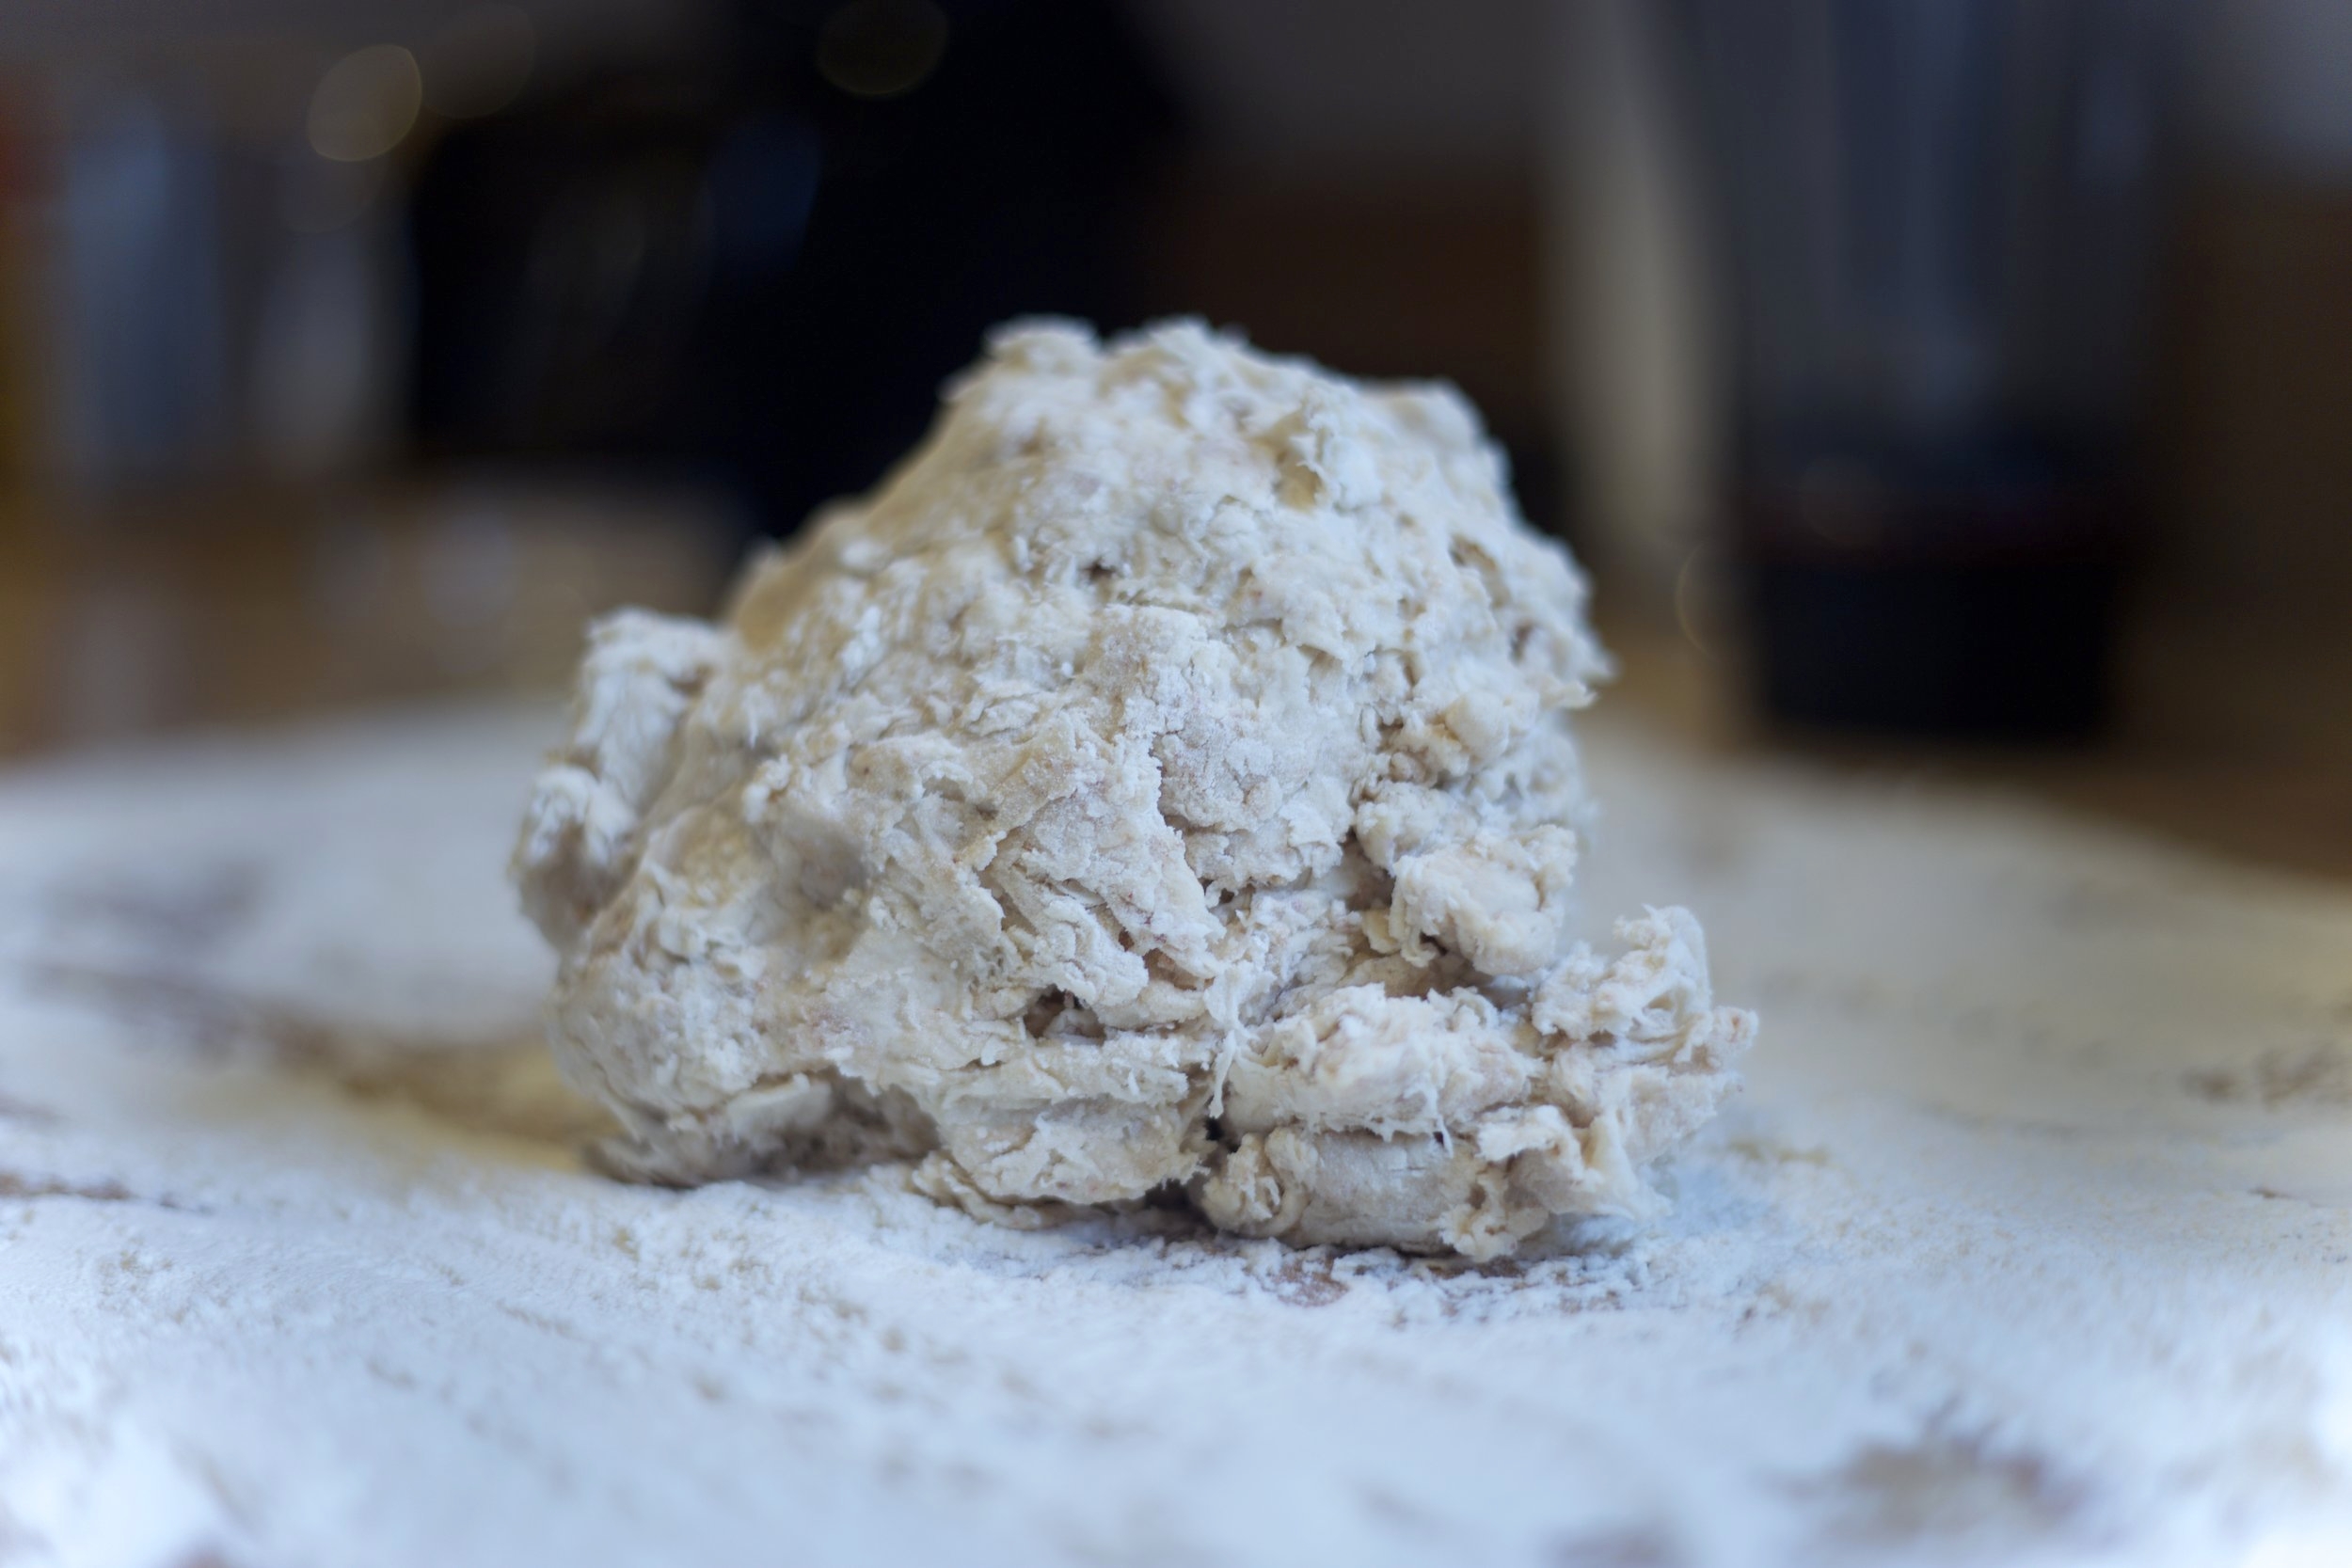
- Pour milk mixture in with the other ingredients and mix until a smooth-ish dough forms.
- Add in the lemon zest
- Lastly drain your macerated berry mixture (SAVE THE JUICE, you will use it for your glaze) and gently fold the berries into the batter.
- Roll batter into pan and tap on counter to settle (use your spatula to smooth the top so it cooks evenly).
- Cook for 1 hour. Start checking at 30 minutes. Depending on the color of your pan it may brown. If it does, cover with foil and finish baking. Just don't open the oven too much (checking it in 15 minute increments).
- Cool COMPLETELY on a wire rack. Like a couple hours if you can. Otherwise once it’s mostly cooled (if you’re in a rush) stick it in the fridge for twenty minutes. This is so important so the top of the cake doesn’t stick when you pop it out.

DIRECTIONS FOR ICING:
- Using an electric mixture or by hand, combine all the icing ingredients and stir vigorously until combined and mostly smooth.
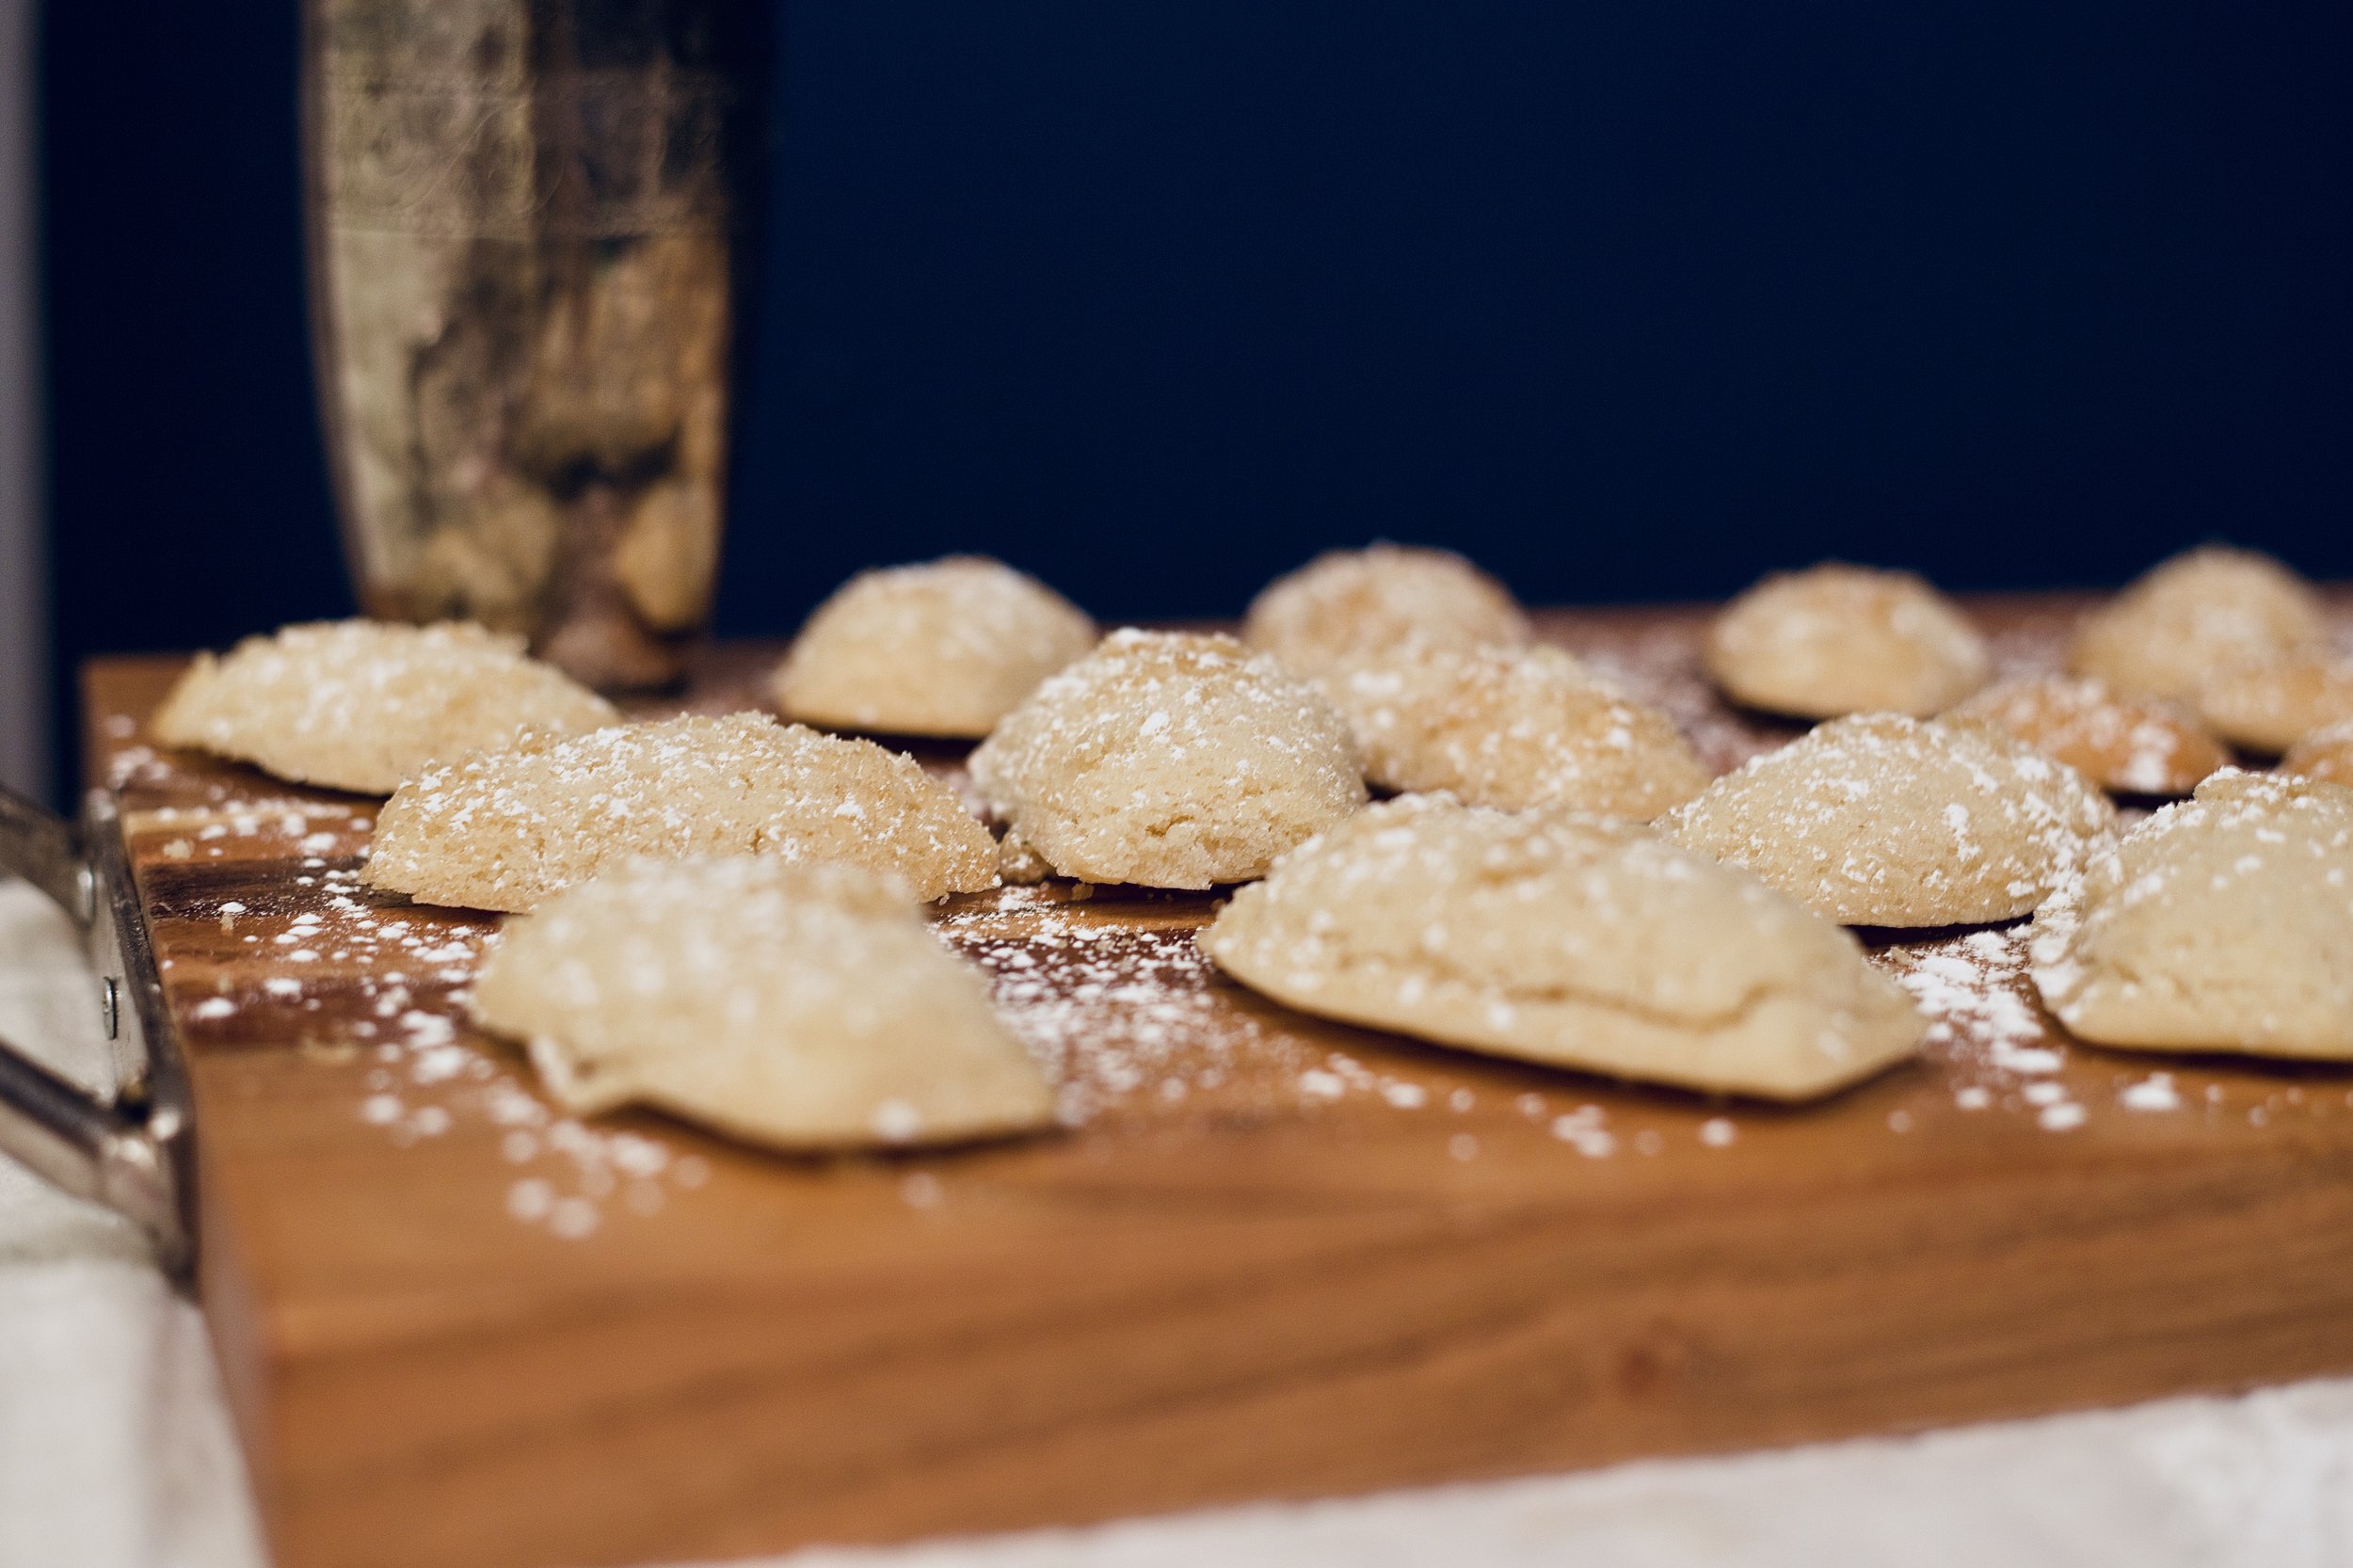
- I used a ziplock bag as a piping device to make lines on the cake and then just sort of poured the rest wherever it looked like it needed some “extra.”
This cake keeps for several days, as long as you keep it sealed in an air tight container. I use this for basically all my cakes because it doubles as both a storage option and carrying case for desserts-on-the-go. Also, even if this cake dries out a little, I'll just pop it in the toaster over and smother it with coconut oil or vegan butter and hot damn!

As always, if you make this bad boy, don't forget to comment and post and share so I can see your creations and how they turned out. Especially if you make any substitutions. Enjoy!
Recipe inspired by Loving It Vegan